The Appwrite MCP server is now remote: one URL, no API keys_
The Appwrite MCP server is now a hosted remote server. Add one URL to your AI tool, sign in with OAuth, and start building. No installs, no API keys, nothing to keep updated.

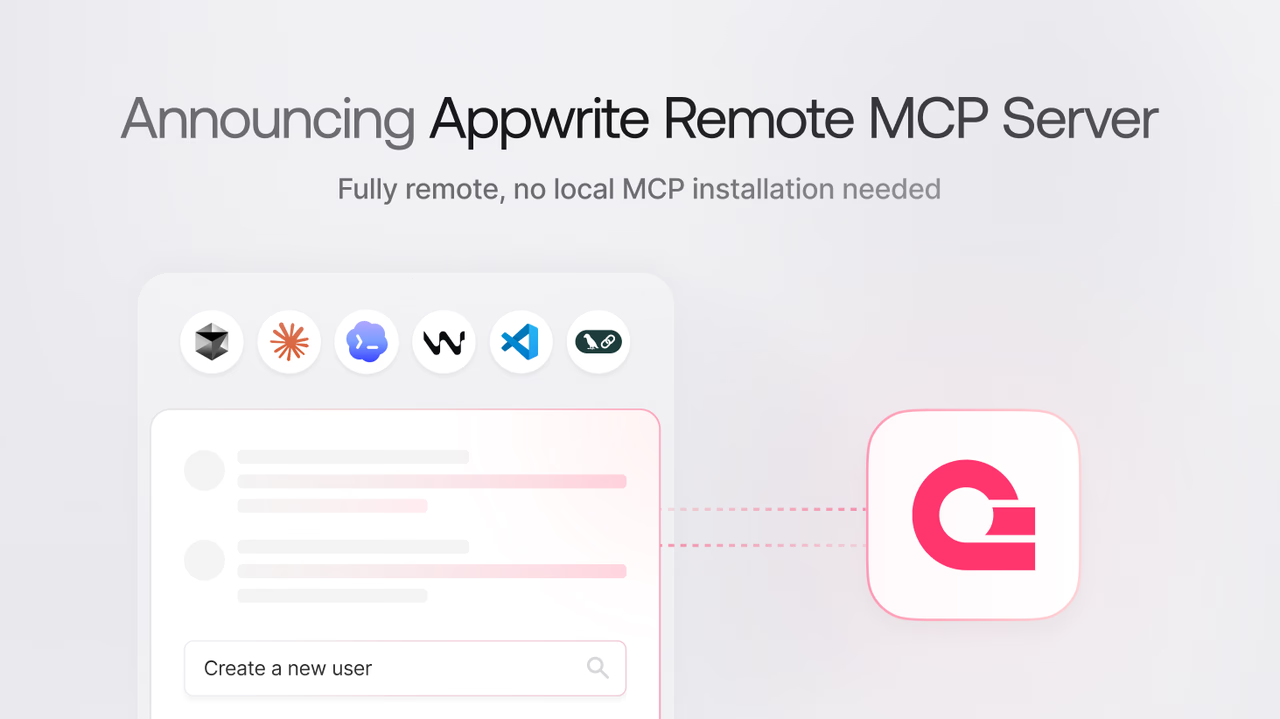
The Appwrite MCP server connects AI coding agents to your Appwrite project, so tools like Claude Code, Cursor, and Codex can create users, manage databases, deploy functions, and work with every other Appwrite service from a chat. Until now, using it meant running a server on your own machine: installing uv, creating an API key with the right scopes, and pasting your endpoint, project ID, and key into every tool's MCP configuration.
Today, we are making that entire setup disappear. The Appwrite MCP server is now available as a hosted remote server. Add one URL to your AI tool, sign in with your Appwrite account, and start building:
https://mcp.appwrite.io/
What changed
The remote server replaces the local setup for Appwrite Cloud users, and it removes every step that used to sit between you and a working connection:
- No local install: The server runs as a hosted HTTP service. You no longer need uv, Python, or a locally running process, and there is nothing to keep updated. You always get the latest version.
- No API keys: The server uses OAuth. The first time your AI tool connects, your browser opens so you can sign in to your Appwrite account and authorize access. No keys to create, scope, share, or rotate.
- One config line: Your MCP configuration goes from a command, arguments, and three environment variables down to a single URL.
- Docs included: The server also searches the Appwrite documentation through the
appwrite_search_docstool, replacing the separate docs MCP server. One connection covers both your project and the docs.
Here is the difference in a Claude Code .mcp.json:
{
  "mcpServers": {
    "appwrite": {
      "type": "http",
      "url": "https://mcp.appwrite.io/"
    }
  }
}
{
  "mcpServers": {
      "appwrite": {
        "command": "uvx",
        "args": ["mcp-server-appwrite"],
        "env": {
          "APPWRITE_API_KEY": "your-api-key",
          "APPWRITE_PROJECT_ID": "your-project-id",
          "APPWRITE_ENDPOINT": "https://<REGION>.cloud.appwrite.io/v1"
        }
      }
  }
}
Same context-efficient architecture
The remote server keeps the compact architecture introduced in MCP Server 2.0. Only a small set of MCP tools is exposed to the model:
appwrite_get_context: Returns a summary of your workspace, including your account, organization, and projects.appwrite_search_tools: Searches the full Appwrite tool catalog based on the model's intent.appwrite_call_tool: Executes a specific Appwrite operation by name.appwrite_search_docs: Semantically searches the Appwrite documentation.
The full catalog of Appwrite operations stays internal to the server and is searched at runtime, so all Appwrite services are available without filling the model's context with unused tool definitions. And because documentation search is built in, the separate Appwrite docs MCP server is no longer needed: one connection covers both your project and the docs.
Get started
Adding the server takes one step in most tools. In Claude Code, for example:
claude mcp add --transport http appwrite https://mcp.appwrite.io/
Then run /mcp, select appwrite, and choose Authenticate to sign in.
In Cursor, VS Code, Zed, and other editors, add the URL to your MCP configuration and complete the OAuth sign-in when prompted. The documentation has step-by-step guides for Claude Code, Codex, Cursor, Claude Desktop, VS Code, Zed, OpenCode, Windsurf, Zenflow, Google Antigravity, and Grok Build.
Once connected, try a prompt like:
List users in my Appwrite project
Self-hosting Appwrite?
The remote server authenticates against Appwrite Cloud. If you run a self-hosted Appwrite instance, the local MCP server is still available and works the way it always has: it runs on your machine over the stdio transport and connects to your instance with an API key. The MCP server documentation walks through the setup.
Resources
It is a hosted version of the Appwrite MCP server that runs over the HTTP transport at https://mcp.appwrite.io/. Instead of installing and running the server locally, you add the URL to your AI tool's MCP configuration and authenticate with OAuth. It gives AI agents like Claude Code, Cursor, and Codex access to your Appwrite project and the Appwrite documentation.
The remote server uses OAuth. The first time your AI tool connects, your browser opens so you can sign in to your Appwrite account and authorize access. There are no API keys to create, scope, paste into config files, or rotate.
Not for Appwrite Cloud. The remote server is hosted by Appwrite, so there is nothing to install or keep updated on your machine. The local setup with uv and an API key is still supported and remains the way to connect to self-hosted Appwrite instances.
Yes. The remote server keeps the search-and-call architecture introduced in MCP Server 2.0: appwrite_search_tools and appwrite_call_tool, now joined by appwrite_get_context for workspace context and appwrite_search_docs for documentation search. The full Appwrite tool catalog stays internal and is searched at runtime, so the model's context is not filled with tool definitions it may never use.
No. Documentation access is consolidated into the remote Appwrite MCP server through the appwrite_search_docs tool, which semantically searches the Appwrite documentation. One connection covers both your Appwrite project and the docs.
Any MCP client that supports remote servers over the HTTP transport with OAuth, including Claude Code, Codex, Cursor, Claude Desktop, VS Code, Zed, OpenCode, Windsurf, Zenflow, Google Antigravity, and Grok Build. The documentation has setup guides for each tool.