Learn how to set up your first Next.js project with the Appwrite React library. The library ships SSR auth handlers, server helpers, and the same React hooks you use on the client.
Head to the Appwrite Console.
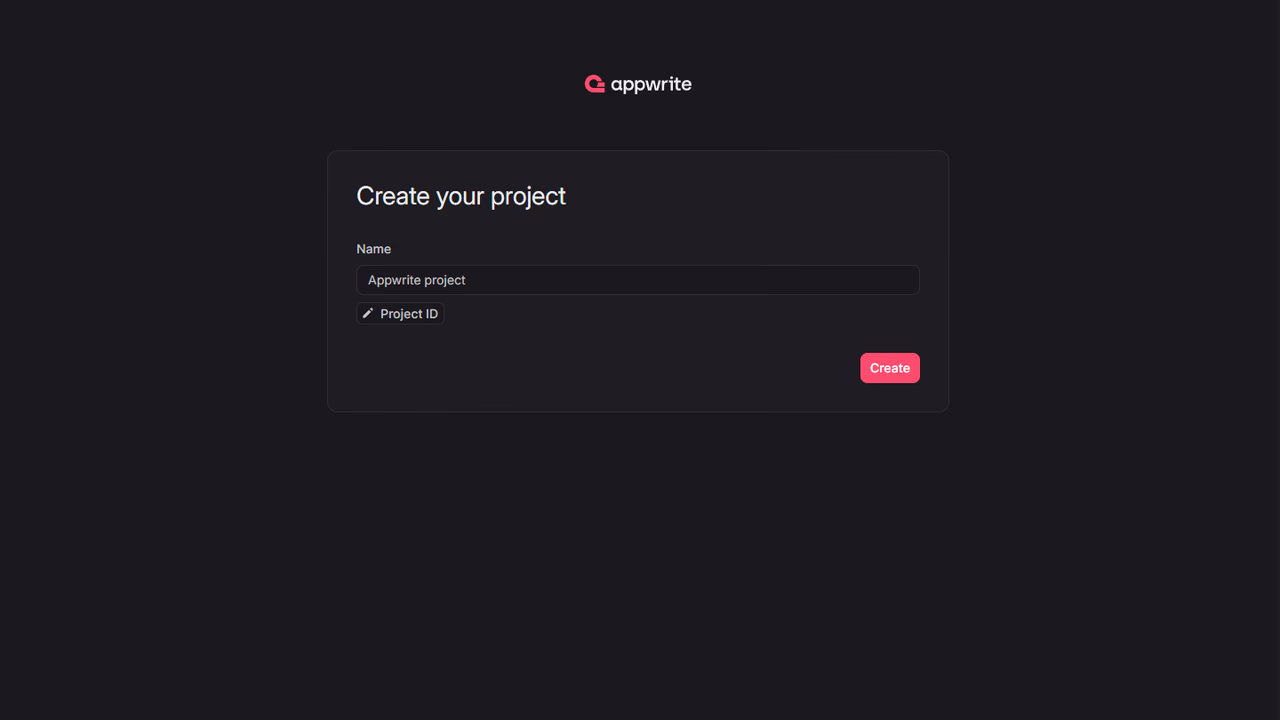
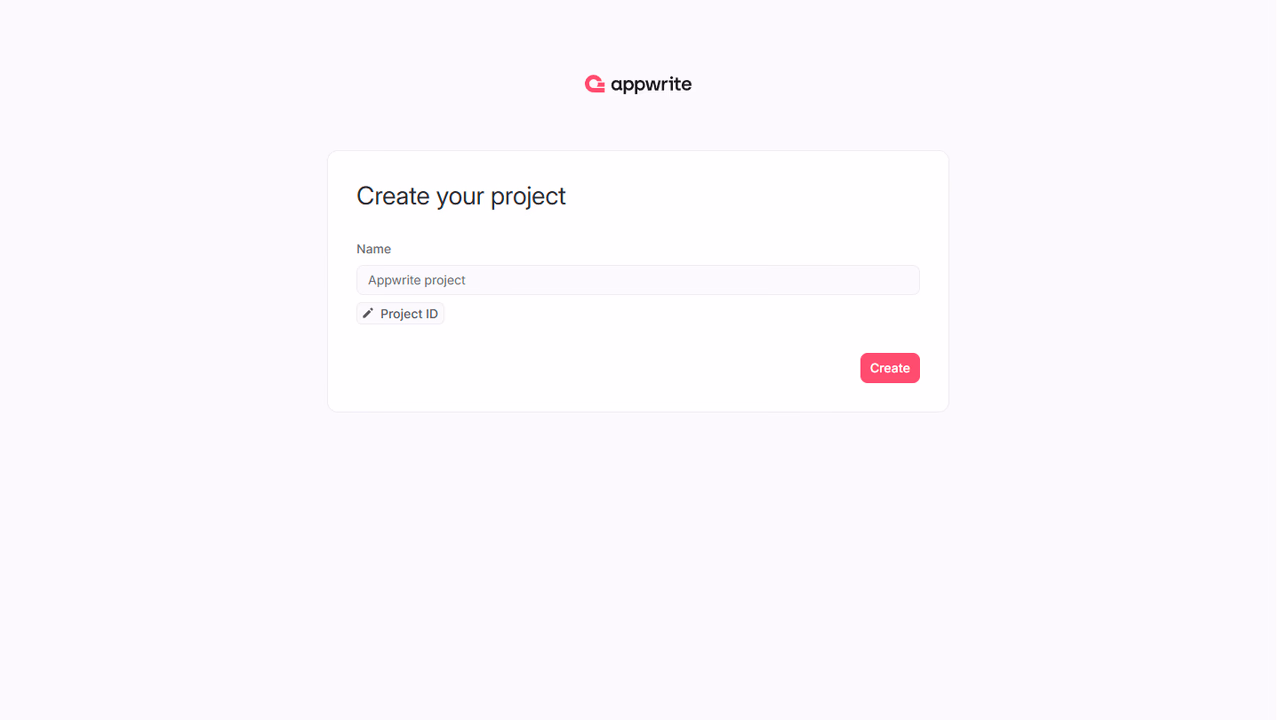
If this is your first time using Appwrite, create an account and create your first project.
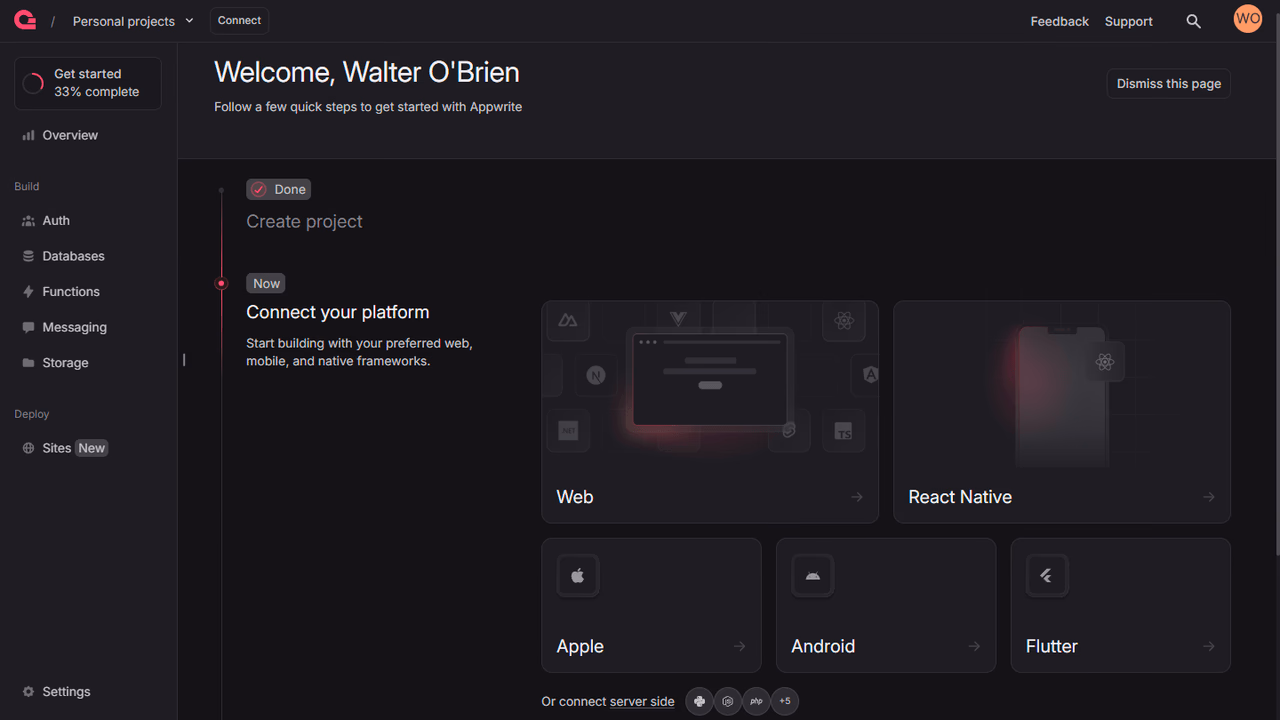
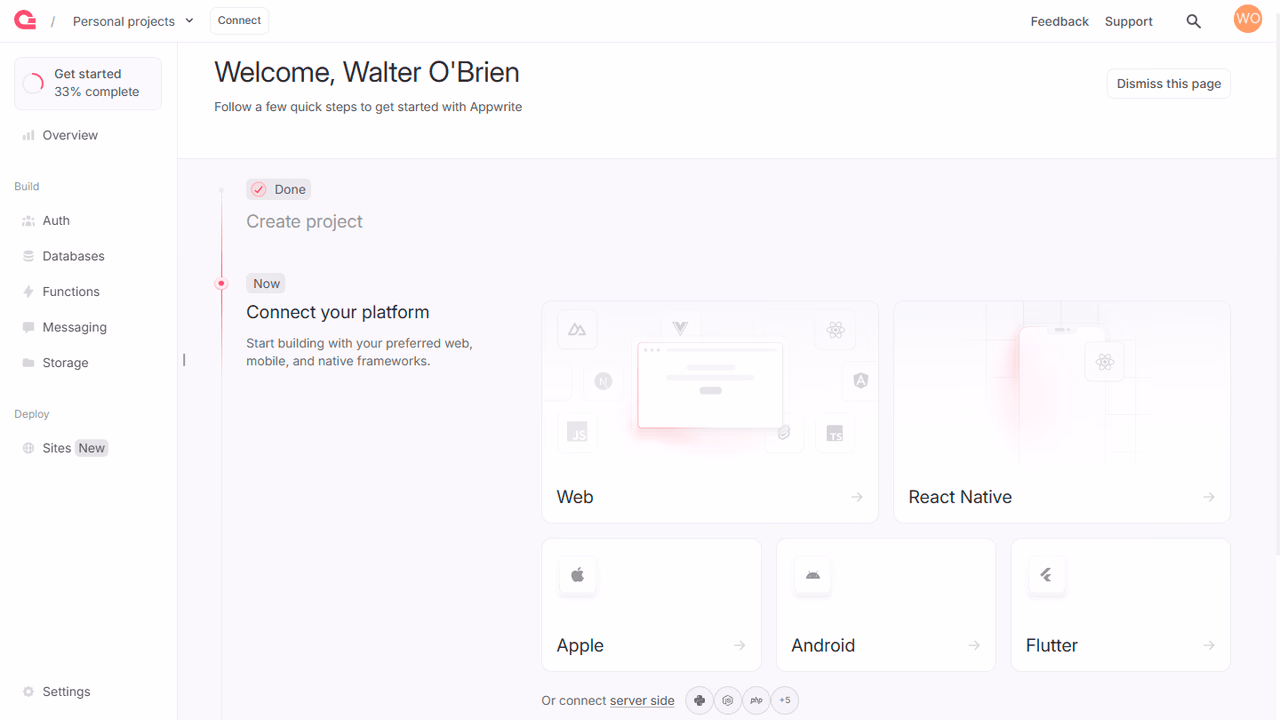
Then, under Add a platform, add a Web app. The Hostname should be localhost.
Cross-Origin Resource Sharing (CORS)
Adding localhost as a platform lets your local app talk to Appwrite. For production, add your live domain to avoid CORS errors.
Learn more in our CORS error guide.
You can skip optional steps.
In your project, go to Overview > Integrations > API keys and create a new key with the scopes users.read, users.write, and sessions.write. Copy the key secret. The SSR handler uses this to create sessions on behalf of users; never expose it to the browser.
Create a Next.js project with TypeScript and the App Router.
npx create-next-app@latest my-app --ts --app && cd my-app
Accept the defaults for the remaining prompts.
Install the React library along with the Appwrite Web SDK, Appwrite Node SDK, and @tanstack/react-query packages.
npm install @appwrite.io/react appwrite node-appwrite @tanstack/react-query
Create a .env.local file at the project root. Replace <REGION>, <PROJECT_ID>, and <API_KEY> with your own values.
NEXT_PUBLIC_APPWRITE_ENDPOINT=https://<REGION>.cloud.appwrite.io/v1
NEXT_PUBLIC_APPWRITE_PROJECT_ID=<PROJECT_ID>
APPWRITE_API_KEY=<API_KEY>
NEXT_PUBLIC_* values are shipped to the browser. APPWRITE_API_KEY stays server-only.
Create app/api/appwrite/[...appwrite]/route.ts. The handler exposes the sign-in, sign-up, sign-out, and oauth/callback endpoints that the React hooks POST to in SSR mode.
import { createAppwriteHandlers } from "@appwrite.io/react/handlers/next";

export const { GET, POST } = createAppwriteHandlers({
  endpoint: process.env.NEXT_PUBLIC_APPWRITE_ENDPOINT!,
  projectId: process.env.NEXT_PUBLIC_APPWRITE_PROJECT_ID!,
  apiKey: process.env.APPWRITE_API_KEY!,
  basePath: "/api/appwrite",
});
Create app/providers.tsx. The provider runs in client components and accepts the SSR session secret as a prop so the underlying Web SDK can hydrate authenticated.
"use client";

import { AppwriteProvider } from "@appwrite.io/react";

export function Providers({
  session,
  children,
}: {
  session?: string | null;
  children: React.ReactNode;
}) {
  return (
    <AppwriteProvider
      endpoint={process.env.NEXT_PUBLIC_APPWRITE_ENDPOINT!}
      projectId={process.env.NEXT_PUBLIC_APPWRITE_PROJECT_ID!}
      ssr={{ session, basePath: "/api/appwrite" }}
    >
      {children}
    </AppwriteProvider>
  );
}
Replace app/layout.tsx with the following. It reads the session cookie on the server and passes it into the provider.
import { createNextServerHelpers } from "@appwrite.io/react/server/next";
import { Providers } from "./providers";

const appwrite = {
  endpoint: process.env.NEXT_PUBLIC_APPWRITE_ENDPOINT!,
  projectId: process.env.NEXT_PUBLIC_APPWRITE_PROJECT_ID!,
};

export default async function RootLayout({
  children,
}: Readonly<{ children: React.ReactNode }>) {
  const helpers = createNextServerHelpers(appwrite);
  const session = await helpers.readSessionCookie();

  return (
    <html lang="en">
      <body>
        <Providers session={session}>{children}</Providers>
      </body>
    </html>
  );
}
Replace app/page.tsx. getLoggedInUser() calls the Appwrite API server-side with the session cookie, so the user is rendered with the first byte.
import { createNextServerHelpers } from "@appwrite.io/react/server/next";
import { AuthPanel } from "./auth-panel";

const appwrite = {
  endpoint: process.env.NEXT_PUBLIC_APPWRITE_ENDPOINT!,
  projectId: process.env.NEXT_PUBLIC_APPWRITE_PROJECT_ID!,
};

export default async function Page() {
  const helpers = createNextServerHelpers(appwrite);
  const user = await helpers.getLoggedInUser();

  return (
    <main>
      <h1>Appwrite React library on Next.js</h1>
      <p>SSR user: {user?.email ?? "signed out"}</p>
      <AuthPanel />
    </main>
  );
}
Create app/auth-panel.tsx. The hooks POST to the handler route, the server sets a cookie, and router.refresh() re-runs the server component so the SSR user updates.
"use client";

import { useState } from "react";
import { useAuth } from "@appwrite.io/react";
import { useRouter } from "next/navigation";

export function AuthPanel() {
  const { user, isLoading, signIn, signUp, signOut, error } = useAuth();
  const router = useRouter();
  const [email, setEmail] = useState("");
  const [password, setPassword] = useState("");
  const [name, setName] = useState("");

  if (isLoading) return <p>Loading...</p>;

  if (user) {
    return (
      <div>
        <p>Welcome, {user.name || user.email}</p>
        <button onClick={() => signOut.signOut({ onSuccess: () => router.refresh() })}>
          Sign out
        </button>
      </div>
    );
  }

  return (
    <div>
      <input placeholder="Name" value={name} onChange={(e) => setName(e.target.value)} />
      <input placeholder="Email" value={email} onChange={(e) => setEmail(e.target.value)} />
      <input
        placeholder="Password"
        type="password"
        value={password}
        onChange={(e) => setPassword(e.target.value)}
      />
      <button
        onClick={() =>
          signUp.emailPassword({
            email,
            password,
            name,
            onSuccess: () => router.refresh(),
          })
        }
        disabled={signUp.isPending}
      >
        Sign up
      </button>
      <button
        onClick={() =>
          signIn.emailPassword({
            email,
            password,
            onSuccess: () => router.refresh(),
          })
        }
        disabled={signIn.isPending}
      >
        Sign in
      </button>
      {error && <p style={{ color: "red" }}>{error.message}</p>}
    </div>
  );
}
npm run dev
Open localhost on port 3000. Sign up, sign out, and sign back in to verify the cookie-based SSR flow.
Next steps
For server-side admin operations, per-request session clients, OAuth callbacks, and the full hook reference, see the React library docs.