Learn how to setup your first React Native project powered by Appwrite. The React Native SDK is still in beta. Proceed with caution if you plan to use this SDK in production.
React for web
Looking to start with React for web? Follow the React quickstart and React tutorial flows.
Create a React Native project using npx.
npx create-expo-app my-app
cd my-app
Head to the Appwrite Console.
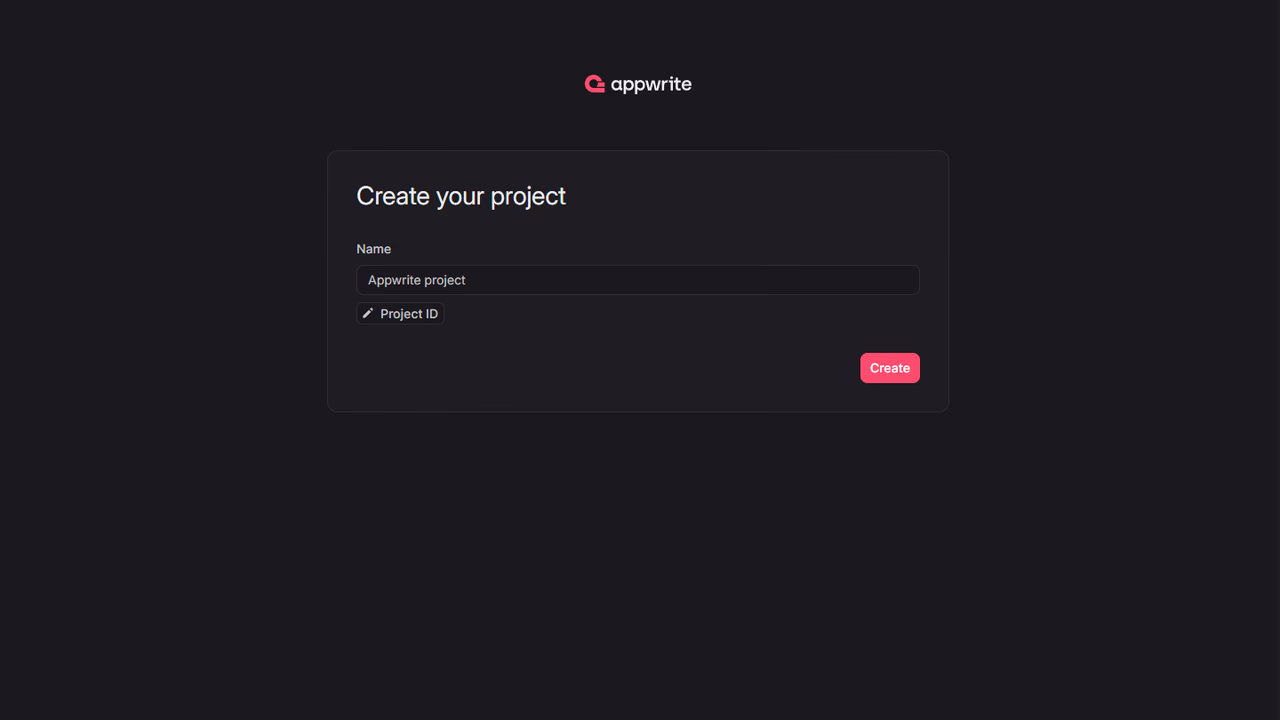
If this is your first time using Appwrite, create an account and create your first project.
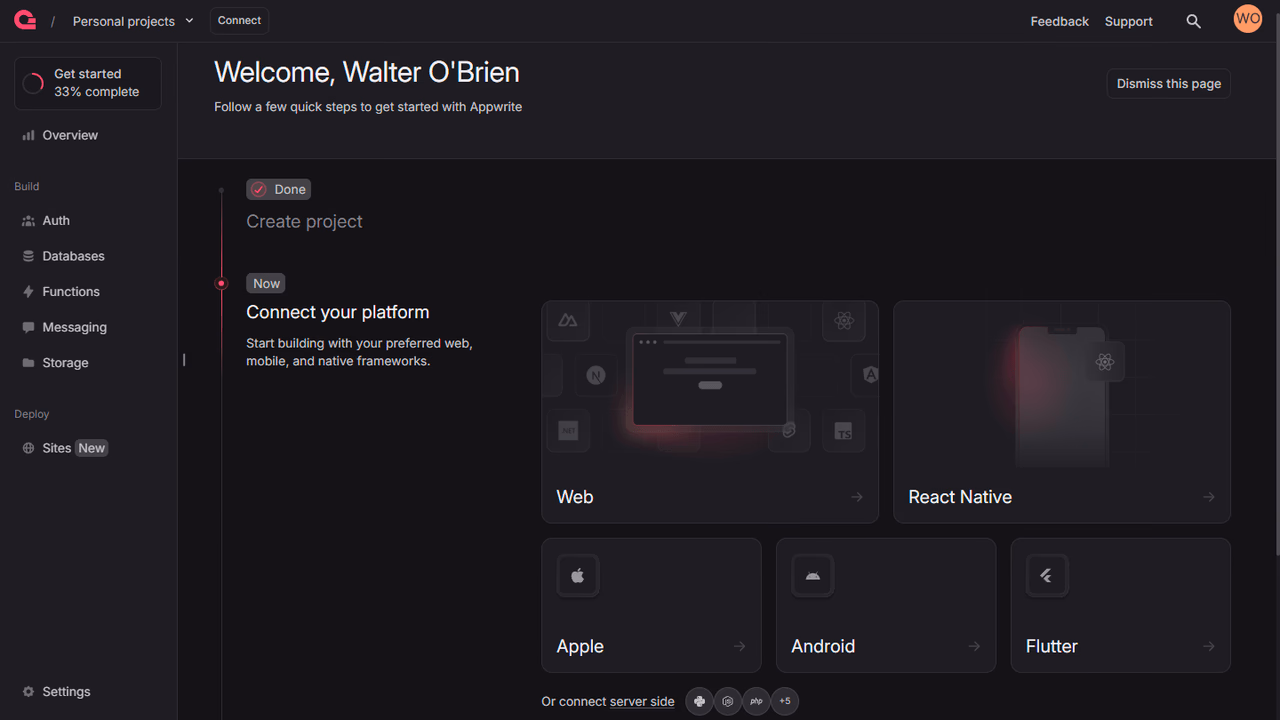
Then, under Add a platform, add a Android app or a Apple app.
Add your app name and Bundle ID. You can find your Bundle Identifier in the General tab for your app's primary target in XCode.
Note: If you've followed the commands above, you have created an Expo project. This means you need to define the Bundle Identifier in the app.json configuration. More info
Add your app's name and package name, Your package name is generally the applicationId in your app-level build.gradle file.
Note: If you've followed the commands above, you have created an Expo project. This means you need to define the package name in the app.json configuration. More info
Learn more about Android app module
You can skip optional steps.
Install the Appwrite SDK for React Native and required dependencies.
npx expo install react-native-appwrite react-native-url-polyfill
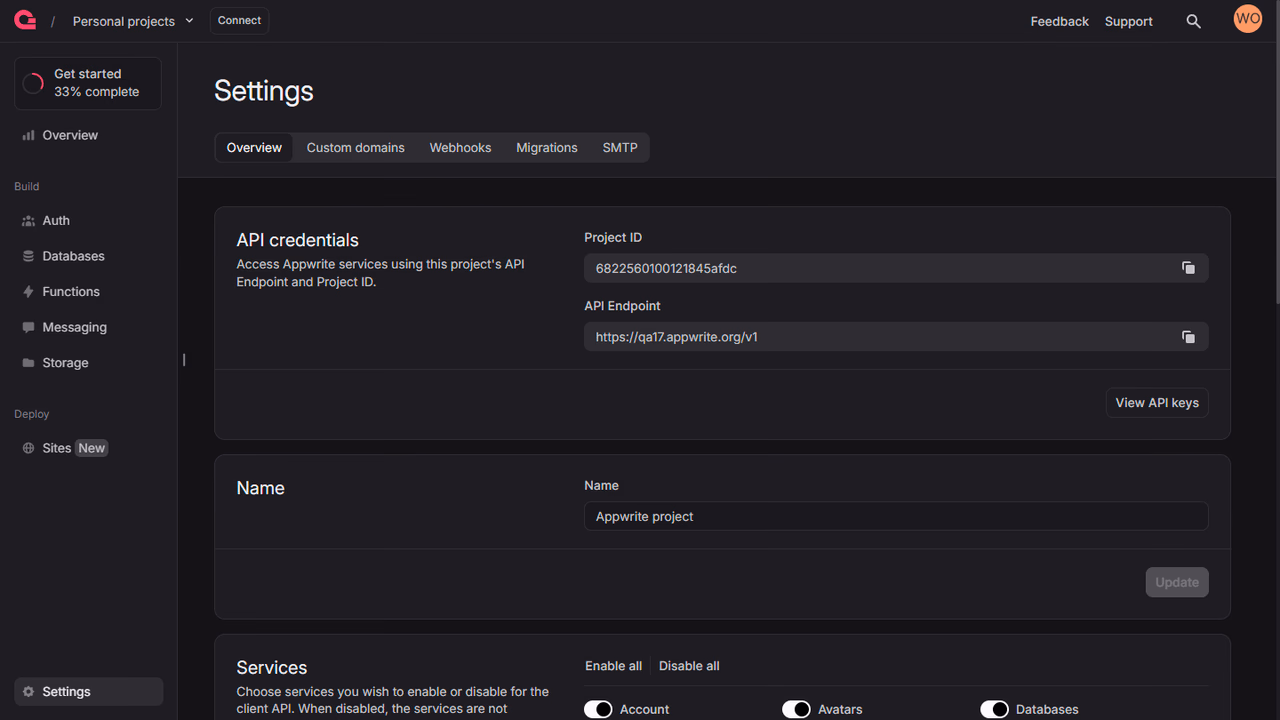
Find your project's ID in the Settings page.

Open app/(tabs)/index.tsx and add the following code to it, replace <PROJECT_ID> with your project ID and <YOUR_PLATFORM> with your application id or package name.
This imports and initializes Appwrite and defines some basic authentication methods.
import { StatusBar } from 'expo-status-bar';
import { StyleSheet, Text, View, TextInput, TouchableOpacity } from 'react-native';
import { Client, Account, ID, Models } from 'react-native-appwrite';
import React, { useState } from 'react';

let client: Client;
let account: Account;

client = new Client();
client
  .setEndpoint('https://<REGION>.cloud.appwrite.io/v1')
  .setProject('66e943139f030e2feaf8')   // Your Project ID
  .setPlatform('com.example.my-app');   // Your package name / bundle identifier

account = new Account(client);
export default function App() {
  const [loggedInUser, setLoggedInUser] = useState<Models.User<Models.Preferences> | null>(null);
  const [email, setEmail] = useState('');
  const [password, setPassword] = useState('');
  const [name, setName] = useState('');

  async function login(email: string, password: string) {
    await account.createEmailPasswordSession({
        email,
        password
    });
    setLoggedInUser(await account.get());
  }

  async function register(email: string, password: string, name: string) {
    await account.create({
        userId: ID.unique(),
        email,
        password,
        name
    });
    await login(email, password);
    setLoggedInUser(await account.get());
  }
  return (
    // ... Implement your UI here
  );
}

const styles = StyleSheet.create({
    // ... define some styles
});
With Client and Account service initialized, you can now use them to make your first requests to Appwrite.
Add the following components to your App.js file to create a simple login form.
<View style={styles.root}>
    <Text>
    {loggedInUser ? `Logged in as ${loggedInUser.name}` : 'Not logged in'}
    </Text>
    <View>
    <TextInput
        style={styles.input}
        placeholder="Email"
        value={email}
        onChangeText={(text) => setEmail(text)}
    />
    <TextInput
        style={styles.input}
        placeholder="Password"
        value={password}
        onChangeText={(text) => setPassword(text)}
        secureTextEntry
    />
    <TextInput
        style={styles.input}
        placeholder="Name"
        value={name}
        onChangeText={(text) => setName(text)}
    />

    <TouchableOpacity
        style={styles.button}
        onPress={() => login(email, password)}
    >
        <Text>Login</Text>
    </TouchableOpacity>

    <TouchableOpacity
        style={styles.button}
        onPress={()=> register(email, password, name)}
    >
        <Text>Register</Text>
    </TouchableOpacity>

    <TouchableOpacity
        style={styles.button}
        onPress={async () => {
        await account.deleteSession({ sessionId: 'current' });
        setLoggedInUser(null);
        }}
    >
        <Text>Logout</Text>
    </TouchableOpacity>
    </View>
</View>
You can also add some simple styling to your app by adding the following styles to your App.js file.
const styles = StyleSheet.create({
  root: {
    marginTop: 40,
    marginBottom: 40
  },
  input: {
    height: 40,
    borderColor: 'gray',
    borderWidth: 1,
    marginBottom: 10,
    paddingHorizontal: 10,
  },
  button: {
    backgroundColor: 'gray',
    padding: 10,
    marginBottom: 10,
    alignItems: 'center',
  },
});
Run your project with npx expo start.
Explore the React Native playground