Learn how to setup your first Angular project powered by Appwrite.
Head to the Appwrite Console.
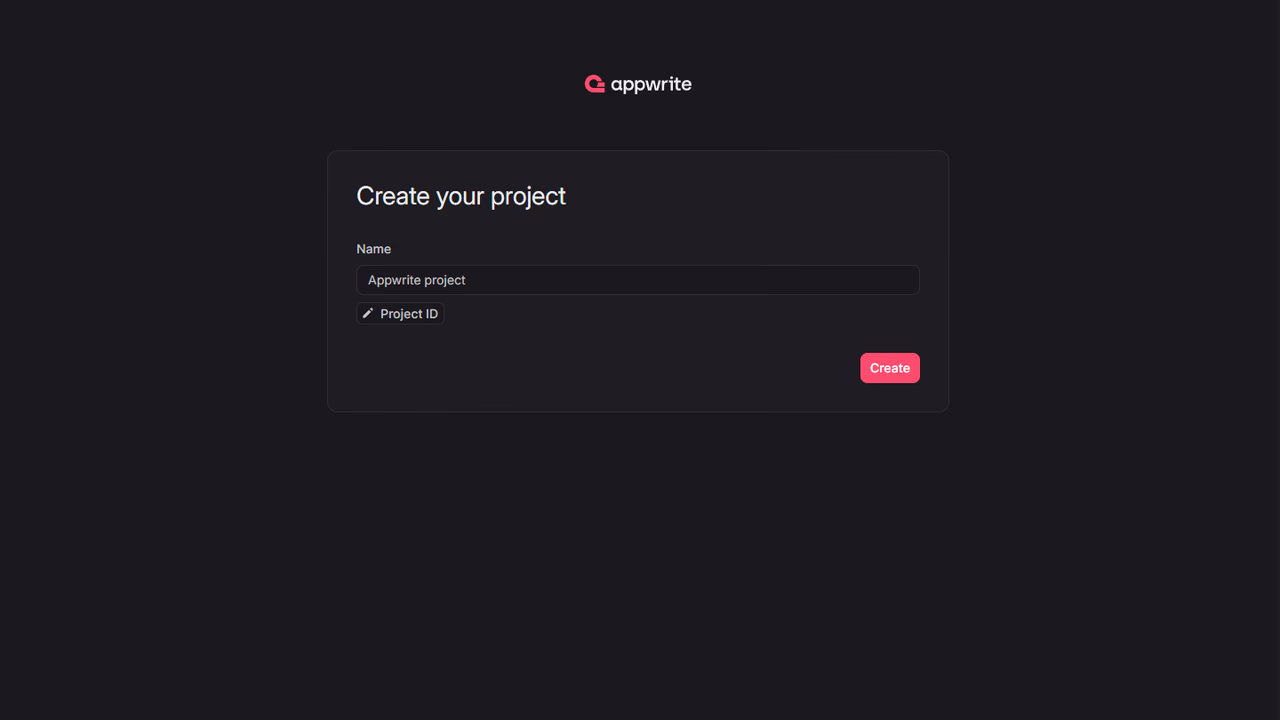
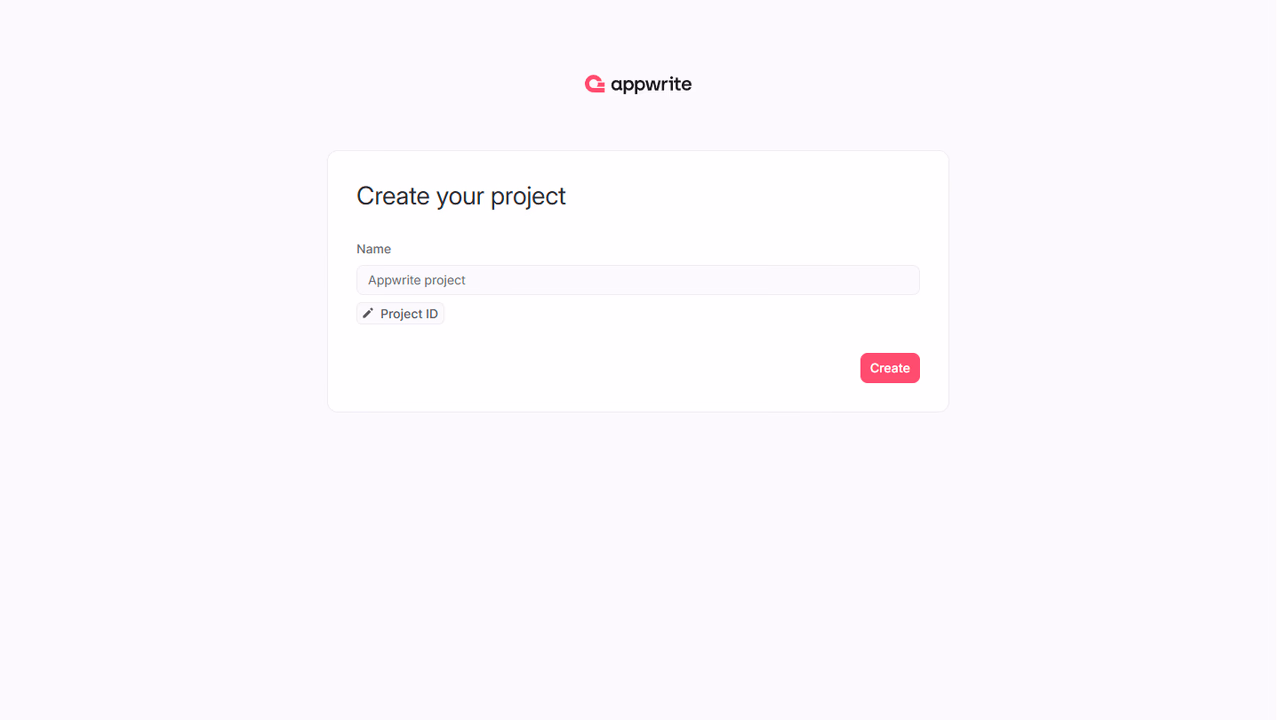
If this is your first time using Appwrite, create an account and create your first project.
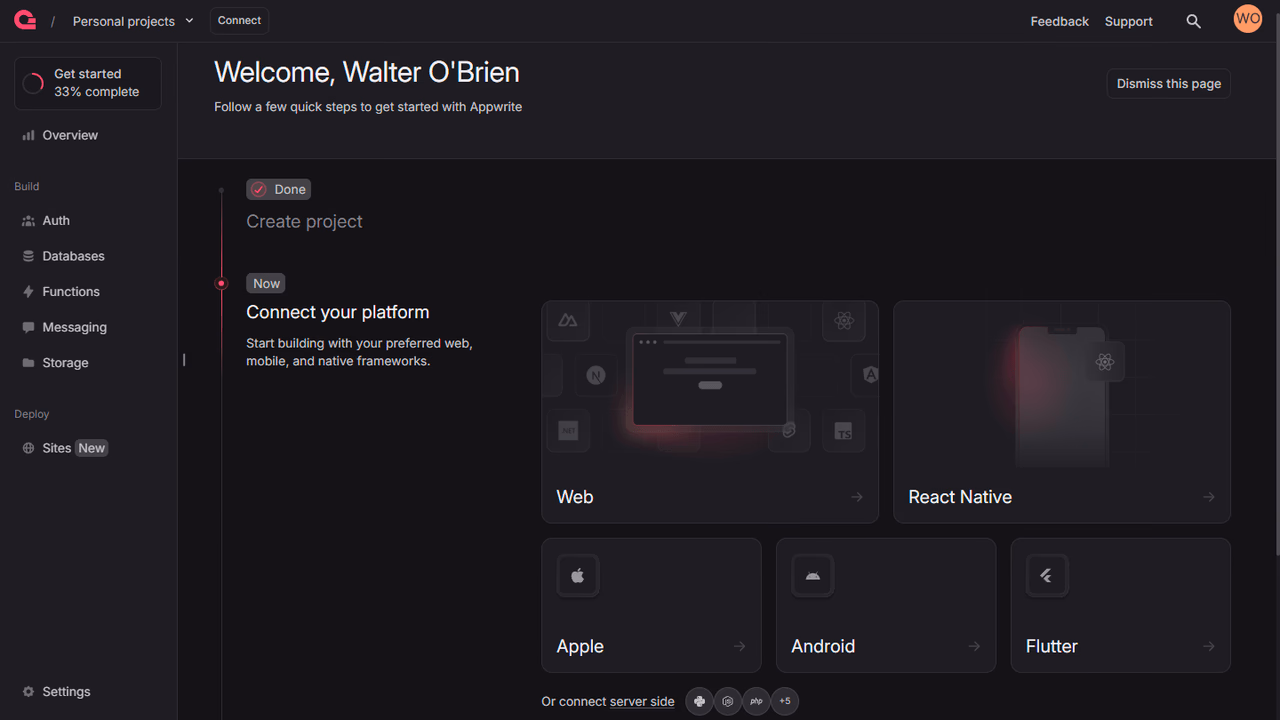
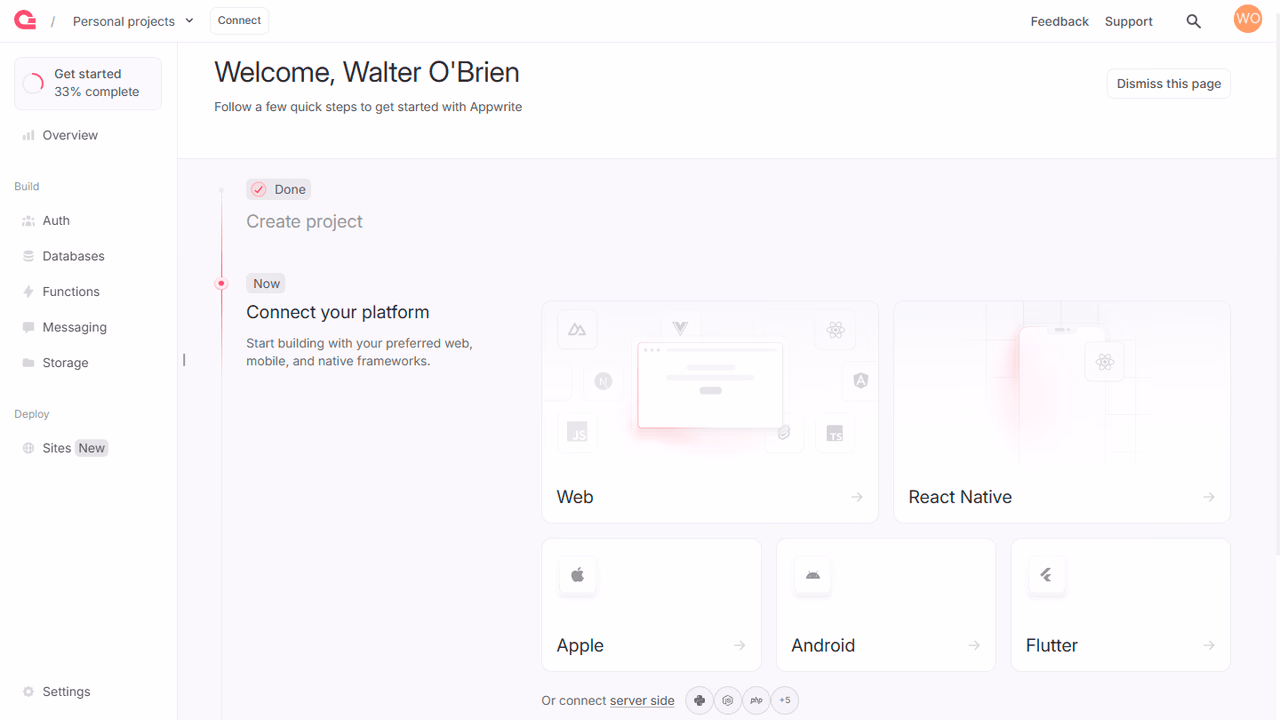
Then, under Add a platform, add a Web app. The Hostname should be localhost.
Cross-Origin Resource Sharing (CORS)
Adding localhost as a platform lets your local app talk to Appwrite. For production, add your live domain to avoid CORS errors.
Learn more in our CORS error guide.
You can skip optional steps.
Create an Angular project.
If you don't have Angular CLI installed, run this command.
npm install -g @angular/cli
Then, create a project.
ng new my-app
cd my-app
Install the JavaScript Appwrite SDK.
npm install appwrite
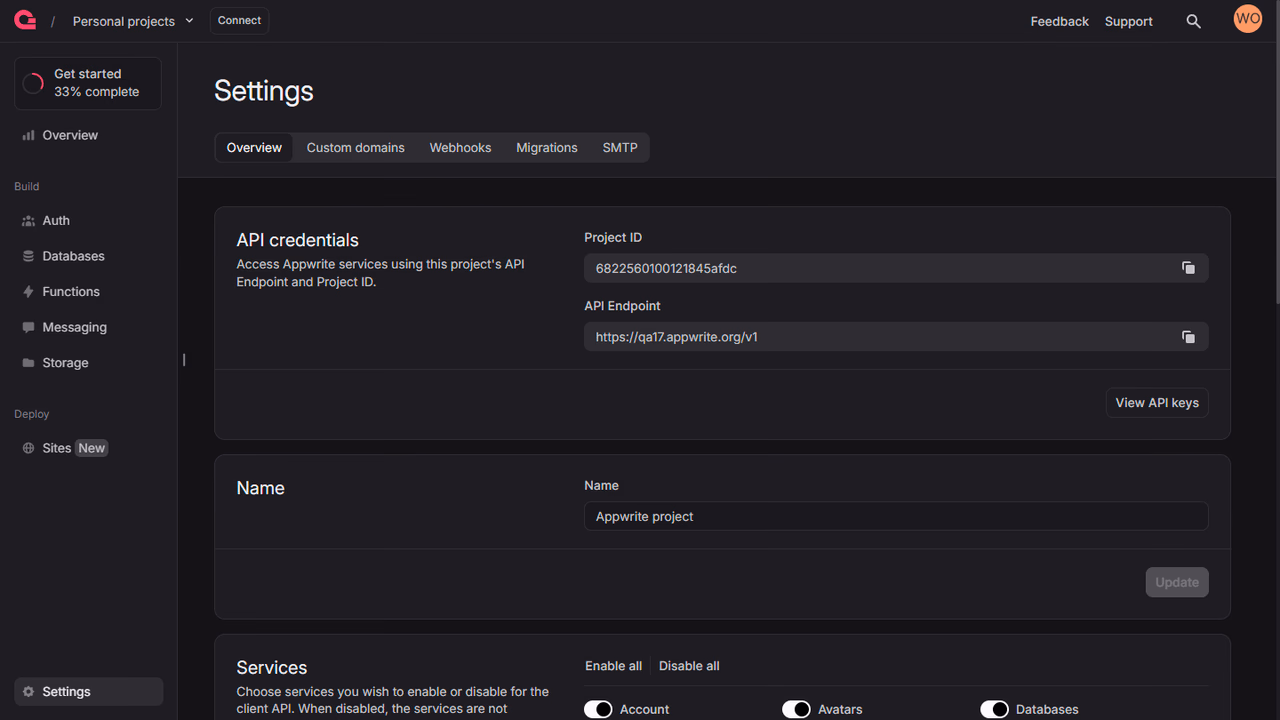
Find your project's ID in the Settings page.

Create a new file src/lib/appwrite.ts and add the following code to it, replace <PROJECT_ID> with your project ID.
import { Client, Account} from 'appwrite';

export const client = new Client();

client
    .setEndpoint('https://<REGION>.cloud.appwrite.io/v1')
    .setProject('<PROJECT_ID>'); // Replace with your project ID

export const account = new Account(client);
export { ID } from 'appwrite';
First, add imports for the FormsModule from Angular to handle the login form..
import { FormsModule } from '@angular/forms';
...
@NgModule({
  declarations: [
    // ...
  ],
  imports: [
    // ...
    FormsModule
  ],
  providers: [],
  bootstrap: [AppComponent]
})
export class AppModule { }
Then, replace the contents of src/app/app.component.html.
<div>
  <p>
    {{ loggedInUser ? 'Logged in as ' + loggedInUser.name : 'Not logged in' }}
  </p>

  <div>
    <input type="email" placeholder="Email" [(ngModel)]="email" />
    <input type="password" placeholder="Password" [(ngModel)]="password" />
    <input type="text" placeholder="Name" [(ngModel)]="name" />

    <button (click)="login(email, password)">
      Login
    </button>

    <button (click)="register(email, password, name)">
      Register
    </button>

    <button (click)="logout()">
      Logout
    </button>
  </div>
</div>
Lastly, update src/app/app.component.ts.
import { Component } from '@angular/core';
import { account, ID } from '../lib/appwrite';
@Component({
  selector: 'app-root',
  templateUrl: './app.component.html',
  styleUrls: ['./app.component.css']
})
export class AppComponent {
  loggedInUser: any = null;
  email: string = '';
  password: string = '';
  name: string = '';

  async login(email: string, password: string) {
    await account.createEmailPasswordSession({
      email,
      password
    });
    this.loggedInUser = await account.get();
  }

  async register(email: string, password: string, name: string) {
    await account.create({
      userId: ID.unique(),
      email,
      password,
      name
    });
    this.login(email, password);
  }

  async logout() {
    await account.deleteSession({
      sessionId: 'current'
    });
    this.loggedInUser = null;
  }
}
Run your project with ng serve --port 3000 and open Localhost on Port 3000 in your browser.