Announcing one-click Resend setup in the Appwrite Console_
Connect Resend once and Appwrite creates a sending-only API key, fills in your project SMTP settings or Messaging provider, and enables it in one click.

Setting up email for an Appwrite project has always ended in the same loop between tabs. Open Resend, verify a domain, create an API key, copy it, come back to the Console, look up the SMTP host and port, paste each value into the right field, and hope the key you created has the right permission. Then do most of it again for Appwrite Messaging, because that provider takes the API key directly instead of SMTP credentials.
None of those steps is difficult. Together they are enough friction that plenty of projects keep sending sign-in and verification emails through the shared default server longer than they should, or end up with a full-access Resend key pasted where a sending-only key would do.
Today we are announcing one-click Resend setup in the Appwrite Console. Connect your Resend account once, pick a verified domain, and Appwrite creates a sending-only API key and fills in everything else. It works in two places: the Resend provider in Appwrite Messaging, and your project's custom SMTP settings.
What one-click Resend setup gives you
- One connection, two surfaces. Authorize Resend from either the SMTP settings tab or the Messaging provider wizard. The connection lives on your Console account, so it shows as Connected in every project you open afterwards.
- A sending-only key scoped to one domain. Appwrite never asks you to paste a key. It creates one in your Resend account with sending-only permission, restricted to the domain you picked, named
Appwrite SMTP: <project name>so you can find it later. - Relay settings filled for you. For custom SMTP, Appwrite writes the host, port, username, TLS setting, and password, then enables the custom server. You only choose a sender name and sender email.
- Sender defaults that match the domain. Appwrite suggests
noreply@<domain>and, in Messaging, uses your project name as the sender name unless you already typed one. - No stray keys left behind. If the save fails, or you leave the Messaging wizard without creating the provider, Appwrite revokes the key it generated.
- Reconnect and disconnect from the same card. Expired authorizations ask you to reconnect instead of silently bouncing you to a consent screen. Disconnecting removes the Resend identity from your Console account without touching SMTP settings already saved on your projects.
Add a Resend provider to Appwrite Messaging
Messaging providers send the emails you compose yourself: announcements, reminders, and scheduled campaigns to topics and targets. The Resend provider talks to Resend's API rather than the SMTP relay, so it needs an API key instead of relay settings.
- Go to Messaging > Providers > Add provider and choose Resend under Email.
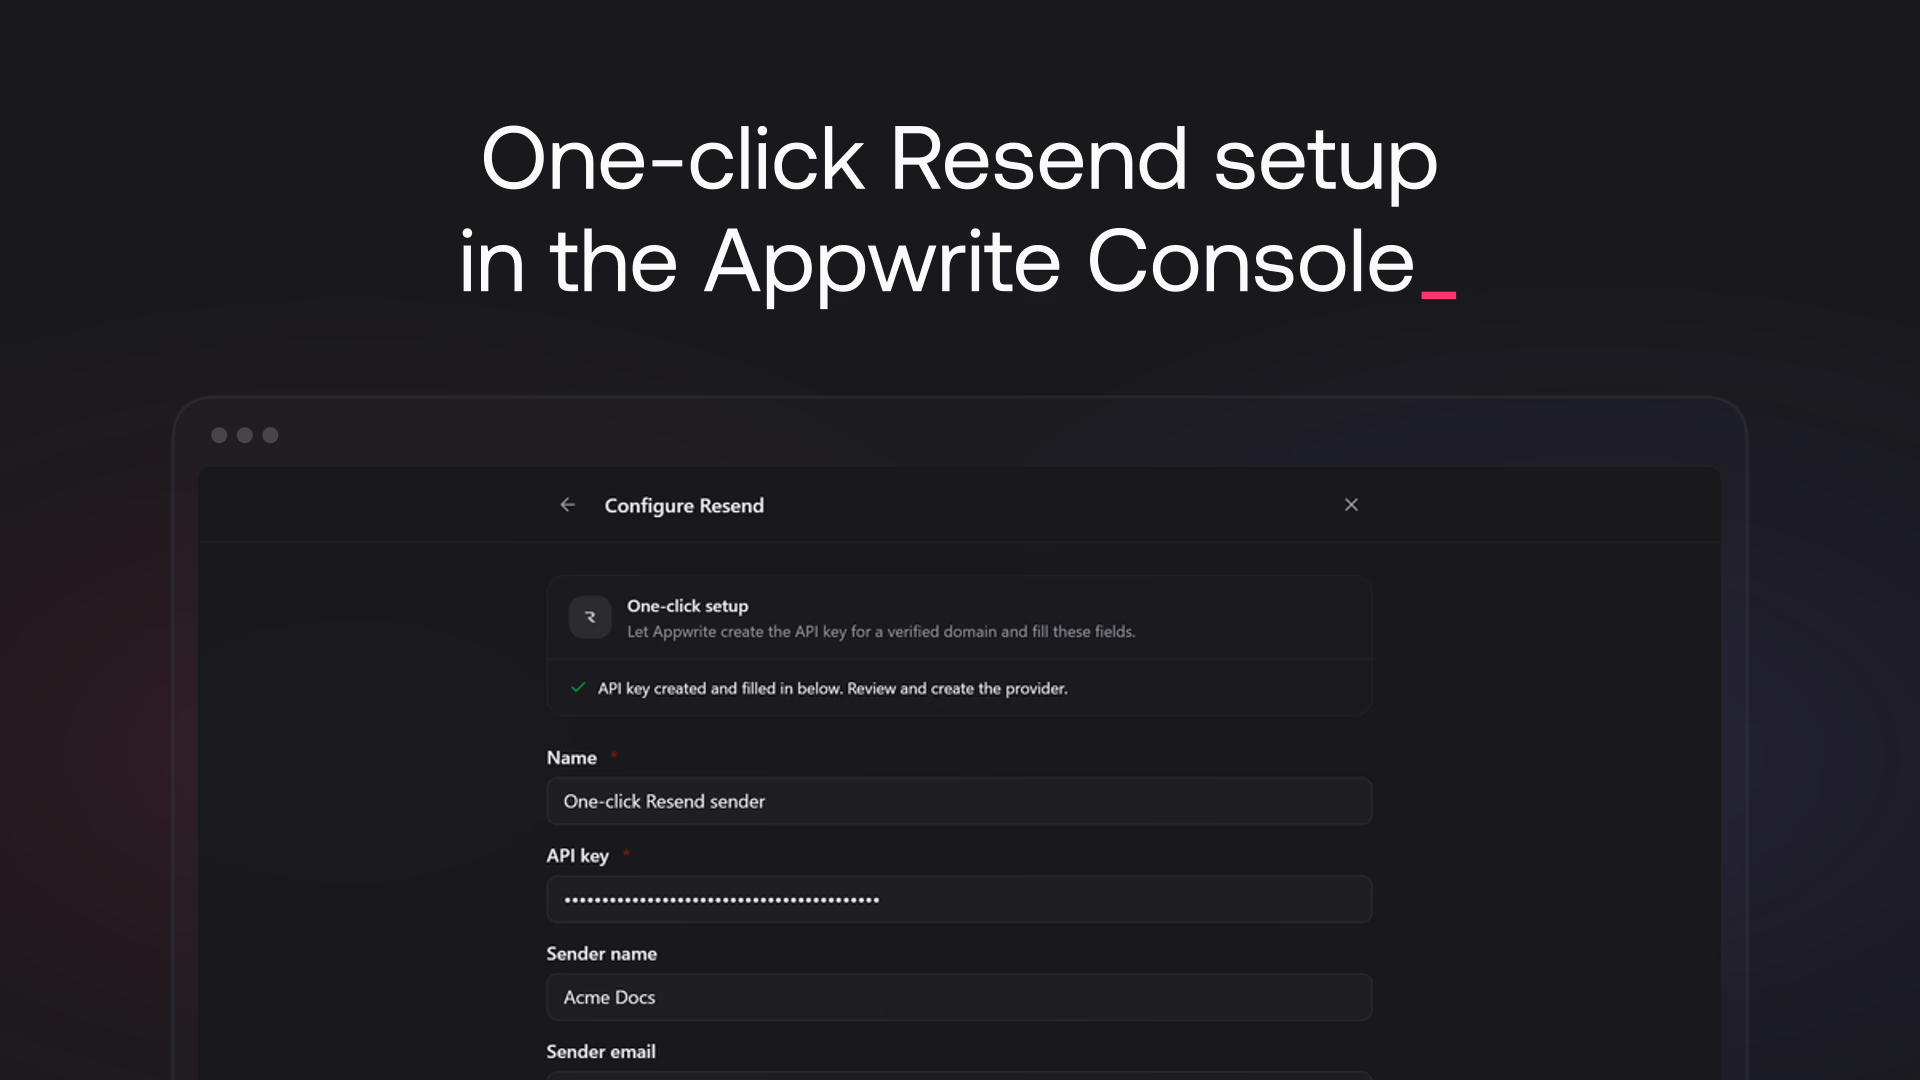
- In the Configure step, click Connect with Resend on the One-click setup card and authorize Appwrite in Resend. You land back on the same step.
- Pick a verified Domain and click Generate API key.
- Review the filled-in fields and click Create provider.
Appwrite fills the API key and any field you left empty: the sender email becomes noreply@<domain> unless yours already sits on that domain, the sender name defaults to the project name, and the provider name defaults to One-click Resend sender. Anything you typed first is left alone. See the Messaging Resend docs for the details.
Set up custom SMTP with Resend
Custom SMTP replaces Appwrite Cloud's default sender for authentication emails and unlocks custom email templates. It is available on Pro and higher plans.
- Open your project's Settings and go to the SMTP tab.
- Under One-click setup, click Connect with Resend. If you already connected Resend in Messaging, this opens the setup straight away.
- Select a verified Domain. Unverified domains are listed but can't be chosen.
- Enter a Sender name and a Sender email on that domain, then click Set up.
The sidebar shows what will be written before you confirm it:
| Setting | Value |
|---|---|
| Server host | smtp.resend.com |
| Server port | 587 |
| Username | resend |
| Secure protocol | TLS |
| Password | The sending-only API key Appwrite creates |
When the setup finishes, custom SMTP is enabled and your project sends through Resend. Your existing reply-to address is kept. The manual form is still right below the card, so you can review or edit any value afterwards. The full steps are in the custom SMTP docs.
How the connection works
The flow is built on the same OAuth2 machinery the Console uses for account sign-in. Resend is an OAuth2 provider for the Appwrite Cloud Console, so Connect with Resend starts a token flow that returns to the page you started from. The round trip adds a Resend identity to your Console account and leaves a short-lived access token on it.
Appwrite asks Resend for full access on that token because listing domains and creating API keys require it. That token is what stays broad, and it is short-lived: Resend issues it for minutes, and Appwrite stores it on the linked identity of your Console account rather than on any project. The key Appwrite creates for your project is the opposite: sending-only, tied to one domain, and the only credential your project ever stores. When the token expires, the next setup asks you to Reconnect rather than failing halfway through.
Because the identity is on your account, not the project, one authorization covers every project you manage and both setup surfaces. Disconnecting from the SMTP tab deletes that identity. Keys already saved on projects keep working until you revoke them in Resend.
When to reach for one-click setup
- You are starting a new project on Appwrite Cloud and want auth emails from your own domain. This is the fastest path from a verified Resend domain to custom SMTP with templates.
- You already run Resend and want a separate, minimal key per project. Each setup creates its own domain-restricted key with a recognizable name, which is cleaner than sharing one key across projects.
- You are adding Resend to Messaging alongside custom SMTP. Connect once and use both.
Stick with the manual form when you have an existing key you want to reuse, when you send through a provider other than Resend, or when you self-host Appwrite. The Console still accepts any SMTP credentials, and the existing guide on emailing users with Resend and Appwrite Messaging covers the manual route. Mailgun and SendGrid appear on the SMTP tab as Coming soon, and Notify me on either tile tells you when they ship.
Get started with Resend in Appwrite
One-click Resend setup is live on Appwrite Cloud today. Open any project's Settings > SMTP tab, or add a Resend provider in Messaging, and click Connect with Resend.
One-click Resend setup is a Console flow on Appwrite Cloud that connects your Resend account to Appwrite through OAuth2, lists your verified sending domains, creates a sending-only API key restricted to the domain you choose, and writes the result into your project. It is available on the project Settings > SMTP tab for custom SMTP and in the Configure step when you add a Resend provider to Appwrite Messaging.
Appwrite sets the server host to smtp.resend.com, the port to 587, the username to resend, the secure protocol to TLS, and the password to the API key it just created. You choose the sender name and sender email. Your existing reply-to email is kept, and custom SMTP is enabled as soon as the setup completes.
The key has Resend's sending-only permission and is restricted to the single domain you selected, so it cannot list domains, create other keys, or send from any other domain. It appears in your Resend dashboard as Appwrite SMTP: <project name>, which makes it easy to find and revoke later.
Yes. Appwrite only lets you pick a domain that Resend has already verified, because Resend rejects mail from unverified domains. If your account has no verified domain, the setup shows a Manage domains link to Resend and a Check again button so you can verify one and continue without starting over.
No. The flow relies on Resend being configured as an OAuth2 provider for the Appwrite Cloud Console, so it only appears on Appwrite Cloud. Custom SMTP on Cloud also requires a Pro or higher plan. Self-hosted projects can still use Resend by entering the SMTP settings or API key by hand, or by configuring the email environment variables.
Appwrite revokes the key it generated if you leave the provider wizard without clicking Create provider, and it revokes the previous key when you click Generate API key again. Once the provider is created, the key stays in use and Appwrite no longer touches it.