Resend lets you send customized email messages to your users. These emails can be sent immediately or scheduled. You can send emails for purposes like reminders, promotions, announcements, and even custom authentication flows.
1. Add provider
To add Resend as a provider, navigate to Messaging > Providers > Add provider > Email.
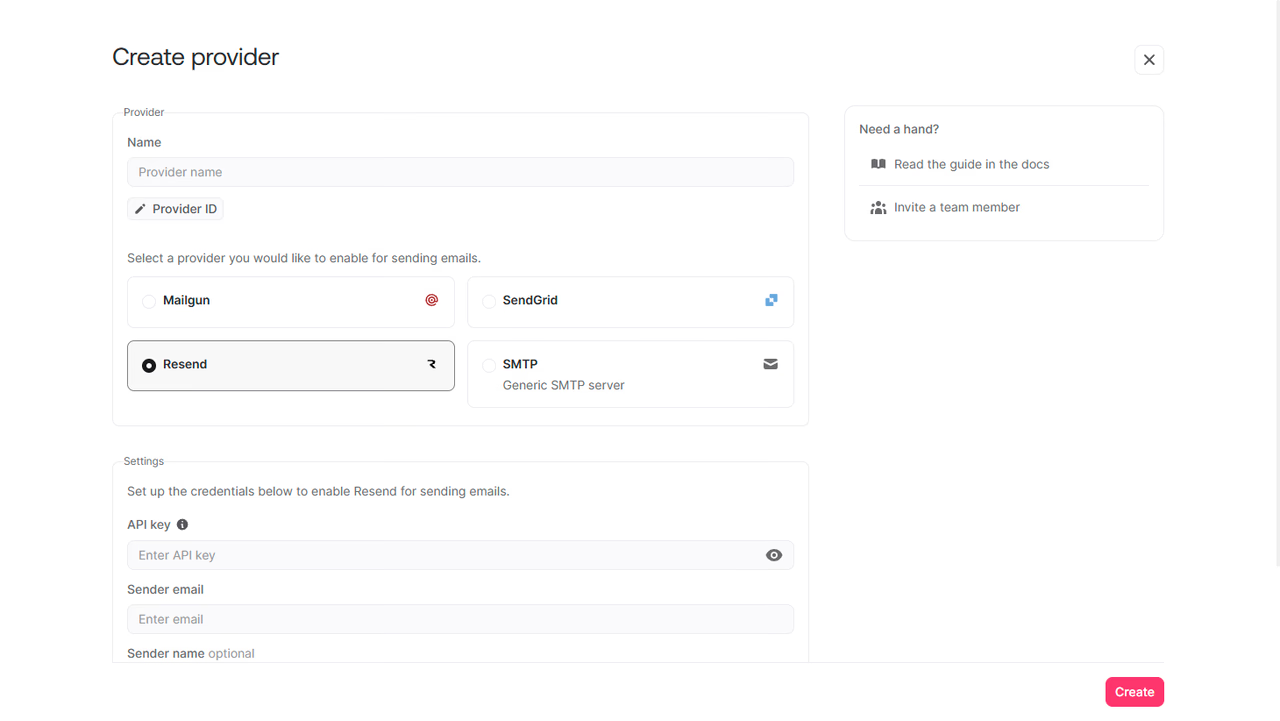
Give your provider a name > choose Resend > click Save and continue. The provider will be saved to your project, but not enabled until you complete its configuration.
2. Configure provider
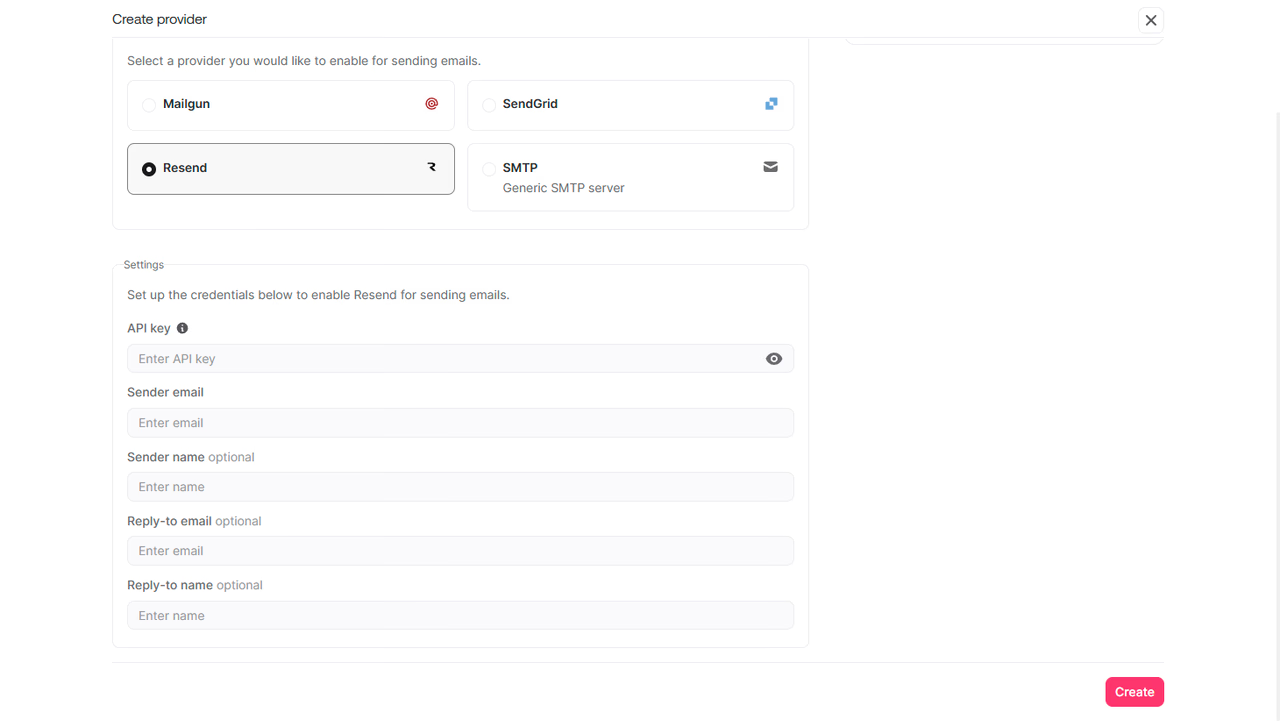
In the Configure step, you will need to provide details from your Resend dashboard to connect your Appwrite project. On Appwrite Cloud, you can let Appwrite create the API key for you with one-click setup, or fill in the fields by hand.
One-click setup
On Appwrite Cloud, the Configure step opens with a One-click setup card above the form.
- Click Connect with Resend and authorize Appwrite in Resend. You are returned to this step with your Resend account connected.
- Select a verified Domain. Domains that are not yet verified in Resend are listed but can't be selected. If none are verified, add one in Resend's domains page and click Check again.
- Click Generate API key.
Appwrite creates an API key in your Resend account named Appwrite SMTP: <project name>, with sending-only permission and restricted to the selected domain, and fills it into the API key field. It also fills any empty fields: the Sender email becomes noreply@<domain> unless the one you typed is already on that domain, the Sender name defaults to your project name, and the provider Name defaults to One-click Resend sender. Review the fields, then click Create provider.
If you leave the wizard without creating the provider, Appwrite revokes the key it generated so it doesn't stay unused in your Resend account. Clicking Generate API key again replaces the key in the form and revokes the previous one.
The Resend connection is shared with the one-click SMTP setup in project settings. Connecting once covers both.
Configure manually
You will need to provide the following information from your Resend dashboard.
| Field name | |
|---|---|
| API key | Head to API Keys -> Create API Key. You can also follow Resend's instructions to create an API key. |
| Sender email | The provider sends emails from this sender email. The sender email needs to be an email under a verified domain in Resend. |
| Sender name | The sender name that appears in the emails sent from this provider. |
| Reply-to email | The reply-to email that appears in the emails sent from this provider. |
| Reply-to name | The reply-to name that appears in the emails sent from this provider. |
After adding the following details, click Save and continue to enable the provider.
3. Test provider
Before sending your first message, make sure you've configured a topic and a target to send messages to.
To send a test message, navigate to Messaging > Messages > Create message > Email.
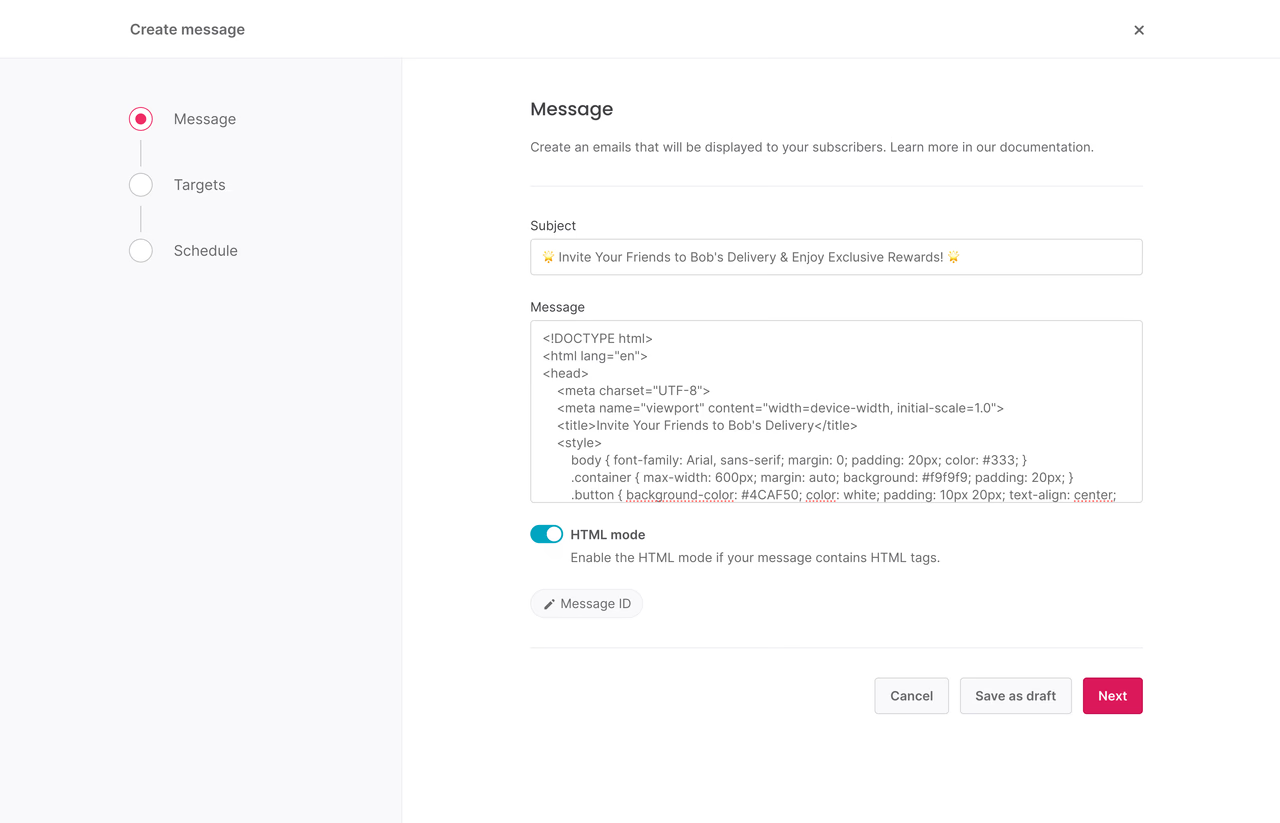
Add your message and in the targets step, select one of your test targets. Set the schedule to Now and click Send.
Verify that you can receive the message in your inbox. If not, check for logs in the Appwrite Console or in your provider's logs.
To send a message programmatically, use an Appwrite Server SDK.
const sdk = require('node-appwrite');
// Init SDKconst client = new sdk.Client();
const messaging = new sdk.Messaging(client);
client    .setEndpoint('https://<REGION>.cloud.appwrite.io/v1') // Your API Endpoint    .setProject('<PROJECT_ID>') // Your project ID    .setKey('<API_KEY>') // Your secret API key;
const message = await messaging.createEmail({  messageId: '<MESSAGE_ID>',  subject: '<SUBJECT>',  content: '<CONTENT>'});
You can follow the Send email messages guide to send your first email message and test your provider.
4. Manage provider
You can update or delete a provider in the Appwrite Console.
Navigate to Messaging > Providers > click your provider. In the settings, you can update a provider's configuration or delete the provider.
To update or delete providers programmatically, use an Appwrite Server SDK.
const sdk = require('node-appwrite');
// Init SDKconst client = new sdk.Client();
const messaging = new sdk.Messaging(client);
client    .setEndpoint('https://<REGION>.cloud.appwrite.io/v1') // Your API Endpoint    .setProject('<PROJECT_ID>') // Your project ID    .setKey('<YOUR_API_KEY>')        // Your secret API key;
const provider = await messaging.updateResendProvider({    providerId: '<PROVIDER_ID>',    name: '<NAME>',    enabled: false,    apiKey: '<API_KEY>',    fromName: '<FROM_NAME>',    fromEmail: 'email@example.com',    replyToName: '<REPLY_TO_NAME>',    replyToEmail: '<REPLY_TO_EMAIL>'});
Was this page helpful?
Share what worked or what we should fix. Once approved, our agents automatically apply suggested updates to the docs.