Create your first Appwrite Storage bucket and upload a file_
Create an Appwrite Storage bucket, choose who can upload and see files, then upload a file from your app and show it to your users.

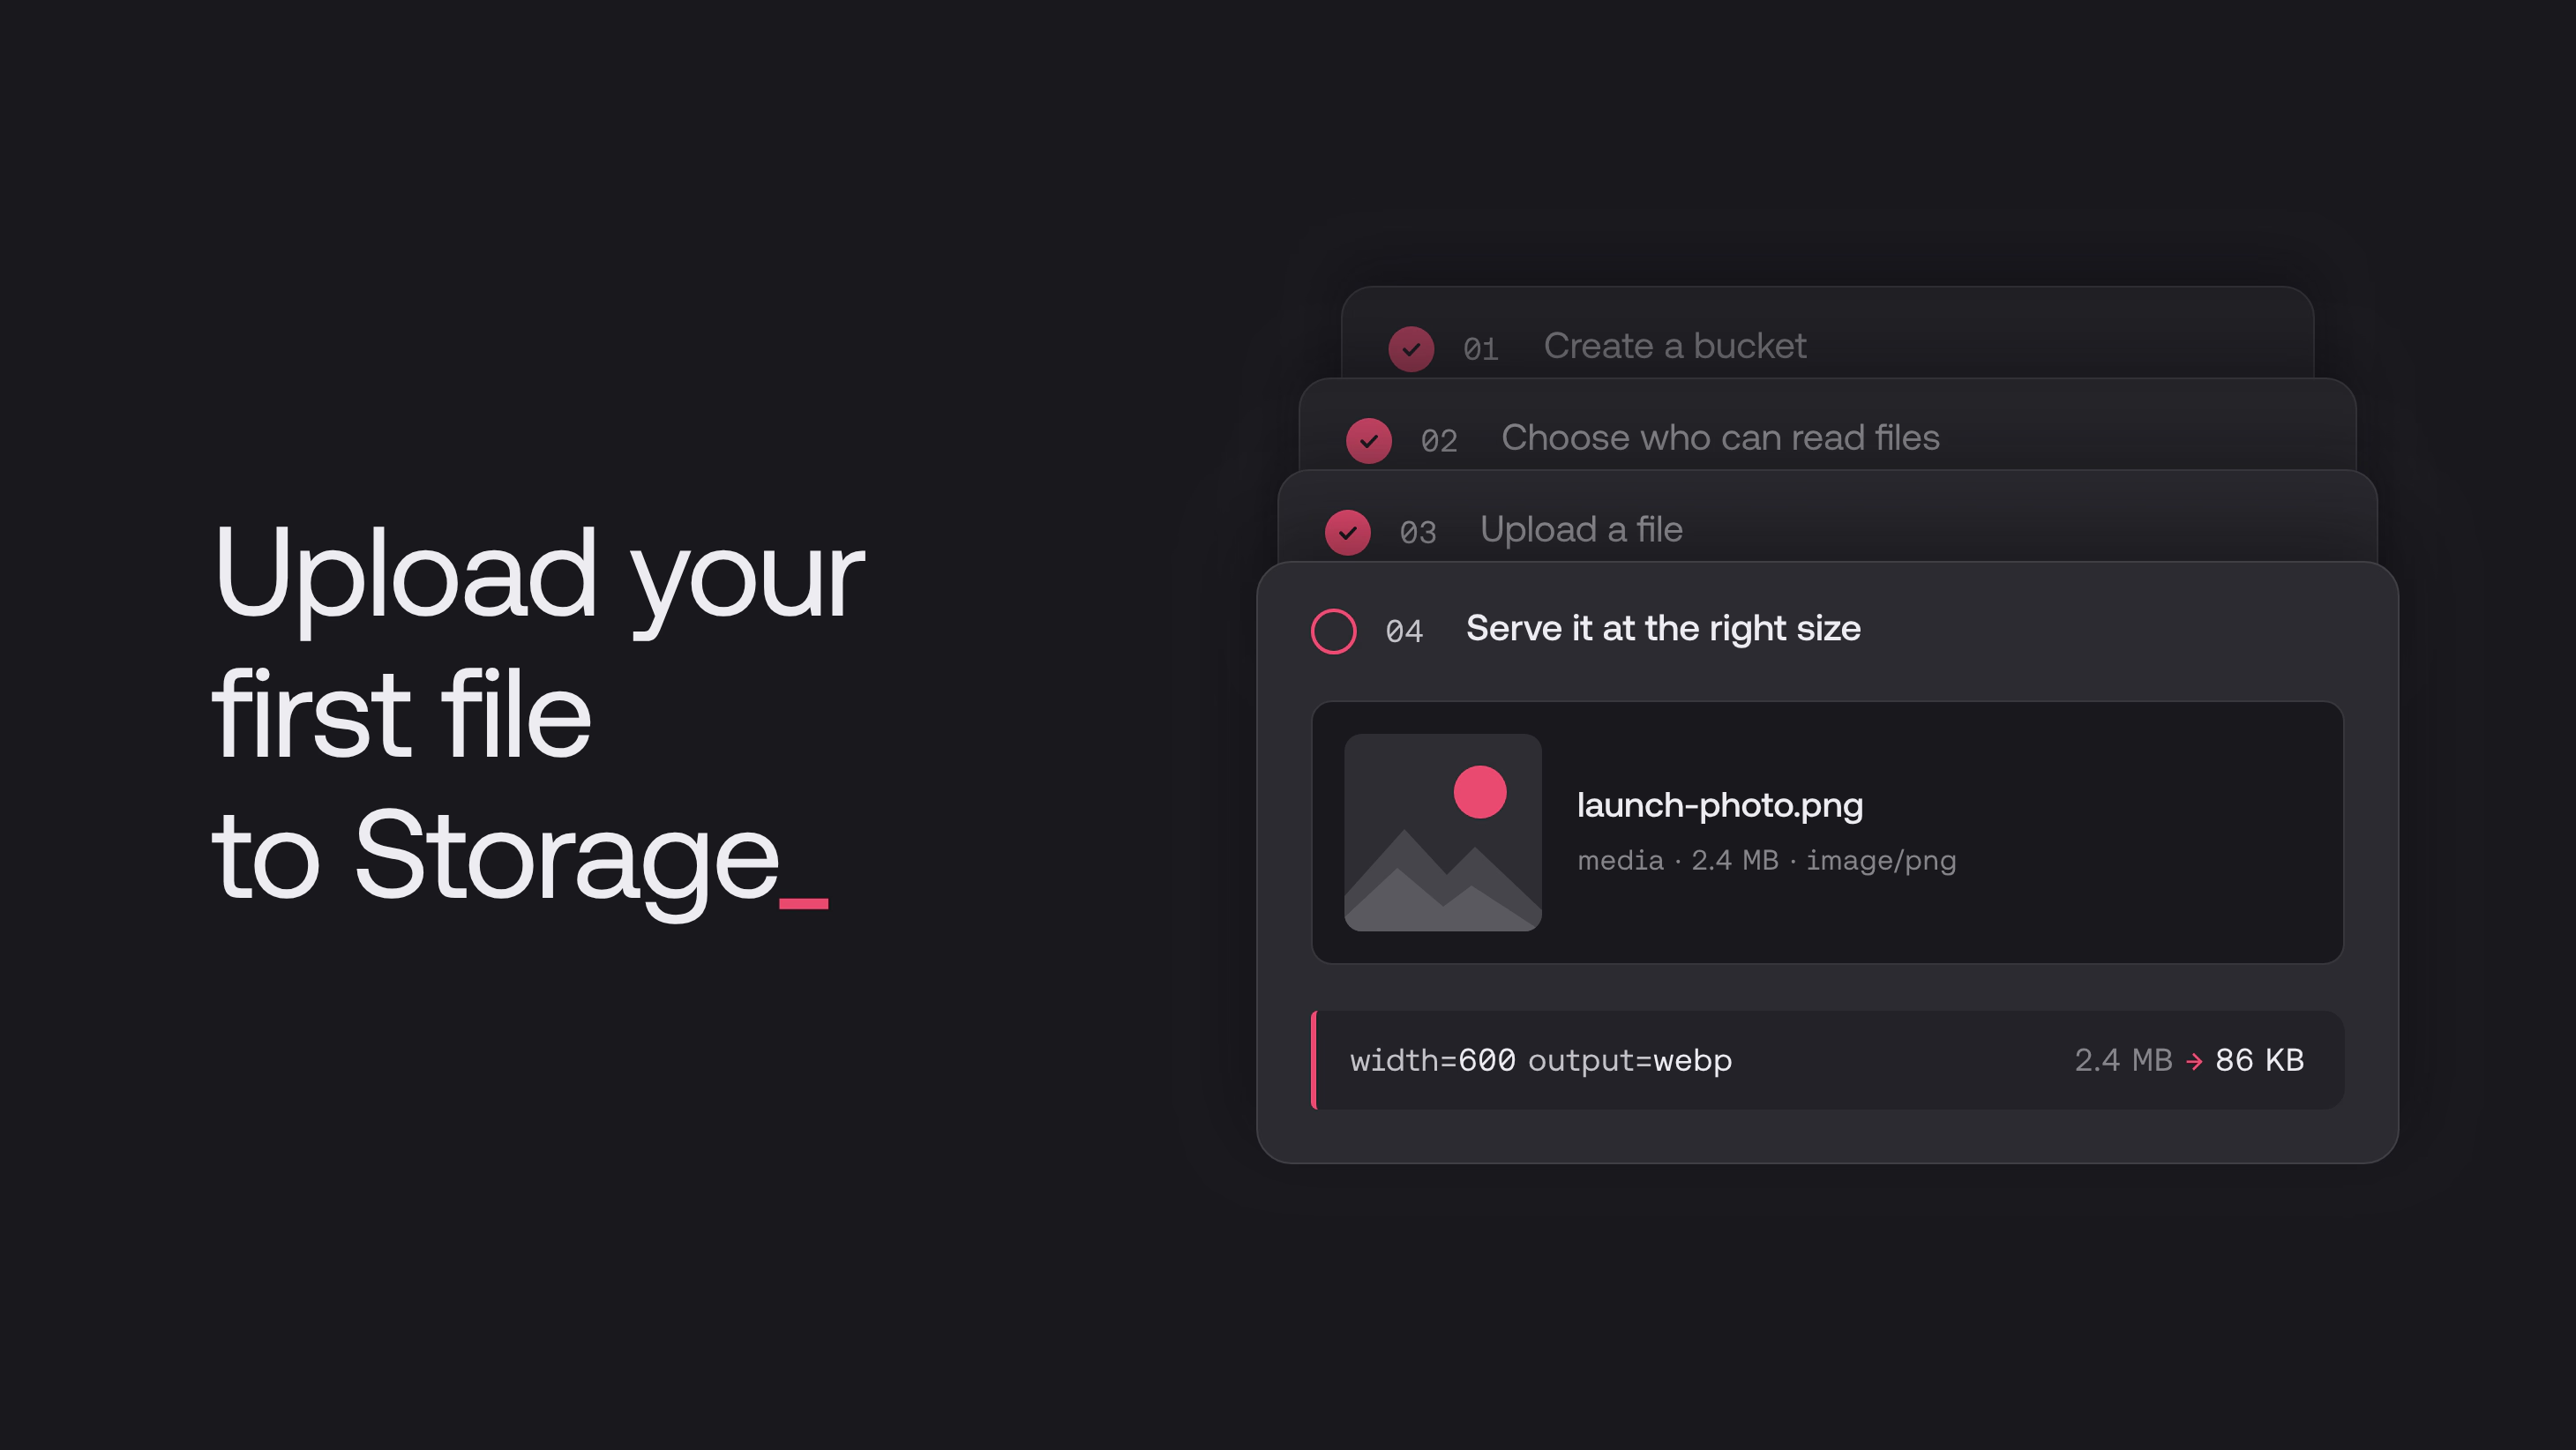
Appwrite Storage holds the files your users upload, like profile photos, receipts, and documents, and serves them back to your app. Files live in buckets, and each bucket decides who can upload to it and who can see what's inside.
In this guide, you'll create a bucket, let signed-in users upload to it, and show an uploaded image in your app. Each file is visible only to the user who uploaded it.
You need an Appwrite project and a web app where your users can sign in. If you don't have them yet, the Web quick start sets up both.
Step 1: Create a bucket
- Open your project in the Console, go to Storage, and click Create bucket.
- Enter a Name, such as
Uploads. - Under Bucket ID, click Auto-generated and type
uploads. Your app uses this ID to reach the bucket. - Click Create.
The bucket opens on its Files tab. On its Settings tab, you can set the Maximum file size and the File extensions it accepts, such as jpg, png, and pdf.
Step 2: Choose who can upload and see files
A new bucket starts with no permissions, so you decide who gets in. Open the bucket's Security tab:
- Under Permissions, click Add role, choose All users, tick Create, and click Update.
- Turn on File level security and click Update.
All users means anyone signed in to your app, so your users can now upload. File level security gives each file its own permissions.
When a user uploads a file, Appwrite gives that user read, update, and delete access to it. Each user sees only their own files.
Step 3: Upload a file from your app
Add a file input to your page, and send the file your user picks to the bucket with createFile:
import { Client, Storage, ID } from 'appwrite';

const client = new Client()
    .setEndpoint('https://<REGION>.cloud.appwrite.io/v1')
    .setProject('<PROJECT_ID>');

const storage = new Storage(client);

// Your page has <input type="file" id="uploader">
const input = document.getElementById('uploader');

input.addEventListener('change', async () => {
    const uploaded = await storage.createFile({
        bucketId: 'uploads',
        fileId: ID.unique(),
        file: input.files[0]
    });

    console.log(uploaded.$id);
});
Sign in to your app and pick an image. It appears on the bucket's Files tab, and its Permissions tab shows the user who uploaded it.
Save uploaded.$id with the record it belongs to, such as the user's profile, so your app can show the file later. The SDK uploads large files in chunks for you.
Step 4: Show the file in your app
Pass the file ID to getFileView to get the file's URL, and use it as the image source:
const url = storage.getFileView({
    bucketId: 'uploads',
    fileId: '<FILE_ID>'
});

document.getElementById('photo').src = url;
getFileView builds the URL without making a request, so you can use it in an <img>, a <video>, or a link that opens a PDF. For a download button, call getFileDownload the same way. It sends the file with its original name.
Your users now see the images they uploaded, right in your app.
For thumbnails and avatars, you don't need the full-size original. On the Pro and Scale plans, getFilePreview takes the same IDs plus a width and returns a resized image. See Image transformations.
Keep building
Your bucket is ready for your users' uploads. These guides take it further:
- Create your first Appwrite database to store each file ID with the row it belongs to.
- Image transformations to resize and convert images, such as to WebP.
- File tokens to share a file with someone who has no account.
- Storage permissions to see how bucket and file permissions work together.
getFileView shows the file in the browser, which suits img and video tags and PDFs. getFileDownload sends the file as a download with its original name. getFilePreview returns a resized or converted image, and on Appwrite Cloud it needs the Pro or Scale plan. In the Web SDK, all three return a URL string.
Open the file on the bucket's Files tab, go to its Permissions tab, add the Any role with Read, and click Update. Anyone with the file's URL can then see it, signed in or not.
Up to the bucket's Maximum file size, which you set on its Settings tab. Your plan sets the ceiling: 50 MB on Free and 5 GB on Pro. The SDK uploads large files in chunks for you.
Create a file token on the file's Tokens tab in the Console and copy its URL. Anyone with that URL can open that one file, so pick an expiry when you create it. See File tokens.