How to connect your AI coding agent to Appwrite_
Connect Claude Code, Codex, or Cursor to Appwrite with one plugin, then build your first feature by chatting with your agent.

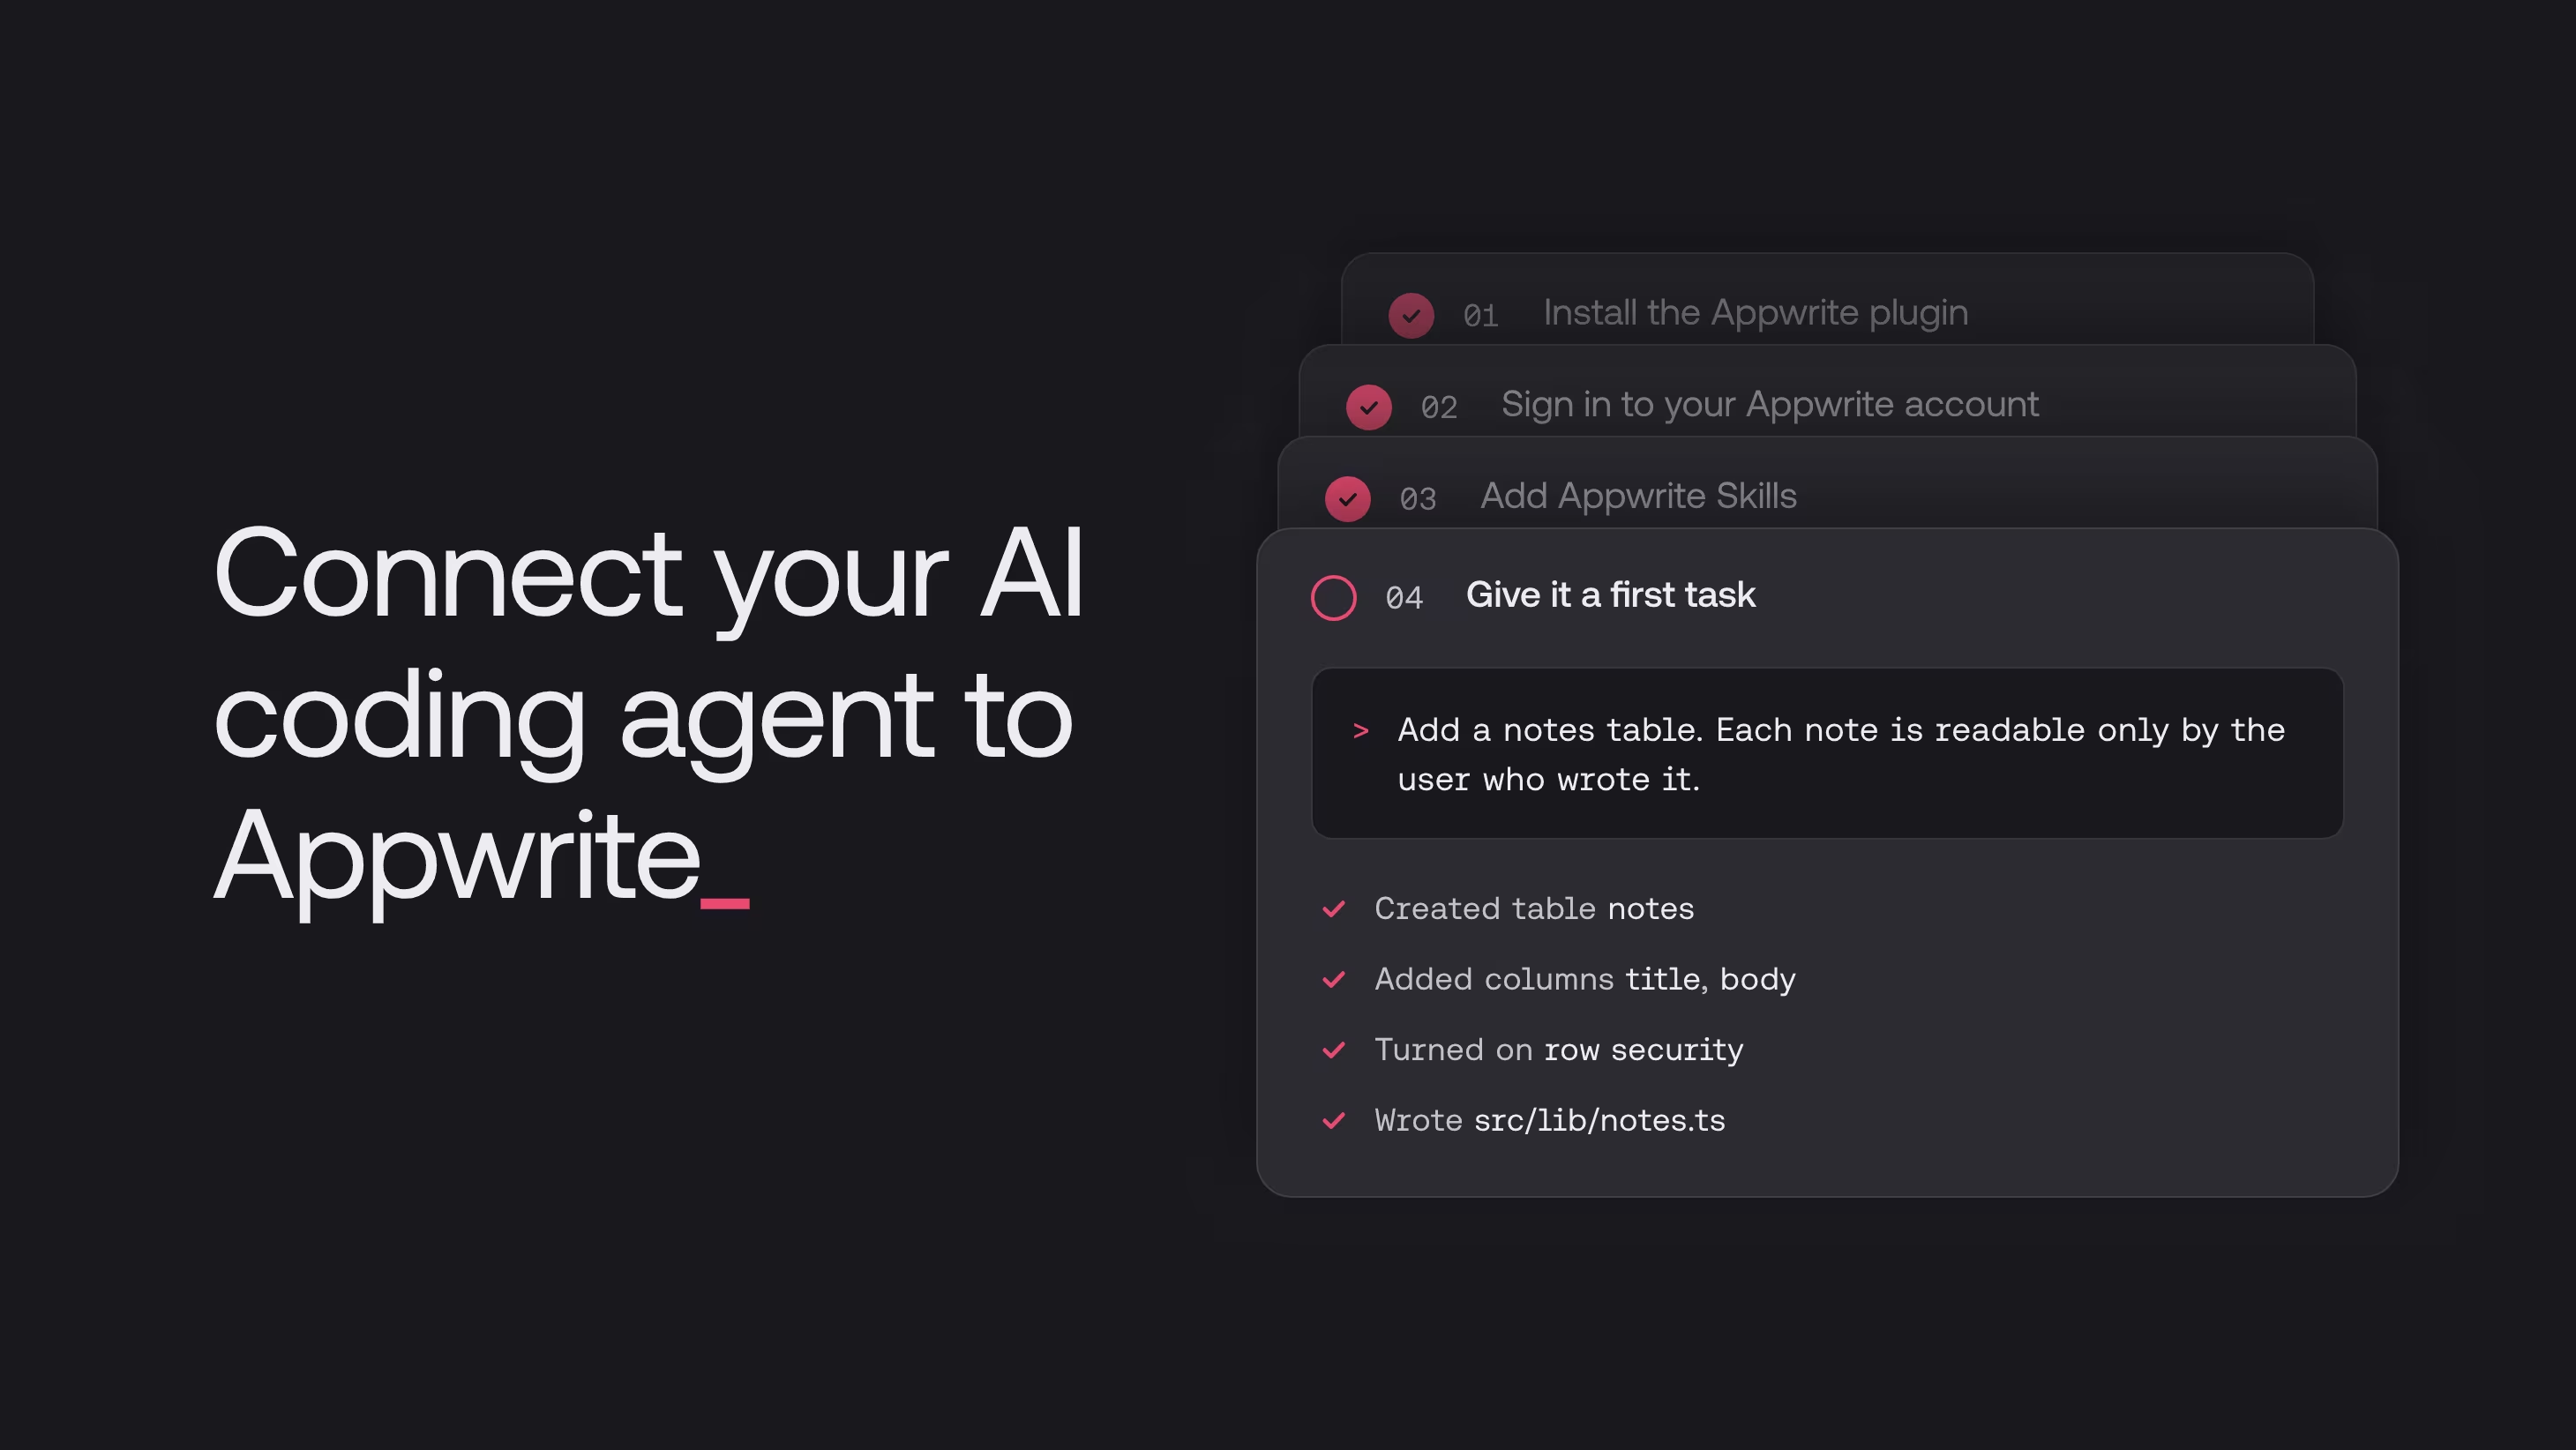
Your AI coding agent can build your Appwrite backend with you. Connect it once, and it creates databases and tables, sets permissions, and writes the Appwrite code in your app, all from the chat.
One install does it. The Appwrite plugin gives your agent the Appwrite MCP server, which lets it work in your project, and Appwrite Skills, which teach it the current Appwrite SDKs.
You need an Appwrite project to connect to. If you don't have one yet, create one in the Console.
Step 1: Install the Appwrite plugin
claude plugin install appwrite@claude-plugins-official
Then run /reload-plugins in Claude Code to load it, run /mcp, select the Appwrite server, and choose Authenticate.
In Codex, run /plugins, open the OpenAI Curated marketplace, search for Appwrite, and install it. In the Codex desktop app, the marketplace is under Plugins in the sidebar.
Install the Appwrite plugin from the Cursor Marketplace.
Add https://mcp.appwrite.io/ as an MCP server. The MCP server docs have the setup for VS Code, Windsurf, Zed, OpenCode, and more.
Then add Appwrite Skills from your app's folder:
npx skills add appwrite/skills
Step 2: Sign in to Appwrite
The first time your agent uses Appwrite, your browser opens the Appwrite sign-in.
- Under Project access, click Change and choose the project you're building.
- Under Organization access, click Change and choose that project's organization.
- Click Authorize.
Your agent is now connected. You can see every tool you've connected in the Console under Account > Applications.
Step 3: Connect your app
Open your app's folder in your AI tool and ask:
Set up Appwrite in this app and connect it to my <PROJECT_NAME> project.
Your agent installs the Appwrite SDK and adds the client setup, with your project's endpoint and ID filled in.
Step 4: Create a table
Describe the data your feature needs:
Create a tasks table in Appwrite with a title, a done flag, and a due date. Signed-in users can add tasks, and each user can only see and change their own.
Your agent creates the database, the table, its columns, and its permissions. Open Databases in the Console to see them.
Step 5: Build the feature
Now ask for the feature itself:
Add a page where signed-in users can add tasks, see their list, and mark tasks as done. Add sign-up and sign-in if the app doesn't have them yet.
Run your app, sign up, and add a task. It appears as a new row in your table in the Console.
Keep building
Your agent now knows your project, so keep asking it for the next feature. When you want to know more about what it's building, these guides walk through each part:
Claude Code, Codex, ChatGPT, and Cursor. Each plugin includes the Appwrite MCP server and Appwrite Skills. Other tools connect with the MCP server URL, https://mcp.appwrite.io/, and npx skills add appwrite/skills.
No. Your browser opens the Appwrite sign-in, and you choose which projects your agent can use.
The MCP server lets your agent work in your Appwrite project, for example to create tables or look up your users. Skills teach it the current Appwrite SDKs, so the code it writes in your app is up to date. The plugins include both.
In the Appwrite Console, open the account menu, go to Account > Applications, and click Revoke next to the tool.