Create your first Appwrite database and add your first row_
Create a TablesDB database in Appwrite, add a table with typed columns, choose who can read and write, then add your first row and use it from your app.

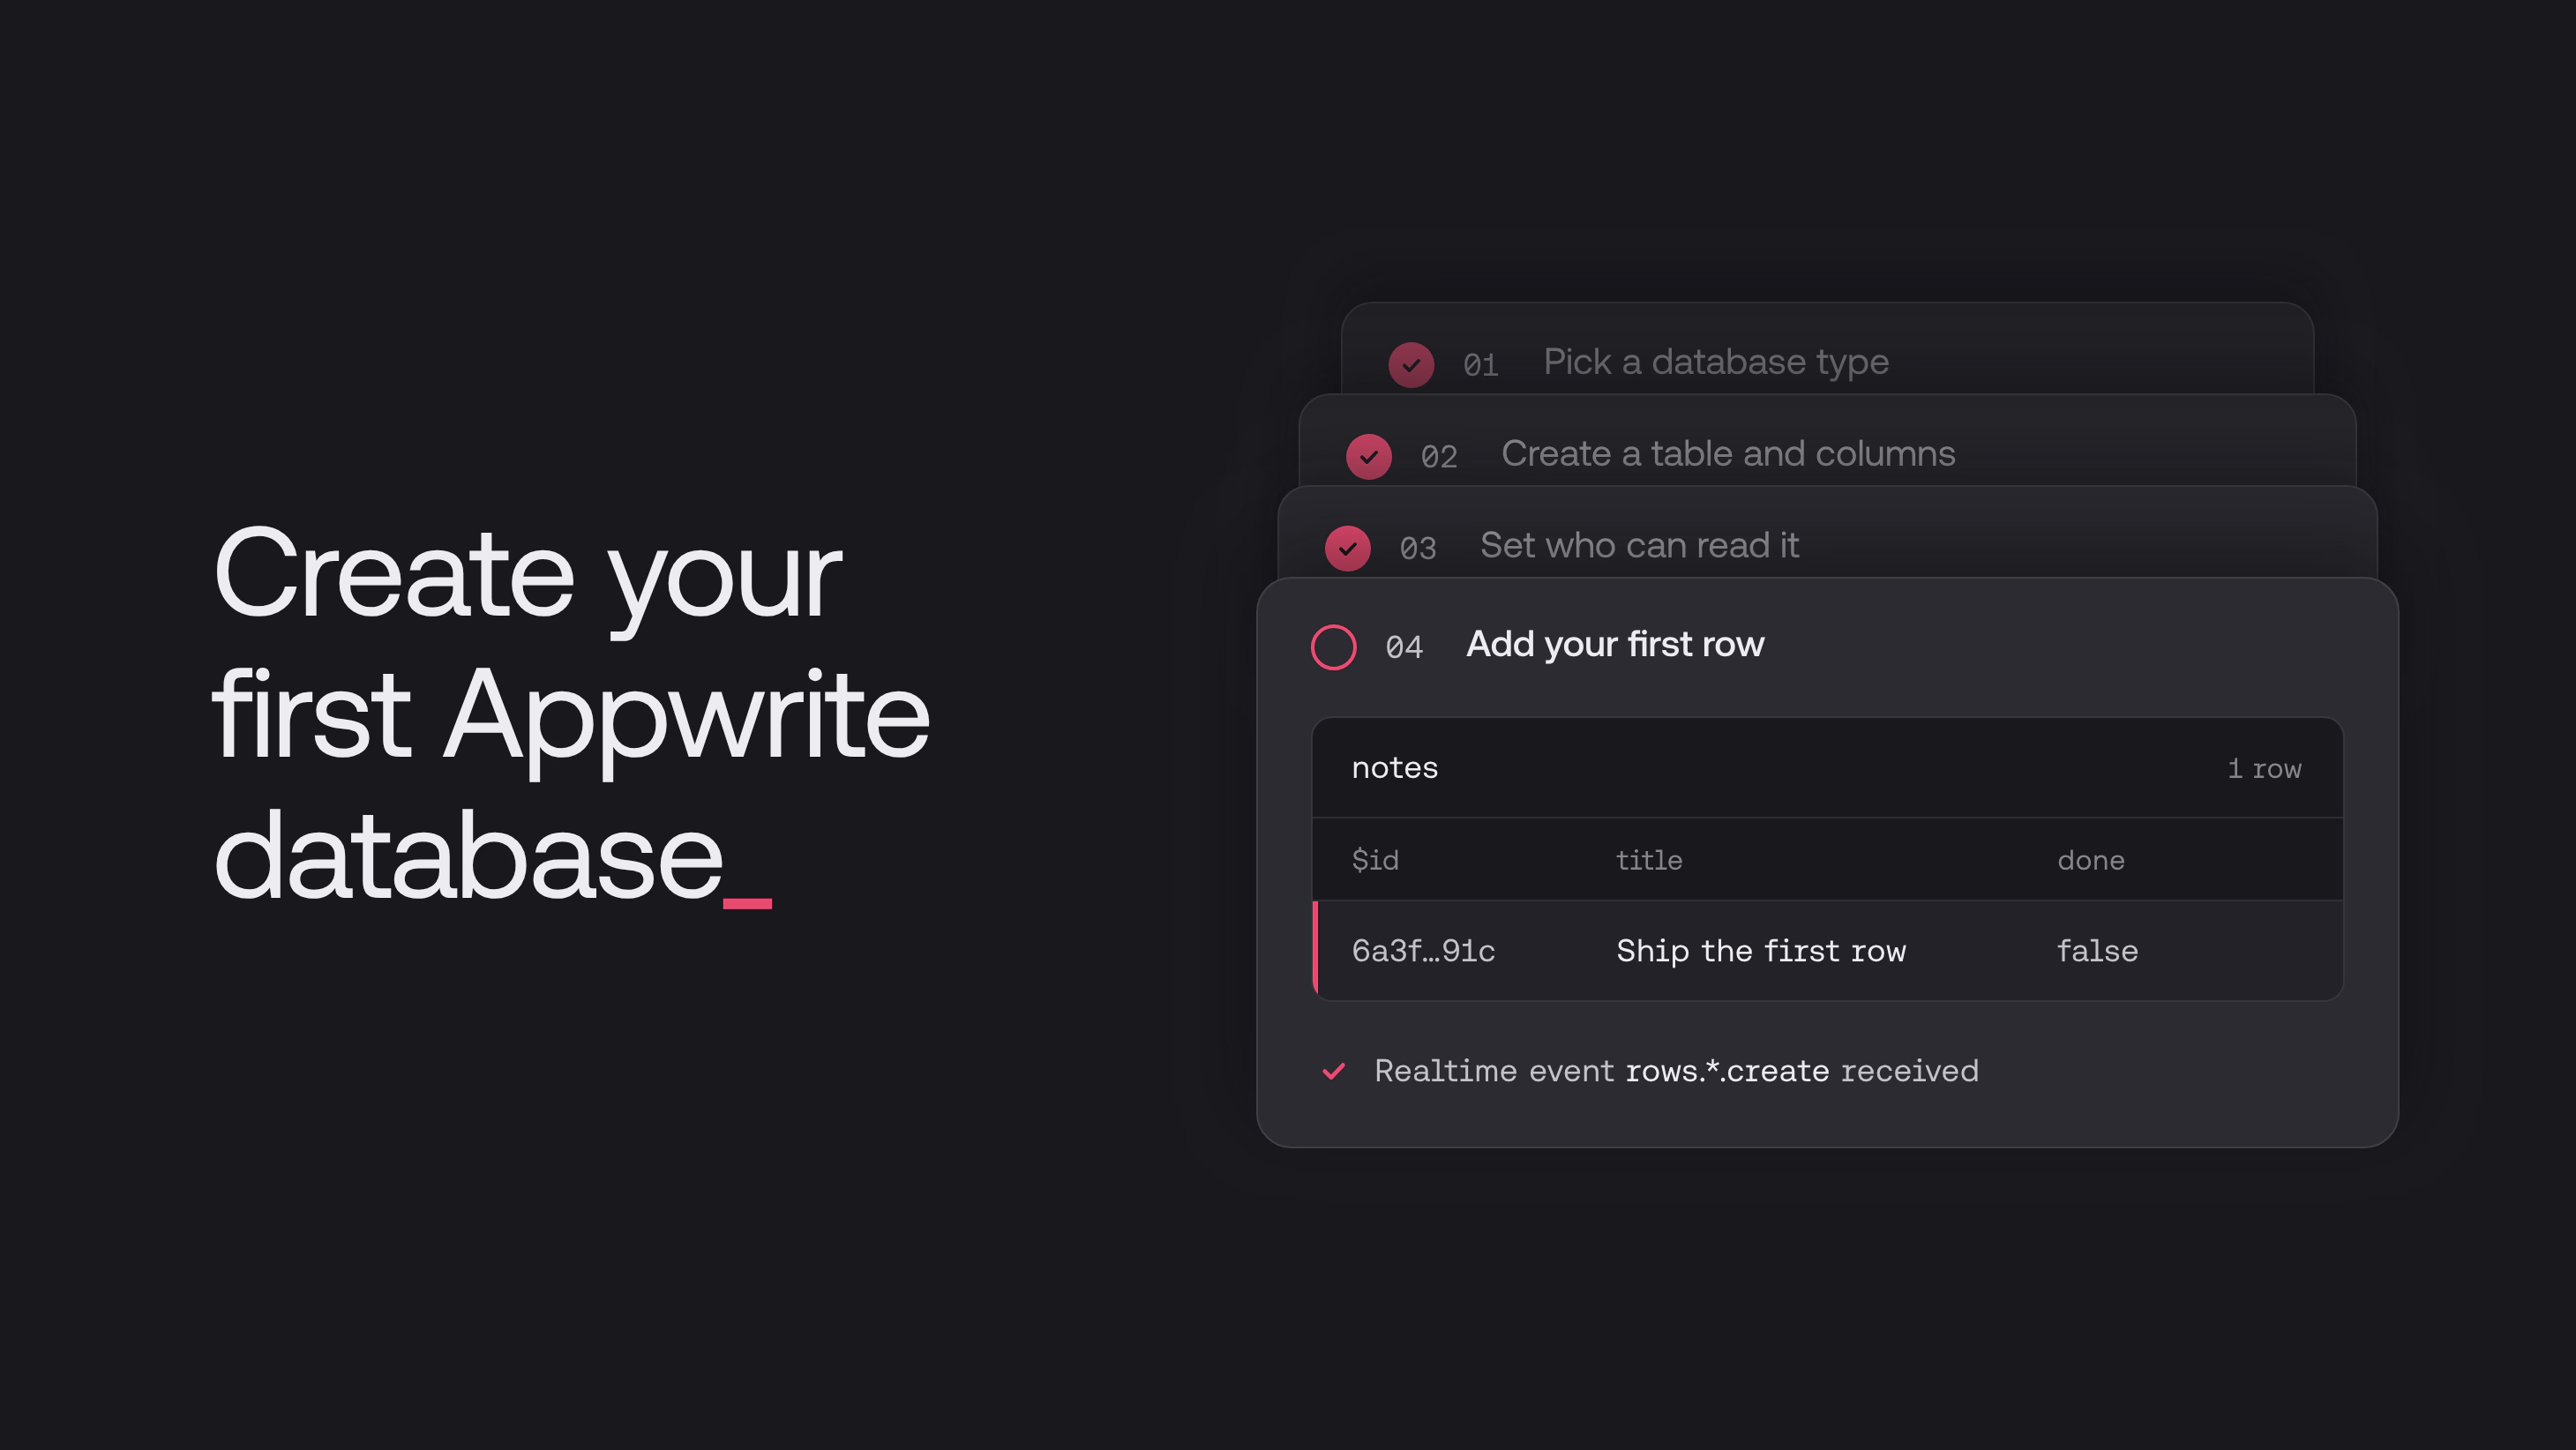
An Appwrite database stores your app's data and serves it straight to your users, with permissions that decide who sees what. You set it up in the Console, and your app reads and writes it through the Appwrite SDK.
In this guide, you create a TablesDB database with a tasks table, set it up so each user keeps their own tasks, and add and list tasks from your app. Everything here works on the Free plan.
You need an Appwrite project. If you don't have one yet, create one in the Console.
Step 1: Create a TablesDB database
Appwrite offers five database types. TablesDB fits most apps, so this guide uses it.
| Type | Use it for |
|---|---|
| TablesDB | App data in tables with typed columns, with permissions down to each row |
| DocumentsDB | Flexible JSON records whose fields vary from one to the next |
| VectorsDB | Embeddings for semantic search and AI features |
| PostgreSQL | A dedicated PostgreSQL engine for SQL tools, ORMs, and extensions like pgvector |
| MySQL | A dedicated MySQL engine for existing MySQL apps |
TablesDB runs on Serverless compute on every plan, with no compute fee. The other four run on dedicated compute on the Pro and Enterprise plans, from $10 a month per database, and Pro includes $10 a month in database compute credits.
- Open your project in the Console, go to Databases, and click Create database.
- Choose TablesDB and enter a Name, such as
Main. - Under Database ID, click Auto-generated and enter
main. Your code uses this ID. - Keep the Serverless specification and click Create database.
Step 2: Create a table
A table holds rows of one shape, and its columns define that shape. This guide uses a tasks table with three columns:
| Key | Type | Settings |
|---|---|---|
title | Varchar | Size 255, required |
done | Boolean | Default false |
notes | Text | Optional |
- Open your database and click Create table. Enter the Name
Tasks, click Auto-generated under Table ID and entertasks, then click Create. - In the Columns tab, click Create column. Enter the Key, pick the Type, fill in the settings from the table above, and click Create Column. Repeat for each column.
- In the Indexes tab, click Create index. Enter the Index Key
done_index, select thedonecolumn, and click Create Index. Your app filters ondone, and the index keeps that fast.
Step 3: Choose who can read and write
Permissions decide what your users can do with a table. In a task list, each user adds their own tasks and sees only those.
- Open the table's Security tab.
- Under Permissions, click Add role, choose All users, tick Create, and click Update.
- Turn on Row level security (RLS) and click Update in that section.
Now any signed-in user can add tasks. Each task belongs to the user who created it, and only that user can read, update, or delete it.
Step 4: Add a test row
In the table's Rows tab, click Create row. Enter a title, leave done as it is, and click Create row.
The row appears in the Rows tab with its own $id, and done is false from the column default. Rows you add in the Console are handy for testing, and in the next step your app adds rows that belong to each signed-in user.
Step 5: Read and write rows from your app
Your app works with the table as a signed-in user. If it doesn't have sign-in yet, add it with Appwrite Auth.
Add your app under Apps in your project, with the hostname it runs on, such as localhost. Then install the SDK with npm install appwrite, and copy the API Endpoint and Project ID from your project's Settings.
This adds a task for the signed-in user, then lists their open tasks, newest first:
import { Client, TablesDB, ID, Query } from 'appwrite';

const client = new Client()
  .setEndpoint('https://<REGION>.cloud.appwrite.io/v1') // API Endpoint
  .setProject('<PROJECT_ID>'); // Project ID

const tablesDB = new TablesDB(client);

await tablesDB.createRow({
  databaseId: 'main',
  tableId: 'tasks',
  rowId: ID.unique(),
  data: { title: 'Ship my first feature' }
});

const { rows } = await tablesDB.listRows({
  databaseId: 'main',
  tableId: 'tasks',
  queries: [
    Query.equal('done', [false]),
    Query.orderDesc('$createdAt')
  ]
});
rows holds the task you just added. Each user gets back only their own tasks.
Keep building
Your app now has a table it can write and query, with permissions set for your users. Next, put your own code next to that data: deploy your first Appwrite function and site.
Start with TablesDB. It runs on every plan, including Free, with no compute fee, and your app reads it directly with Appwrite permissions. Pick DocumentsDB for records whose fields vary, VectorsDB for embeddings, and PostgreSQL or MySQL when you want a dedicated SQL engine.
They run on dedicated compute, which comes with the Pro and Enterprise plans, from $10 a month per database. The Pro plan includes $10 a month in database compute credits, which covers one database on the smallest tier. See pricing for the tiers.
Open the table's Security tab, click Add role, choose Any, tick Read, and click Update. Every visitor can then read every row, signed in or not.
Yes. Connect your AI coding agent to Appwrite, then describe the table, its columns, and who can read and write it. Your agent creates the database, the table, and its permissions.