If you wish to use a third-party SMTP provider that Appwrite doesn't yet support or host your own SMTP server, you can setup a custom SMTP provider for your project.
To add a custom SMTP server as a provider, navigate to Messaging > Providers > Add provider > Email.
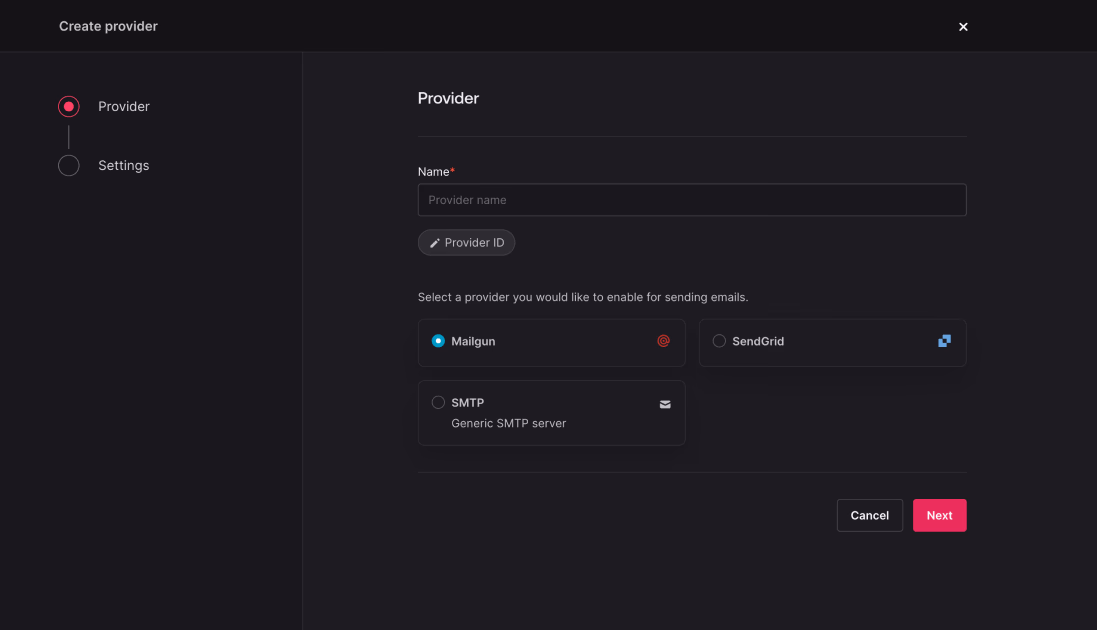
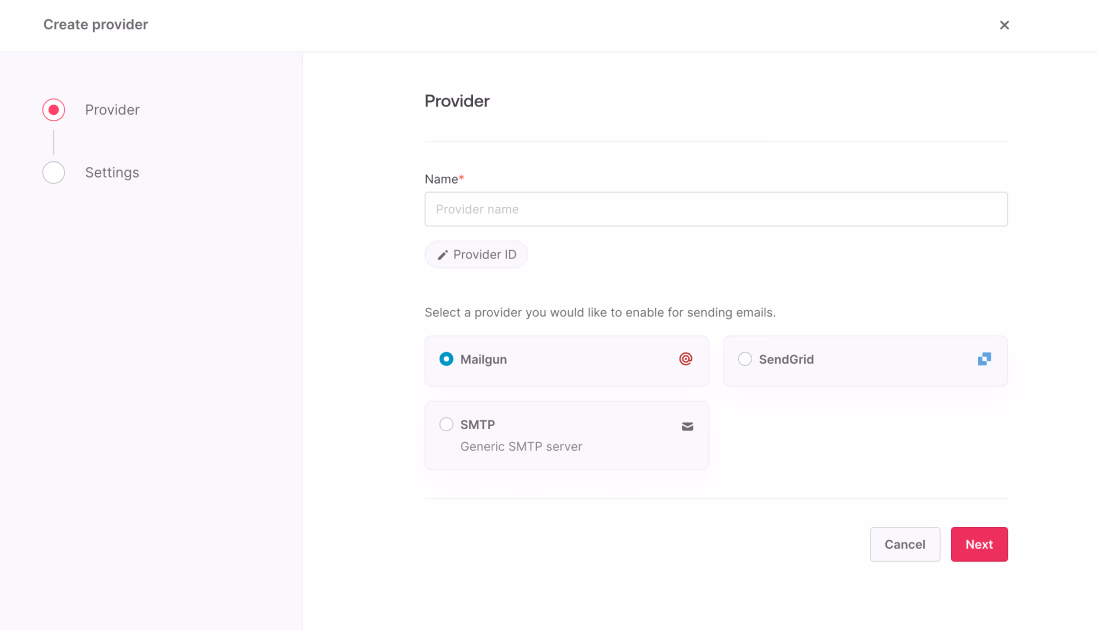
Give your provider a name > choose SMTP > click Save and continue. The provider will be saved to your project, but not enabled until you complete its configuration.
In the Configure step, you will need to provide details from your SMTP dashboard to connect your Appwrite project.
You will need to provide the following information from your SMTP dashboard.
| Field name | Description |
Host | The server address of the SMTP provider. |
Port | The port used for SMTP connections. |
Username | Your SMTP provider account username. |
Password | Your SMTP provider account password. |
Encryption | The type of encryption used. One of SSL or TLS. |
Auto TLS | Automatically uses TLS encryption if available. |
Mailer | The SMTP server or provider. |
Sender email | The provider sends emails from this sender email. The sender email needs to be an email under the configured domain. |
Sender name | The sender name that appears in the emails sent from this provider. |
Reply-to email | The reply-to email that appears in the emails sent from this provider. The reply-to email needs to be an email under the configured domain. |
Reply-to name | The reply-to name that appears in the emails sent from this provider. |
After adding the following details, click Save and continue to enable the provider.
Before sending your first message, make sure you've configured a topic and a target to send messages to.
To send a test message, navigate to Messaging > Messages > Create message > Email.
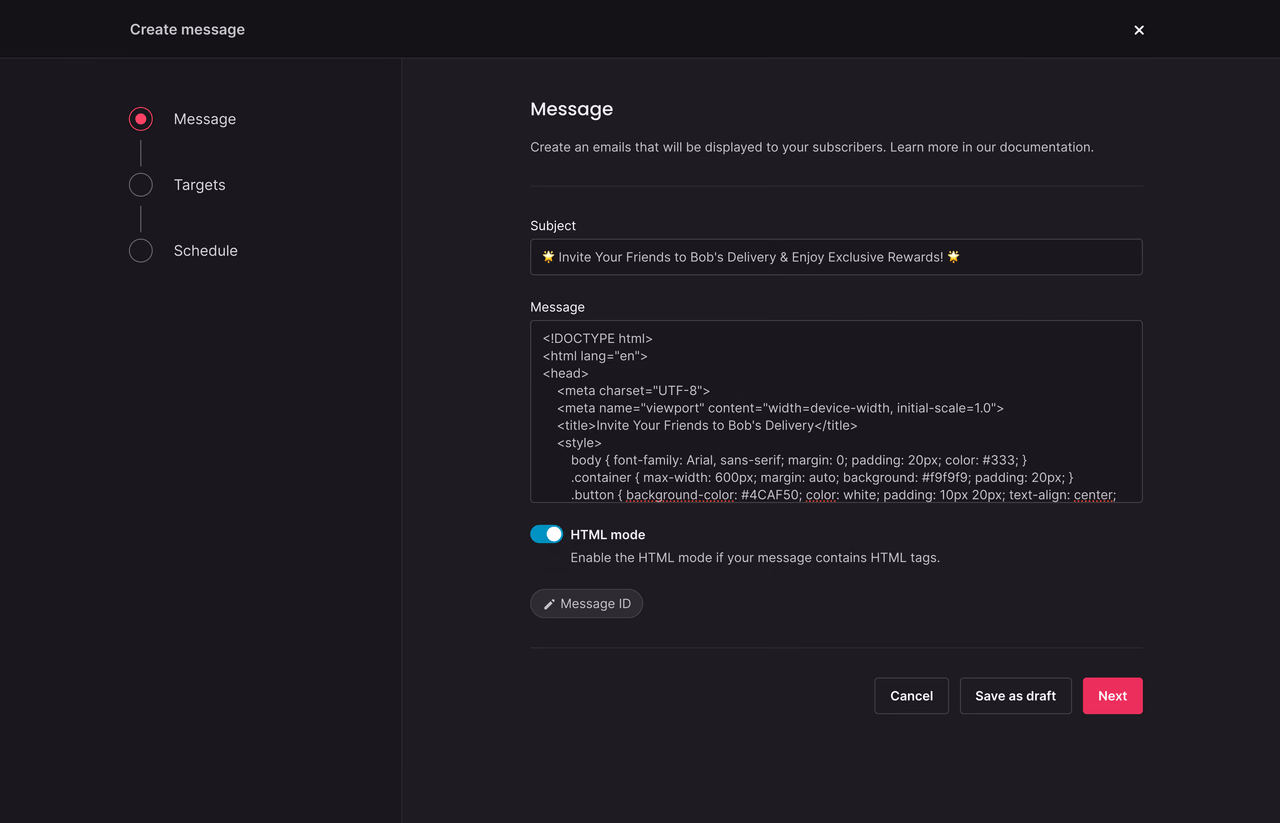
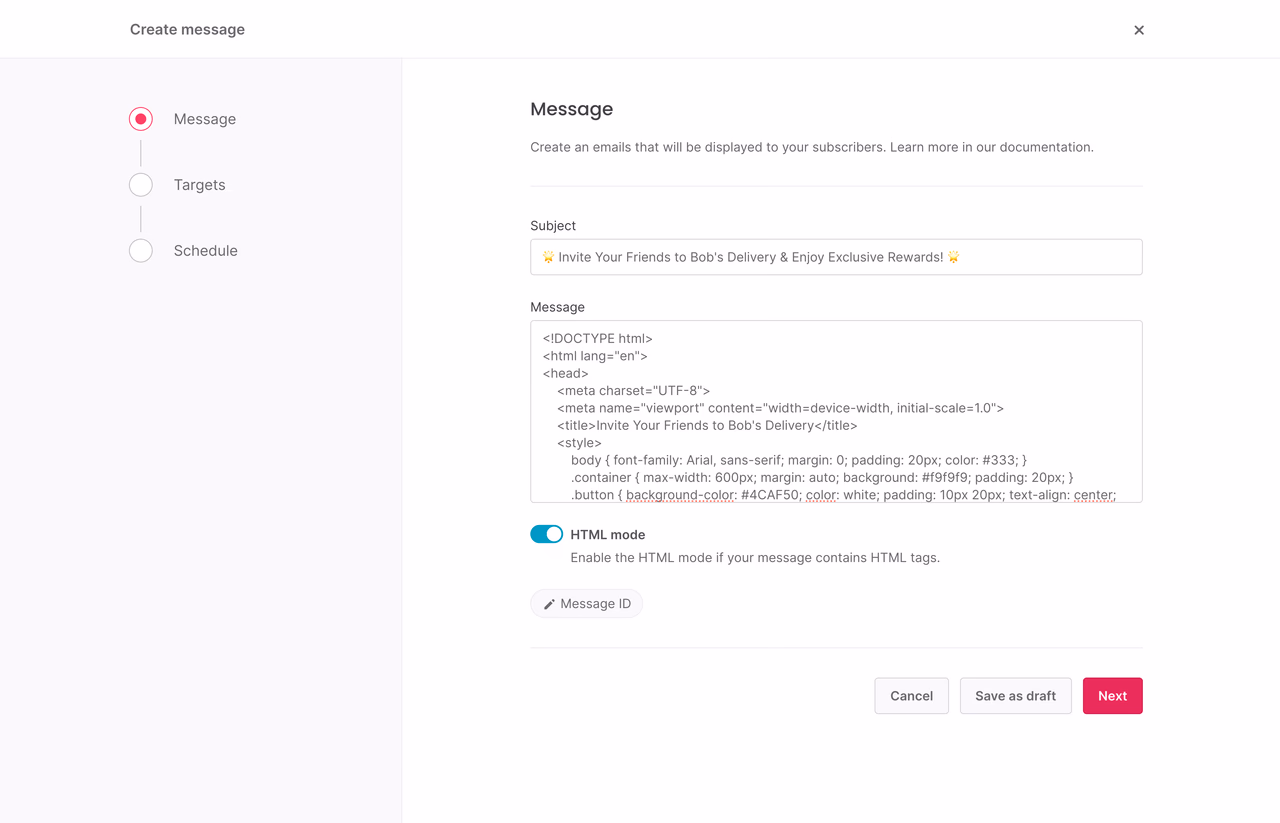
Add your message and in the targets step, select one of your test targets. Set the schedule to Now and click Send.
Verify that you can receive the message in your inbox. If not, check for logs in the Appwrite Console or in your provider's logs.
To send a message programmatically, use an Appwrite Server SDK.
const sdk = require('node-appwrite');

// Init SDK
const client = new sdk.Client();

const messaging = new sdk.Messaging(client);

client
    .setEndpoint('https://<REGION>.cloud.appwrite.io/v1') // Your API Endpoint
    .setProject('<PROJECT_ID>') // Your project ID
    .setKey('<API_KEY>') // Your secret API key
;

const message = await messaging.createEmail({
  messageId: '<MESSAGE_ID>',
  subject: '<SUBJECT>',
  content: '<CONTENT>'
});
You can follow the Send email messages guide to send your first push notification and test your provider.
You can update or delete a provider in the Appwrite Console.
Navigate to Messaging > Providers > click your provider. In the settings, you can update a provider's configuration or delete the provider.
To update or delete providers programmatically, use an Appwrite Server SDK.
const sdk = require('node-appwrite');

// Init SDK
const client = new sdk.Client();

const messaging = new sdk.Messaging(client);

client
    .setEndpoint('https://<REGION>.cloud.appwrite.io/v1') // Your API Endpoint
    .setProject('<PROJECT_ID>') // Your project ID
    .setKey('<API_KEY>') // Your secret API key
;

// update provider
messaging.updateSendgridProvider(
    '<PROVIDER_ID>',
    '<PROVIDER_NAME>',
    '<API_KEY>',
    '<DOMAIN>',
    '<IS_EU_REGION?>',
    '<SENDER_NAME>',
    '<SENDER_EMAIL>',
    '<REPLY_TO_NAME>',
    '<REPLY_TO_EMAIL>',
    '<ENABLED?>',
).then(function (response) {
    console.log(response);
}, function (error) {
    console.log(error);
});

// delete provider
messaging.deleteProvider('<PROVIDER_ID>')
.then(function (response) {
    console.log(response);
}, function (error) {
    console.log(error);
});