Firebase Cloud Messaging (FCM) lets you send push notifications to your iOS, Android, and web apps through Appwrite Messaging. Before you can deliver messages, you must connect to a messaging provider.
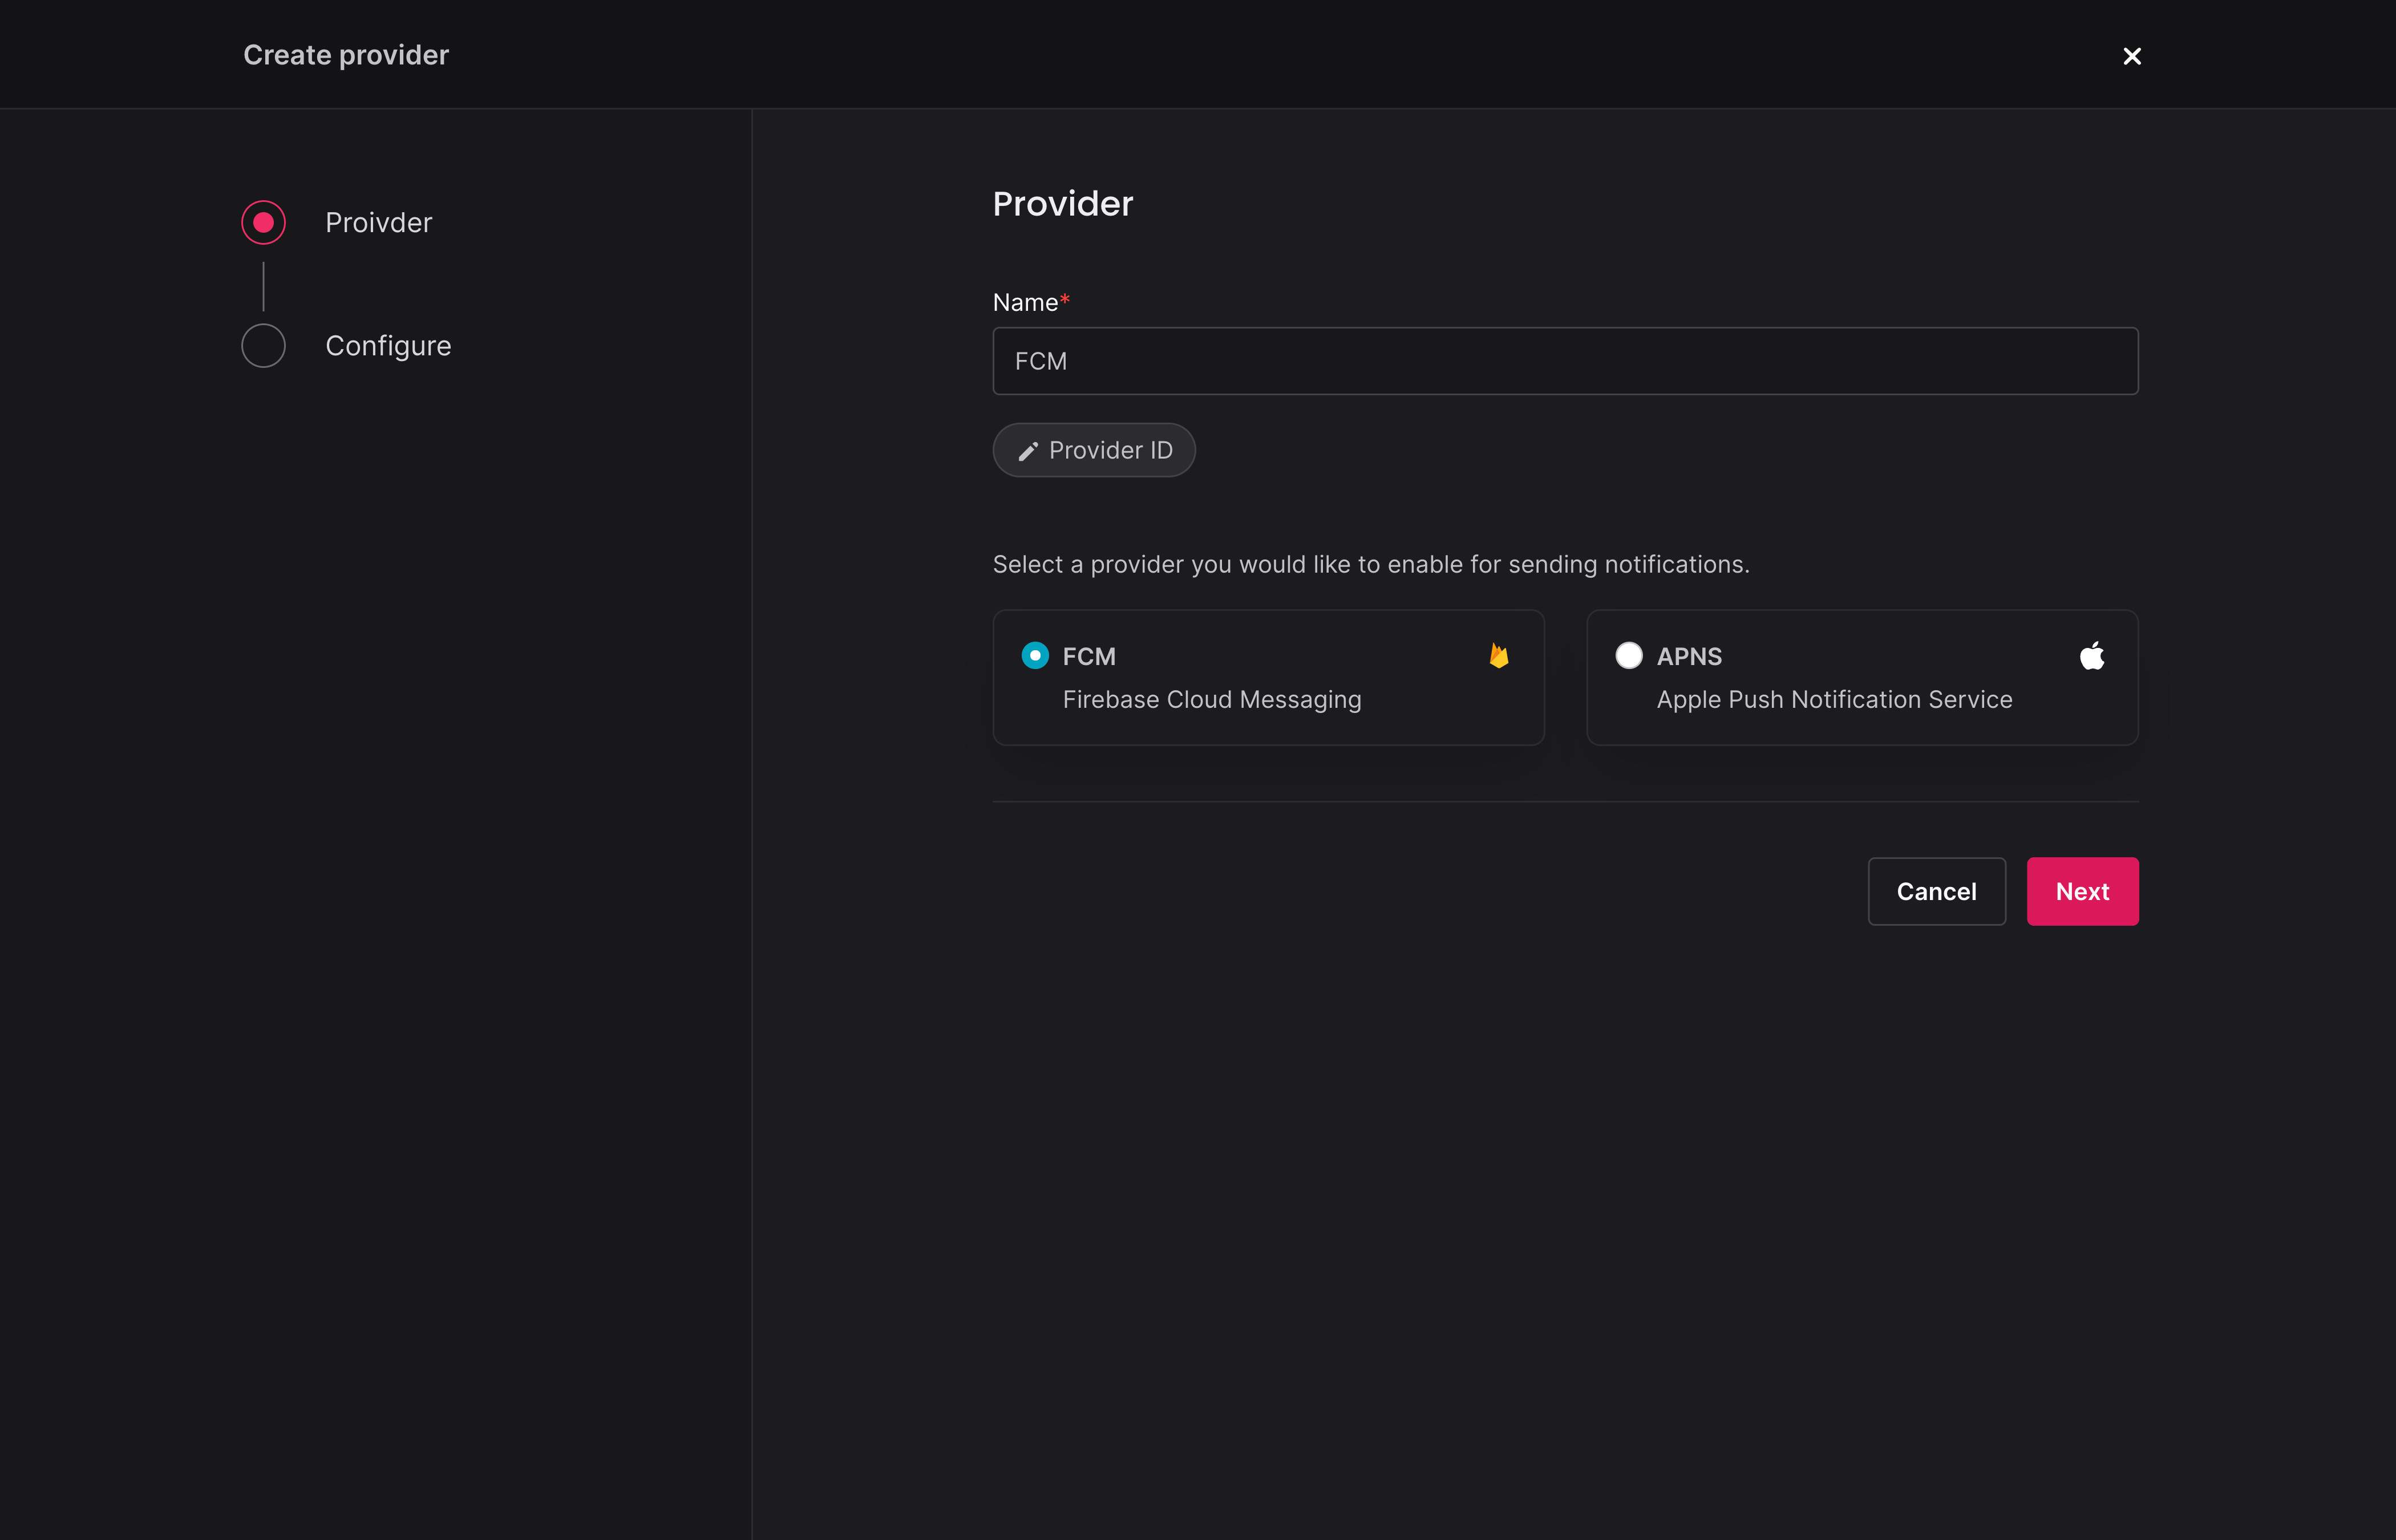
To add FCM as a provider, navigate to Messaging > Providers > Add provider > Push notification.


Give your provider a name > choose FCM > click Save and continue. The provider will be saved to your project, but not enabled until you complete its configuration.
In the Configure step, you will need to provide details from your Firebase console to connect your Appwrite project.
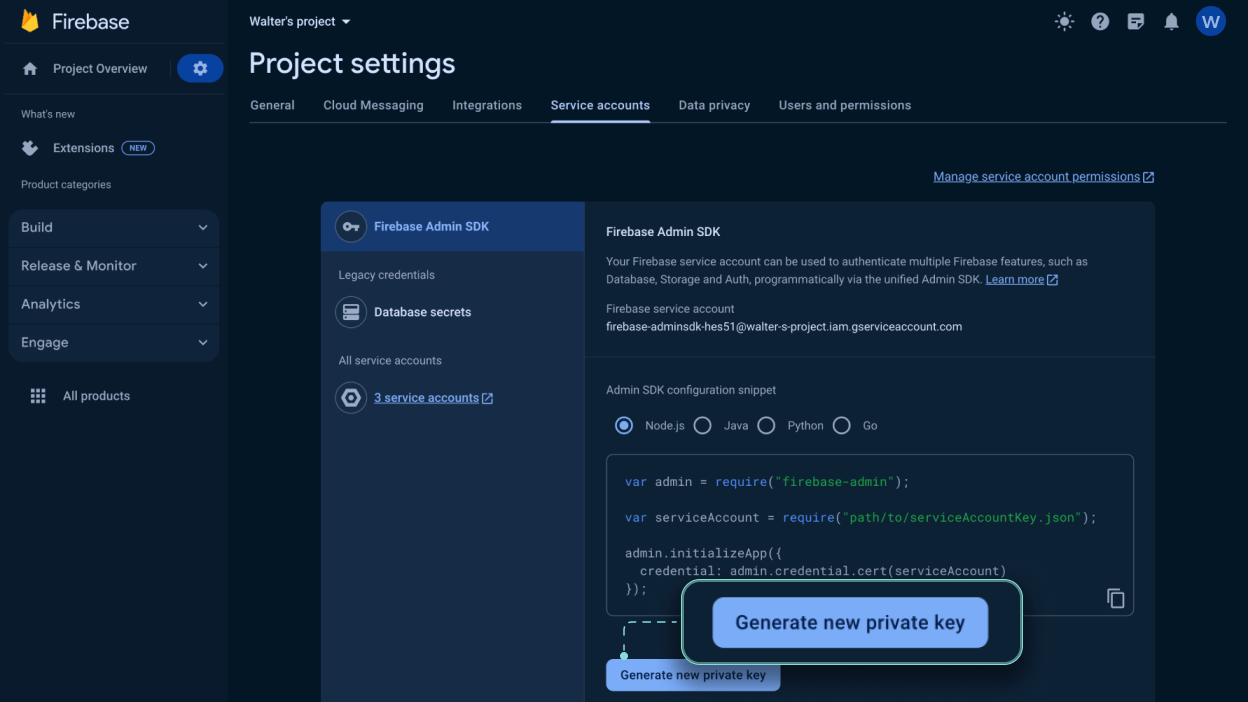
You will need to provide the following information from the Firebase console.
Enable FCM
FCM must be enabled on your Firebase project.
Head to Firebase console -> Settings -> Project settings -> Cloud Messaging. If FCM is disabled, click the three-dots menu and open the link. On the following page, click Enable (it might take a few minutes for the action to complete).
Head to Project settings > Service accounts > Generate new private key.


After all the relevant details are provided, you can enable the provider.
Some additional configuration is required to enable push notifications in your mobile app.
- Install the
com.google.firebase:firebase-messagingFirebase SDK. - In your Firebase console, navigate to Settings > General > Your apps > add an Android app.
- Register and download your
google-services.jsonconfig file. - Add
google-services.jsonat the root of your project. - Add Google Services class path to your app-level Gradle dependencies block
"com.google.gms:google-services:4.4.0". - Add Google Services plugin to your app-level Gradle in the plugins block as
"com.google.gms.google-services". - Add notification handler service to
AndroidManifest.xmlinside the application tag, alongside other activities. Find an example of this service in the Send push notification journey.
<service android:name="<YOUR_NOTIFICATION_HANDLER_SERVICE>" android:exported="false">
    <intent-filter>
        <action android:name="com.google.firebase.MESSAGING_EVENT" />
    </intent-filter>
</service>
- In your Firebase console, navigate to Settings > General > Your apps > add an iOS app.
- Register and download your
GoogleService-Info.plistand add it to the root of your project. - Head to Apple Developer Member Center > Program resources > Certificates, Identifiers & Profiles > Keys. The key needs Apple Push Notification Service enabled.
- Create a new key, note down the key ID and download your key.
- In Firebase console, go to Settings* > Cloud Messaging > APNs authentication key > click Upload. Upload your key here.
- Add push notification capability to your app by clicking your root-level app in XCode > Signing & Capabilities > Capabilities > Search for Push Notifications.
- If using SwiftUI, disable swizzling by setting
FirebaseAppDelegateProxyEnabledtoNOin yourInfo.plist.
- Install the Firebase CLI and FlutterFire CLI.
- From your Flutter project directory, configure Firebase by running
flutterfire configure. - Add the Firebase messaging plugin to your Flutter project with
flutter pub add firebase_messaging. - Add the Firebase core plugin if not already added with
flutter pub add firebase_core. - Initialize Firebase in your
lib/main.dartfile:
import 'package:flutter/widgets.dart';
import 'package:firebase_core/firebase_core.dart';
import 'firebase_options.dart';

void main() async {
  WidgetsFlutterBinding.ensureInitialized();
  await Firebase.initializeApp(
    options: DefaultFirebaseOptions.currentPlatform,
  );
  runApp(MyApp());
}
- For iOS:
- Enable push notifications and background modes in XCode by opening
ios/Runner.xcworkspaceand adding the Push Notifications capability and Background Modes (Background fetch and Remote notifications) - Upload your APNs authentication key to Firebase console under Cloud Messaging settings
- Request notification permission at runtime using
FirebaseMessaging.instance.requestPermission()
- Enable push notifications and background modes in XCode by opening
- For Android: FCM requires devices running Android 5.0 or higher with Google Play services installed.
- For Web: Add a
firebase-messaging-sw.jsfile in yourweb/directory that imports the Firebase messaging SDK and handles background messages.
Push notification requires special handling on the client side. Follow the Send push notification flow to test your provider.
You can update or delete a provider in the Appwrite Console.
Navigate to Messaging > Providers > click your provider. In the settings, you can update a provider's configuration or delete the provider.
To update or delete providers programmatically, use an Appwrite Server SDK.