Native sign-in_
Sign users in with Sign in with Apple or Google on device, then exchange the ID token for an Appwrite session without a redirect through Appwrite.
10 min read
Native sign-in creates an Appwrite session from an ID token that Apple or Google issues to your app on the device. An ID token is a signed record of who the user is, defined by the OpenID Connect standard. The app calls the platform's own sign-in API, such as Sign in with Apple on iOS or Credential Manager on Android, and sends the returned ID token to Appwrite. Appwrite verifies the token against the provider's published signing keys and returns a session in the same request.
Compared with OAuth2 login, no redirect passes through Appwrite, and the provider configuration holds no client secret. With Sign in with Apple on iOS and Google on Android, the user picks an account in a system dialog without leaving your app.
Native sign-in is available for Apple and Google.
Native sign-in creates an identity for the user, in the same way OAuth2 login does. The identity also stores the ID token from the most recent sign-in in its providerIdToken field, so your app can read details that Appwrite does not store on the user, such as Google's locale.
Enable native sign-in
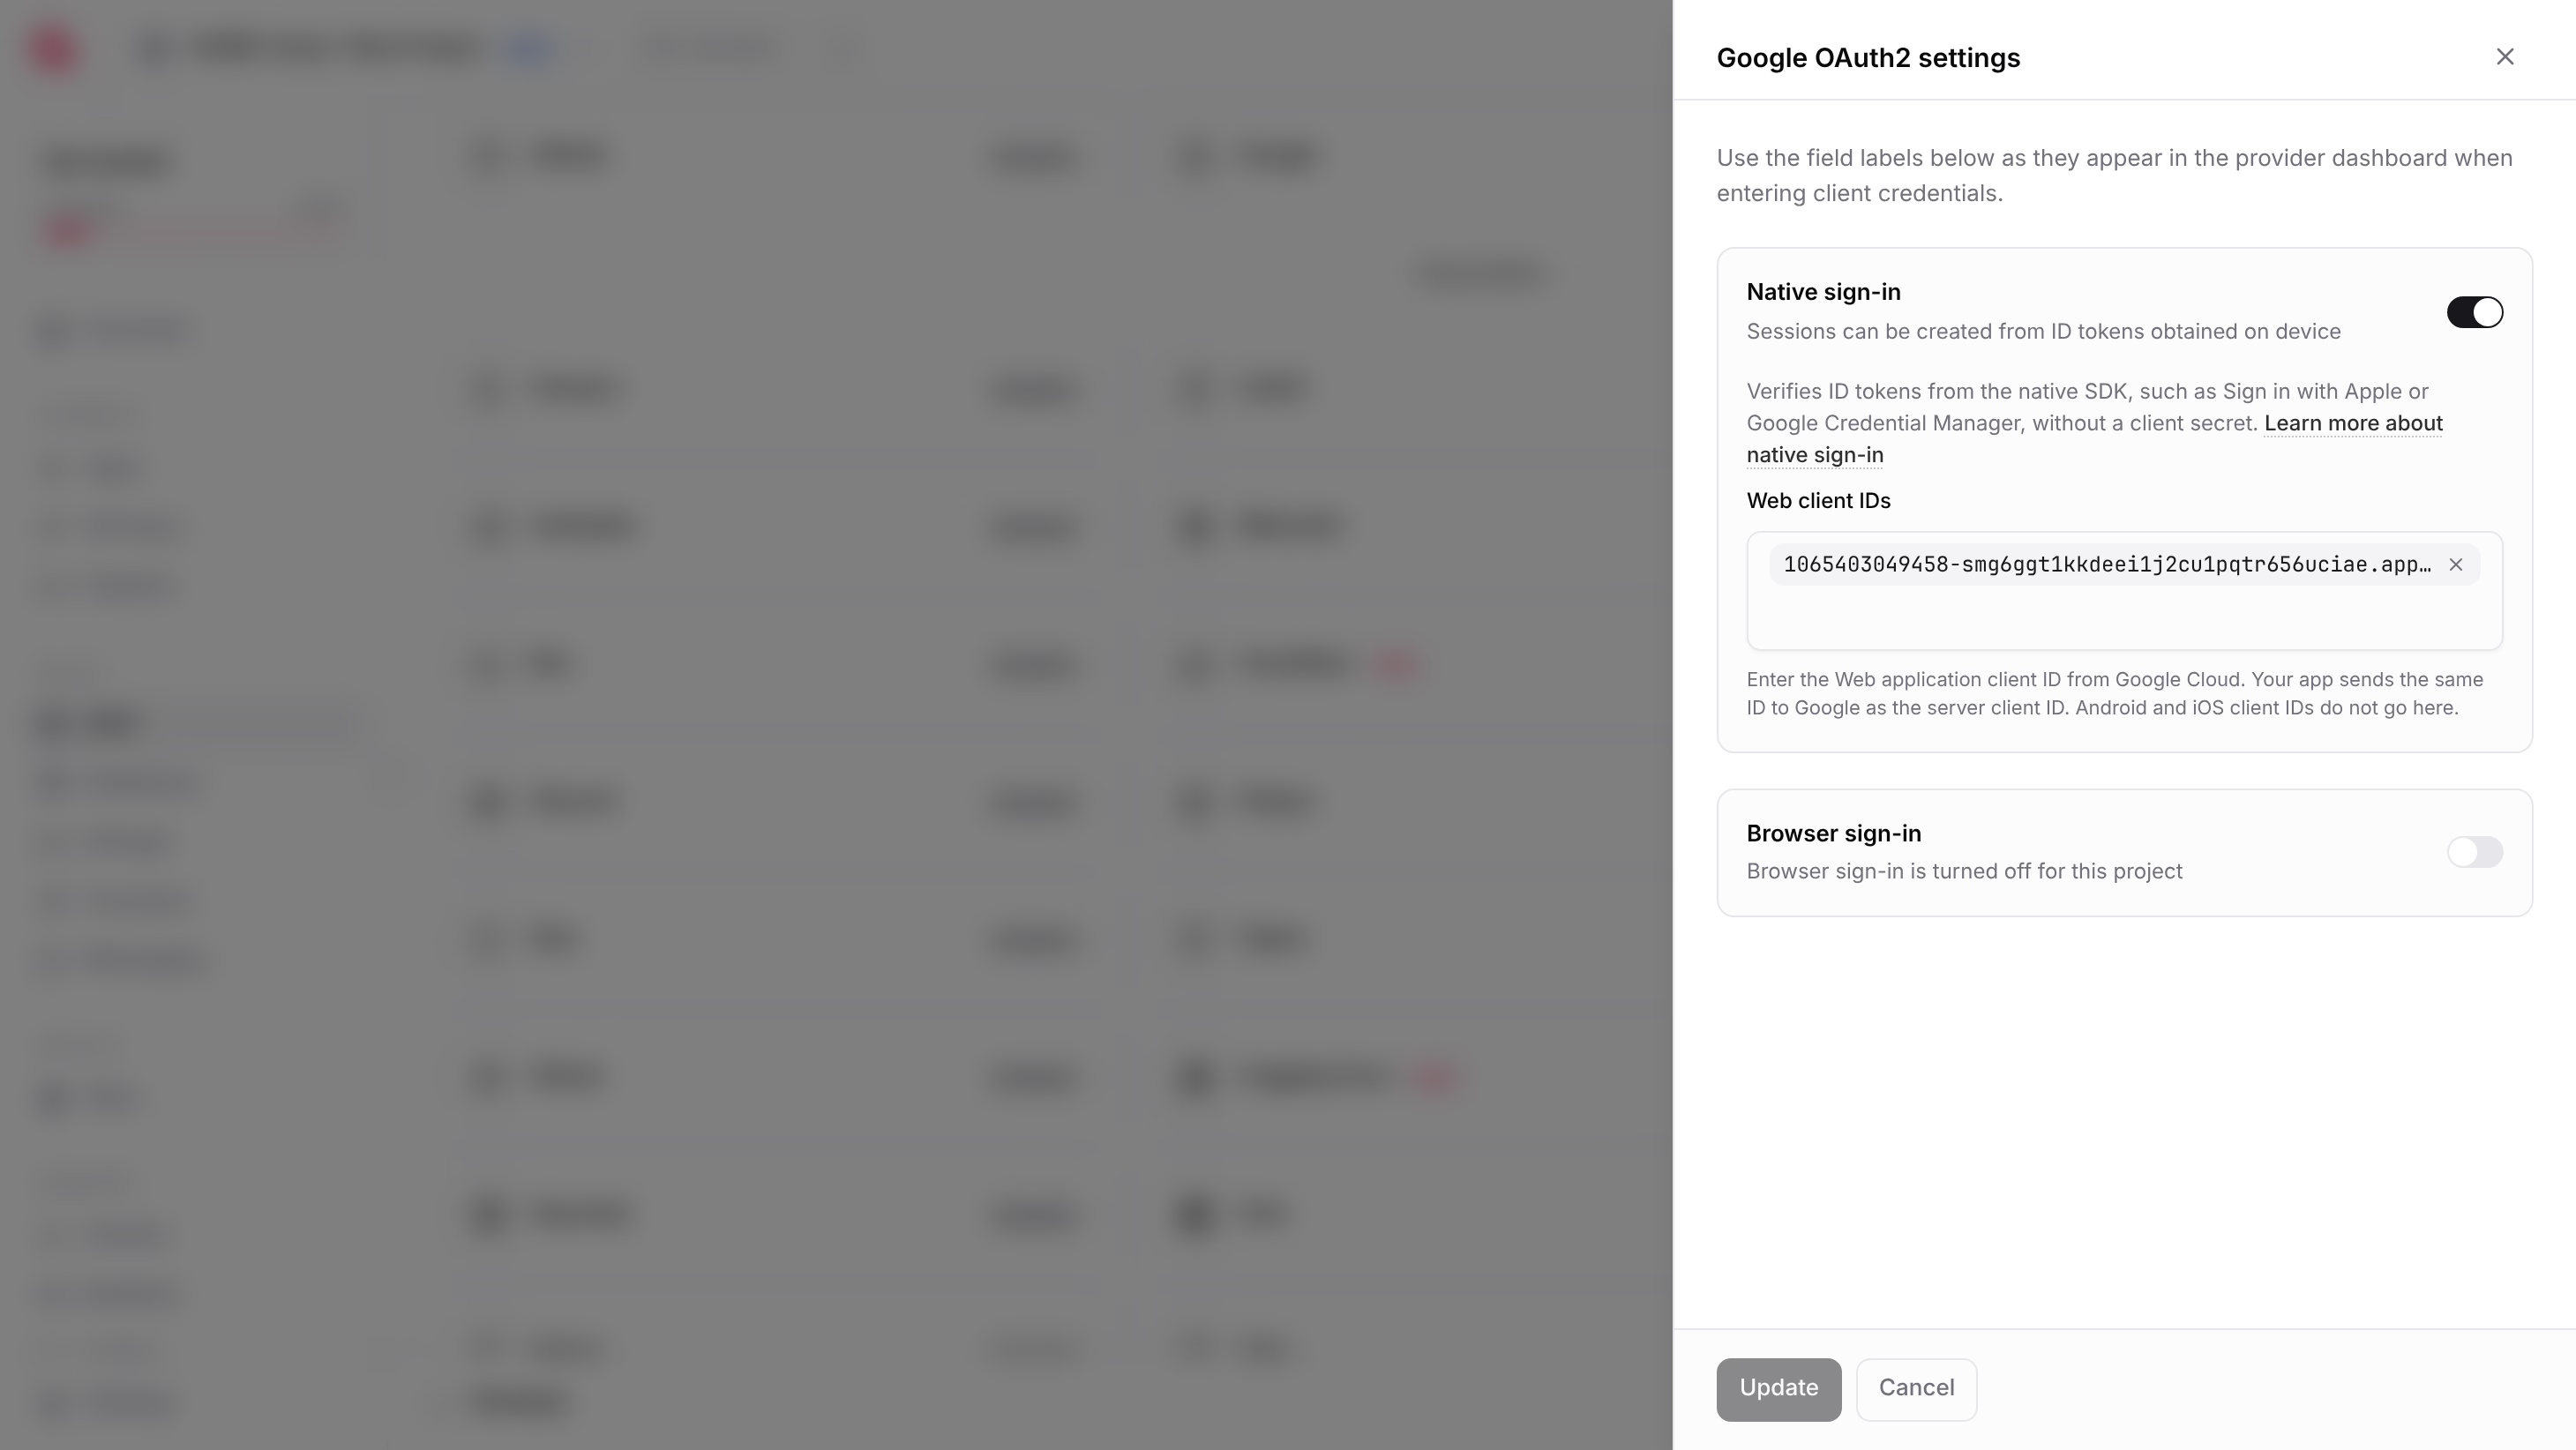
Native sign-in has its own switch on each provider, separate from browser sign-in. You can turn on either one, or both.
- In the Appwrite Console, open your project and go to Auth, then the Social providers tab.
- Select Apple or Google.
- Turn on Native sign-in.
- Enter the ID in the field below the switch and press Enter. The field is Web client IDs for Google and Bundle IDs for Apple. Repeat for each ID.
- Select Update.
Every ID token names the app it was issued for. Appwrite only accepts tokens issued for a client ID in this list. Each provider needs a different value.
- Apple. Enter your app's bundle ID, such as
com.example.fieldnotes. If you ship more than one app with its own bundle ID, such as an iOS app and a macOS app, add each one. - Google. Enter the client ID of the Web application client from Google Cloud. Do not enter the Android client ID. Create the Google Cloud clients explains the difference.
Native sign-in needs no client secret, key ID, team ID, or private key. Those fields belong to browser sign-in, and the dialog shows them only after you turn on Browser sign-in.
Sign in with Apple
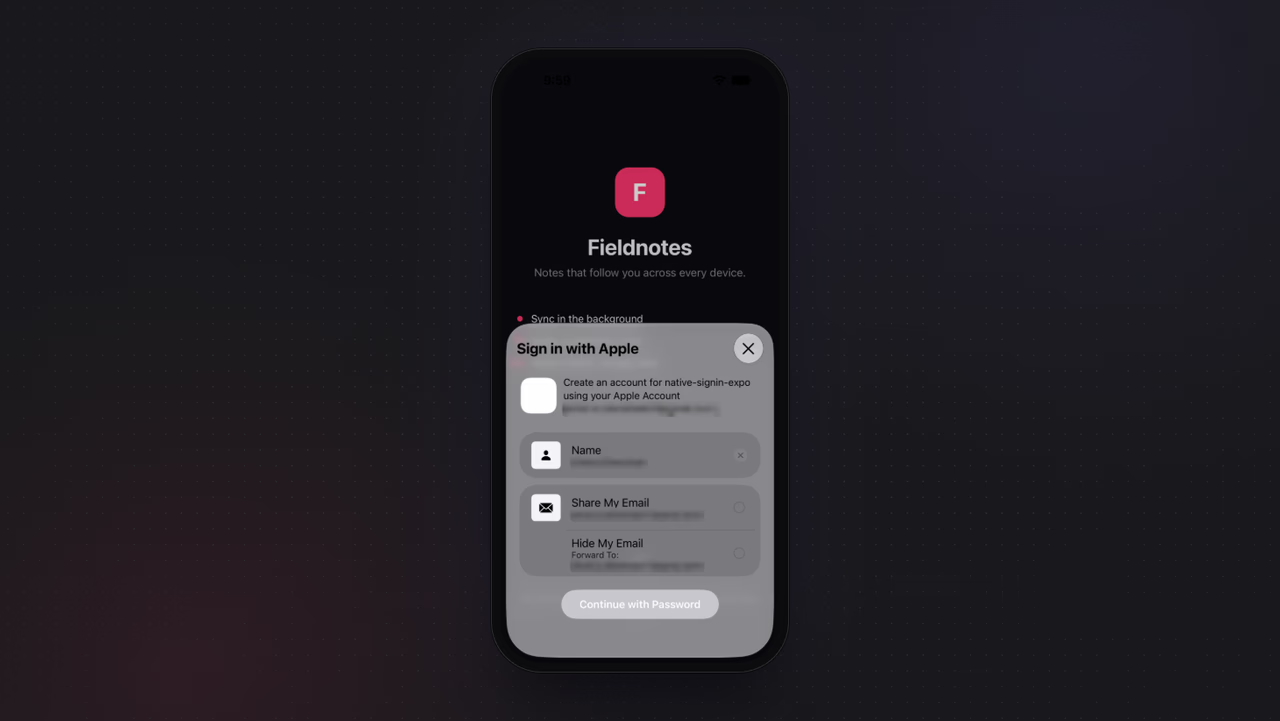
Add the Sign in with Apple capability to your app target in Xcode, under Signing & Capabilities. Apple issues the ID token for your bundle ID, which is the value you added under Bundle IDs.
Sign in with Apple requires a nonce. Generate a random string, hash it with SHA-256, and pass the hash to Apple. Send the original, unhashed value to Appwrite, which compares it against the hashed nonce in the token. If the request to Apple has no nonce, Apple still issues a token. Appwrite rejects that token, because a token without a nonce can be replayed for its full lifetime.
Apple returns the user's name only on the first authorization for your app, and never inside the ID token. Read it from the credential and pass it in the name parameter. Appwrite uses it when it creates the user, or when the existing user has no name.
Sign in with Google
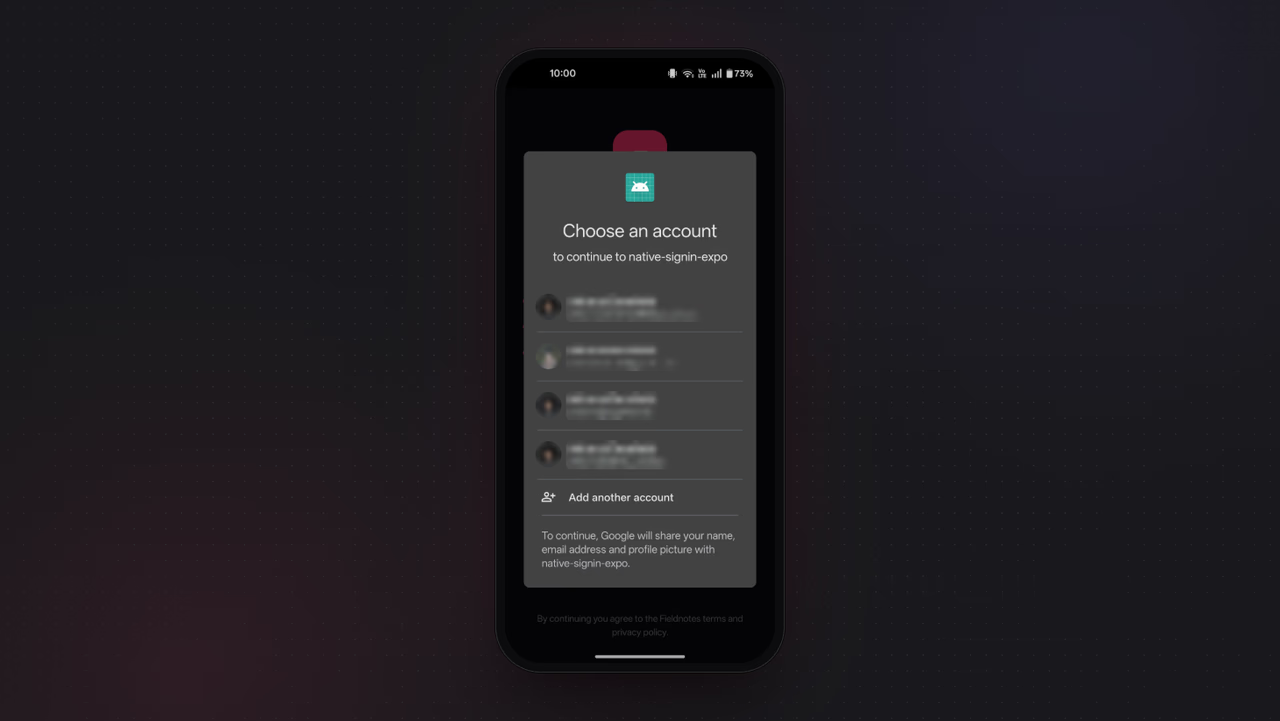
On Android, Google returns an ID token after the user picks an account. Google issues that token for your web client, not for your Android client. Appwrite accepts it only if the web client ID is on the Google provider. Create the Google Cloud clients before you write any code.
Create the Google Cloud clients
Google identifies every app that asks for a token by an OAuth client in Google Cloud. Native sign-in needs one web client and one Android client. All of them must be in the same Google Cloud project.
The web client represents Appwrite. Your app passes the web client ID to Google's SDK as the server client ID. Google then issues the ID token for that client. It is the only Google client ID you enter in Appwrite. The type is named Web application, but it covers any server that receives tokens, not only websites. For native sign-in, it needs no JavaScript origins or redirect URIs, and Appwrite does not use its client secret.
The Android client represents your app. It ties your package name to the SHA-1 fingerprint of the certificate that signs the app. Google checks for a matching client before it shows the account picker. If the installed app has no matching Android client, Credential Manager fails with a developer error and Google issues no token. The Android client's ID never appears in your code or in Appwrite.
| Client type | Create one per | Where its ID goes |
|---|---|---|
| Web application | Google Cloud project | The server client ID in your app, and Web client IDs in Appwrite |
| Android | Package name and signing certificate | Not used in your code or in Appwrite |
If your app passes the Android client ID as the server client ID, Google rejects the request with a developer error before Appwrite receives anything.
Create the web client
- Open Google Auth Platform in the Google Cloud console and select your project. If the project has no app registered yet, select Get started and enter the app name, user support email, audience, and contact information.
- Go to Clients and select Create client.
- Set Application type to Web application and enter a name, such as
Appwrite. - Leave Authorized JavaScript origins and Authorized redirect URIs empty, then select Create.
- Copy the client ID and add it under Web client IDs on the Google provider in Appwrite, as described in Enable native sign-in.
If you also turn on browser sign-in for Google, you can use the same web client. In that case, add the redirect URI that the Appwrite Console shows under Browser sign-in to Authorized redirect URIs.
While an External app's publishing status on the Audience page is Testing, only the test users listed on that page can sign in.
Create the Android client
Get the SHA-1 fingerprint of the certificate that signs your app. For the debug keystore that Android Studio creates, run:
keytool -list -v -keystore ~/.android/debug.keystore -alias androiddebugkey -storepass androidYou can also run ./gradlew signingReport in your Android project, which prints the SHA-1 for every build variant.
- In Google Auth Platform, go to Clients and select Create client.
- Set Application type to Android.
- Under Package name, enter your app's application ID, such as
com.example.fieldnotes. - Under SHA-1 certificate fingerprint, paste the fingerprint.
- Select Create. You do not need to copy this client ID.
Each signing certificate needs its own Android client with the same package name. That usually means one client for the debug keystore and one for your release key.
If you distribute through Google Play with Play App Signing, Play Console shows two keys. You sign each release with the upload key, and Google Play re-signs the app with the app signing key before it reaches users. Apps installed from Google Play carry the app signing key, so create an Android client for its SHA-1:
- In Play Console, select your app and go to Protected with Play > Play Store protection > Manage Play app signing.
- In the App signing key section, copy the SHA-1 certificate fingerprint.
- Create an Android client with that fingerprint and your package name.
A build that you install yourself, outside Google Play, carries the certificate that signed it. If you sign such a build with the upload key, also create a client for the upload key's SHA-1, which is shown in the Upload key certificate section.
Request an ID token
Your app shows Google's account picker, takes the ID token from the account the user picks, and passes it to createIdTokenSession. Appwrite returns the session in the same request.
Account matching
Appwrite resolves the ID token to a user in the same order as OAuth2 login.
- If the user has signed in with the same Apple or Google account before, Appwrite signs them in to that user.
- Otherwise, if the token carries a verified email that matches an existing user or identity, Appwrite attaches the new identity to that user. If the matching email is unverified, Appwrite rejects the request with a
general_bad_requesterror. - Otherwise, Appwrite creates a new user. Appwrite marks the email as verified only when the provider attests it.
When the request already carries a session, Appwrite links the identity to the signed-in user instead, which also converts an anonymous session.
Provider tokens
Native sign-in never returns a refresh token, because the platform SDKs hand your app an ID token and, at most, a short-lived access token. You can store that access token on the session by passing accessToken and accessTokenExpiry, then read it back from the session or the identity to call provider APIs. Appwrite cannot renew it once it expires. If your app needs long-lived access to provider APIs, use OAuth2 login instead. OAuth2 login opens the provider's sign-in page in a web sheet and redirects back to your app, and it can return a refresh token.
Errors
A token that fails a check returns a user_oauth2_token_invalid error. The message names the check that failed.
| Message | Cause |
|---|---|
Audience mismatch. Add the token's client ID to the provider configuration. | The token was issued for a client ID that is not on the provider. For Google, check that your app passes the web client ID and that the same ID is under Web client IDs. |
Nonce required | The provider requires a nonce and the token has none, or the token carries a nonce and the request did not pass one. |
Nonce mismatch | The nonce passed to Appwrite is not the one the token was issued with. |
Invalid issuer | The token was not issued by Apple or Google. |
Invalid token: Expired | The token has expired. Request a fresh token from the platform SDK. |
Invalid token: Signature failed | The token's signature does not verify against the provider's key. |
Unknown signing key | The token's kid is not in the provider's key set. |
A project_provider_disabled error means native sign-in is off for the provider, or no client ID is configured.
Some errors come from Google before your app has a token to send to Appwrite.
| Error | Cause |
|---|---|
DEVELOPER_ERROR from the React Native package | No Android client matches the app's package name and signing certificate, or webClientId is not a web client ID. |
Error code 28444 from Credential Manager | No Android client matches the app's package name and signing certificate. |
No credentials available from Credential Manager | The device has no Google account, or the request sets setFilterByAuthorizedAccounts(true) and no account on the device has signed in to your app before. |
Was this page helpful?
Share what worked or what we should fix. Once approved, our agents automatically apply suggested updates to the docs.