Announcing native sign-in: Create Appwrite sessions from Apple and Google ID tokens_
Your mobile app can now use the platform's own Sign in with Apple or Google account picker and exchange the ID token for an Appwrite session in one request, with no redirect through Appwrite.

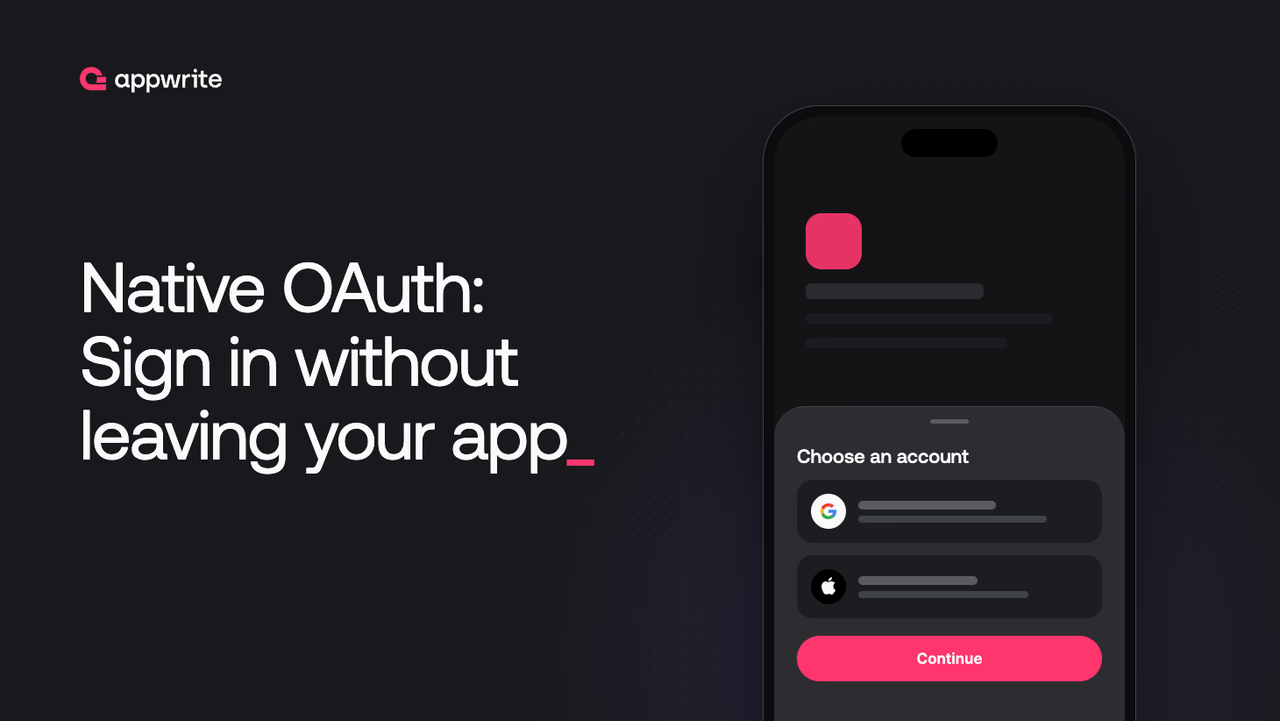
With OAuth2 login, a mobile app opens a browser sheet with the provider's sign-in page. The user picks an account on that page, and a custom URL scheme sends them back to the app. The user never sees the account picker that Android and iOS show in other apps.
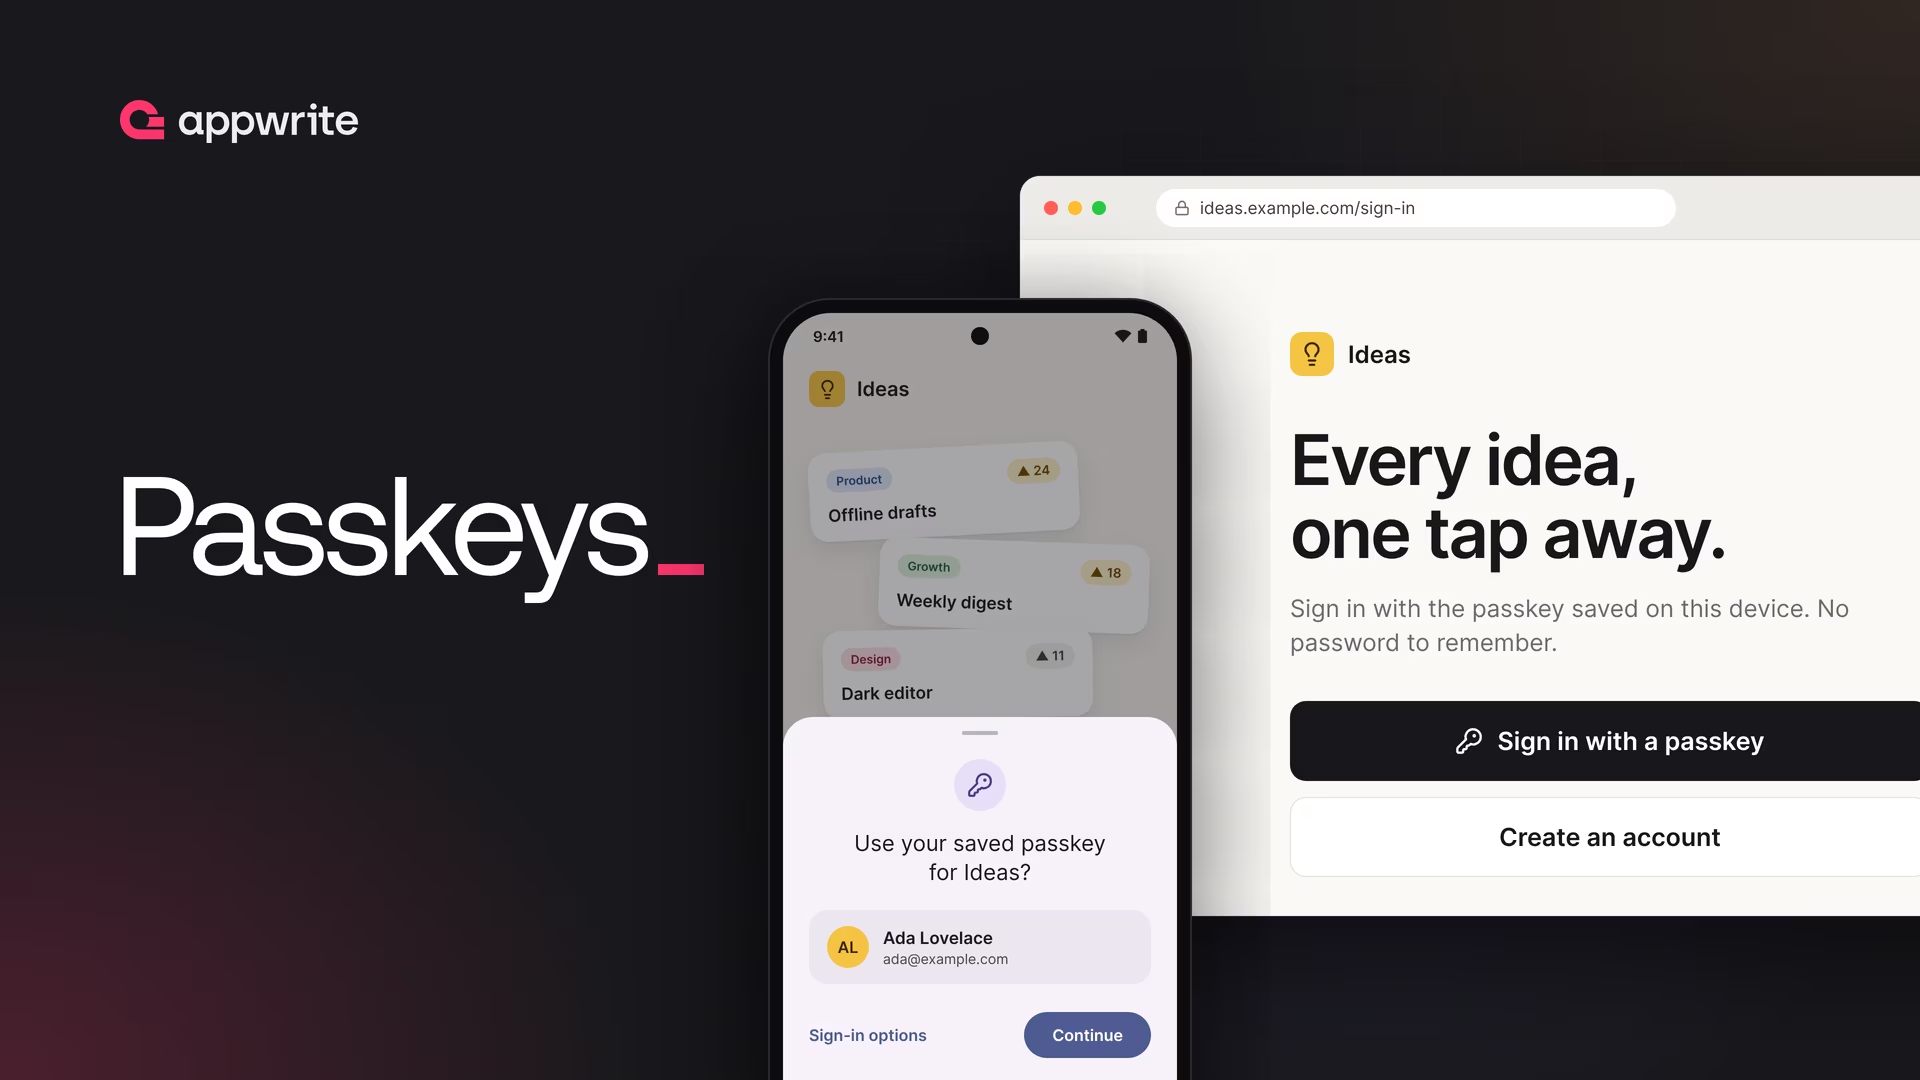
Sign in with Apple and Google's Credential Manager show that picker and return an ID token straight to the app. Until now, Appwrite had no way to accept that token.
Native sign-in creates a session from an ID token
Appwrite Auth now accepts an ID token from Apple or Google and returns a session in a single request. Your app collects the token with the platform SDK, then calls account.createIdTokenSession. Appwrite checks that the token is signed by Apple or Google, was issued for your app, and has not expired, then creates the user, the identity, and the session.
Nothing about the rest of your auth setup changes. The session behaves like any other, the user gets an identity for the provider, and account matching follows the same rules as OAuth2 login, so a user who already signed up with the same verified email lands in their existing account.
Enable native sign-in in the Console
Native sign-in has its own switch on each provider, separate from the browser flow. Open your project in the Appwrite Console, go to Auth, open the Social providers tab, and select Apple or Google.
Turn on Native sign-in, add your app's IDs in the field below the switch, and select Update. Appwrite only accepts tokens issued for these IDs. For Apple, the field is Bundle IDs and takes your app's bundle ID. For Google, the field is Web client IDs and takes the client ID of the Web application client in Google Cloud, not the Android or iOS client. The next section explains why.
Appwrite verifies a signature rather than redeeming an authorization code, so the provider needs neither a client secret nor a key file, and you do not register a callback URL. Browser sign-in stays off unless you also want the redirect flow.
Sign in with Google
Google Cloud asks for two OAuth clients, and they do different jobs. If an app passes the wrong one, Google fails the sign-in on the device and Appwrite never receives a token.
- The web client represents Appwrite. Your app passes the web client ID to Google's SDK as the server client ID, and Google issues the ID token for it. It is the only Google client ID you enter in Appwrite. The type is named Web application, but it covers any server that receives tokens. For native sign-in, it needs no redirect URIs.
- The Android client represents your app. It ties your package name to the SHA-1 fingerprint of your signing certificate. Google refuses to show the account picker to an app with no matching client. Neither your code nor Appwrite uses the Android client's ID.
To create them, open Clients in Google Auth Platform and select Create client once per client type. Pick Web application and leave the origins and redirect URIs empty. Pick Android and enter your package name and SHA-1 fingerprint. Create one Android client for each signing key. If you publish on Google Play, include the app signing key that Google Play re-signs your app with. Its SHA-1 is in Play Console under Protected with Play > Play Store protection > Manage Play app signing, in the App signing key section.
On Android, Credential Manager draws the account picker. Pass your web client ID as the server client ID, take the ID token from the returned credential, and send it to Appwrite.
import androidx.credentials.CredentialManager
import androidx.credentials.CustomCredential
import androidx.credentials.GetCredentialRequest
import com.google.android.libraries.identity.googleid.GetGoogleIdOption
import com.google.android.libraries.identity.googleid.GoogleIdTokenCredential
import io.appwrite.Client
import io.appwrite.enums.IdTokenProvider
import io.appwrite.services.Account

val client = Client(context)
    .setEndpoint("https://<REGION>.cloud.appwrite.io/v1")
    .setProject("<PROJECT_ID>")

val account = Account(client)
val credentialManager = CredentialManager.create(context)

val option = GetGoogleIdOption.Builder()
    .setServerClientId("<GOOGLE_WEB_CLIENT_ID>")
    .setFilterByAuthorizedAccounts(false)
    .build()

val request = GetCredentialRequest.Builder()
    .addCredentialOption(option)
    .build()

val result = credentialManager.getCredential(activity, request)
val credential = result.credential as CustomCredential
val idToken = GoogleIdTokenCredential.createFrom(credential.data).idToken

val session = account.createIdTokenSession(
    provider = IdTokenProvider.GOOGLE,
    idToken = idToken,
)
From here, the user has a normal Appwrite session. Calls such as account.get(), table permissions, and Realtime subscriptions work the same way they do after any other sign-in.
Sign in with Apple
Sign in with Apple adds one step. Apple requires a nonce, and Appwrite rejects an Apple token without one because such a token can be replayed for its full lifetime. Generate a random string, give Apple its SHA-256 hash, and send the original value to Appwrite. Apple also returns the user's name only on the first authorization and never inside the token, so read it from the credential and pass it along.
import AuthenticationServices
import CryptoKit
import Appwrite
import AppwriteEnums

let client = Client()
    .setEndpoint("https://<REGION>.cloud.appwrite.io/v1")
    .setProject("<PROJECT_ID>")

let account = Account(client)

let nonce = UUID().uuidString
let hashedNonce = SHA256.hash(data: Data(nonce.utf8))
    .map { String(format: "%02x", $0) }
    .joined()

let request = ASAuthorizationAppleIDProvider().createRequest()
request.requestedScopes = [.fullName, .email]
request.nonce = hashedNonce

// Present an ASAuthorizationController with the request.
// In authorizationController(controller:didCompleteWithAuthorization:):
guard let credential = authorization.credential as? ASAuthorizationAppleIDCredential,
      let tokenData = credential.identityToken,
      let idToken = String(data: tokenData, encoding: .utf8) else { return }

let name = [credential.fullName?.givenName, credential.fullName?.familyName]
    .compactMap { $0 }
    .joined(separator: " ")

let session = try await account.createIdTokenSession(
    provider: .apple,
    idToken: idToken,
    nonce: nonce,
    name: name
)
From here, the user has a normal Appwrite session, the same as after any other sign-in.
Sign in with Google and Apple in React Native
React Native apps use one package per provider and the same createIdTokenSession call for both. The packages include native code, so they need a development build rather than Expo Go.
On Android, the @react-native-google-signin/google-signin package shows the Google account picker. Pass your web client ID as webClientId.
import { GoogleSignin, isSuccessResponse } from '@react-native-google-signin/google-signin';
import { Client, Account, IdTokenProvider } from 'react-native-appwrite';

const client = new Client()
    .setEndpoint('https://<REGION>.cloud.appwrite.io/v1')
    .setProject('<PROJECT_ID>');

const account = new Account(client);

GoogleSignin.configure({
    webClientId: '<GOOGLE_WEB_CLIENT_ID>',
});

await GoogleSignin.hasPlayServices();
const response = await GoogleSignin.signIn();

if (isSuccessResponse(response) && response.data.idToken) {
    const session = await account.createIdTokenSession({
        provider: IdTokenProvider.Google,
        idToken: response.data.idToken,
    });
}
On iOS, expo-apple-authentication presents the Sign in with Apple sheet and expo-crypto hashes the nonce. The nonce and name handling are the same as in Swift.
import * as AppleAuthentication from 'expo-apple-authentication';
import * as Crypto from 'expo-crypto';
import { Client, Account, IdTokenProvider } from 'react-native-appwrite';

const client = new Client()
    .setEndpoint('https://<REGION>.cloud.appwrite.io/v1')
    .setProject('<PROJECT_ID>');

const account = new Account(client);

const nonce = Crypto.randomUUID();
const hashedNonce = await Crypto.digestStringAsync(
    Crypto.CryptoDigestAlgorithm.SHA256,
    nonce
);

const credential = await AppleAuthentication.signInAsync({
    requestedScopes: [
        AppleAuthentication.AppleAuthenticationScope.FULL_NAME,
        AppleAuthentication.AppleAuthenticationScope.EMAIL,
    ],
    nonce: hashedNonce,
});

const name = [credential.fullName?.givenName, credential.fullName?.familyName]
    .filter(Boolean)
    .join(' ');

const session = await account.createIdTokenSession({
    provider: IdTokenProvider.Apple,
    idToken: credential.identityToken!,
    nonce,
    name,
});
Verification and account matching
Appwrite does not trust the token until it passes these checks.
- Apple or Google signed it. Appwrite checks the signature against the keys the provider publishes.
- It was issued for one of your client IDs. A token issued for another app fails, and the error message names the problem.
- It has not expired.
- The nonce matches, if your app sent one. Apple requires a nonce. For Google it is optional.
If the user has signed in with this Google or Apple account before, Appwrite signs them in to the same user. If a verified email matches an existing user, Appwrite attaches the new identity to that user. If the matching email is unverified, Appwrite rejects the request. With no match, Appwrite creates a new user. If the request already carries a session, including an anonymous one, Appwrite links the identity to that user instead.
Native sign-in opens up more of your app to mobile users
Sign-in is often where people drop off on mobile, and a one-tap account picker makes that step shorter. Users who already signed up on the web with Google or Apple land in the same account on their phone, because Appwrite matches them by identity and verified email. An app that starts users as anonymous guests can link Google or Apple to that guest account later, so a user keeps their cart or saved items when they sign up.
The session is an ordinary Appwrite session, so the rest of the project does not need to know how the user signed in. Database permissions, Storage access, Functions that read the user, and team membership all work with it. Web apps can keep the browser-based OAuth2 flow on the same provider while the mobile app uses native sign-in.
Thanks to Shivam Raj from the Appwrite quality team, who requested native sign-in, helped shape how it should work, tested it, and shared the feedback that got it shipped faster and with more confidence.
Resources
Native sign-in creates an Appwrite session from an ID token that Apple or Google issues to your app on the device, through Sign in with Apple or Google's SDKs. Appwrite verifies the token against the provider's signing keys and returns a session without a redirect through Appwrite.
Apple and Google. Apple through Sign in with Apple on iOS, and Google through Credential Manager on Android.
No. Native sign-in verifies a signature instead of redeeming an authorization code, so the provider only needs the client IDs of your apps. Secrets, key IDs, and team IDs are only needed for the browser-based OAuth2 flow.
The client ID of the Web application client in Google Cloud. Your Android app passes that ID to Google as the server client ID, so Google issues the ID token to it. The Android client must also exist in the same Google Cloud project, but its ID does not go into Appwrite.
Yes. Each provider has separate switches for the browser-based flow and native sign-in, so a web app can keep using redirects while the mobile app uses the platform account picker.
No. Platform SDKs hand the app an ID token and, at most, a short-lived access token. Appwrite can store that access token on the session but cannot renew it. For long-lived access to provider APIs, use the browser-based OAuth2 flow.