
Stripe is an online payment processing platform that allows businesses to accept online payments securely and efficiently. Stripe supports a variety of payment methods, including credit cards, debit cards, and digital wallets, and offers additional services such as billing, invoicing, and fraud prevention.
With robust APIs and extensive documentation, Stripe enables developers to integrate its payment solutions into websites and mobile applications seamlessly, making it a popular choice for businesses of all sizes.
How does the integration work?
You can utilize a pre-built Appwrite function template to enable payments via Stripe in your app. You can then use this to ship packages, send PDF books, give access to video courses, or anything else your business needs.
How to implement
To implement the Stripe payments integration, there are several steps you must complete:
Step 1: Set up Stripe
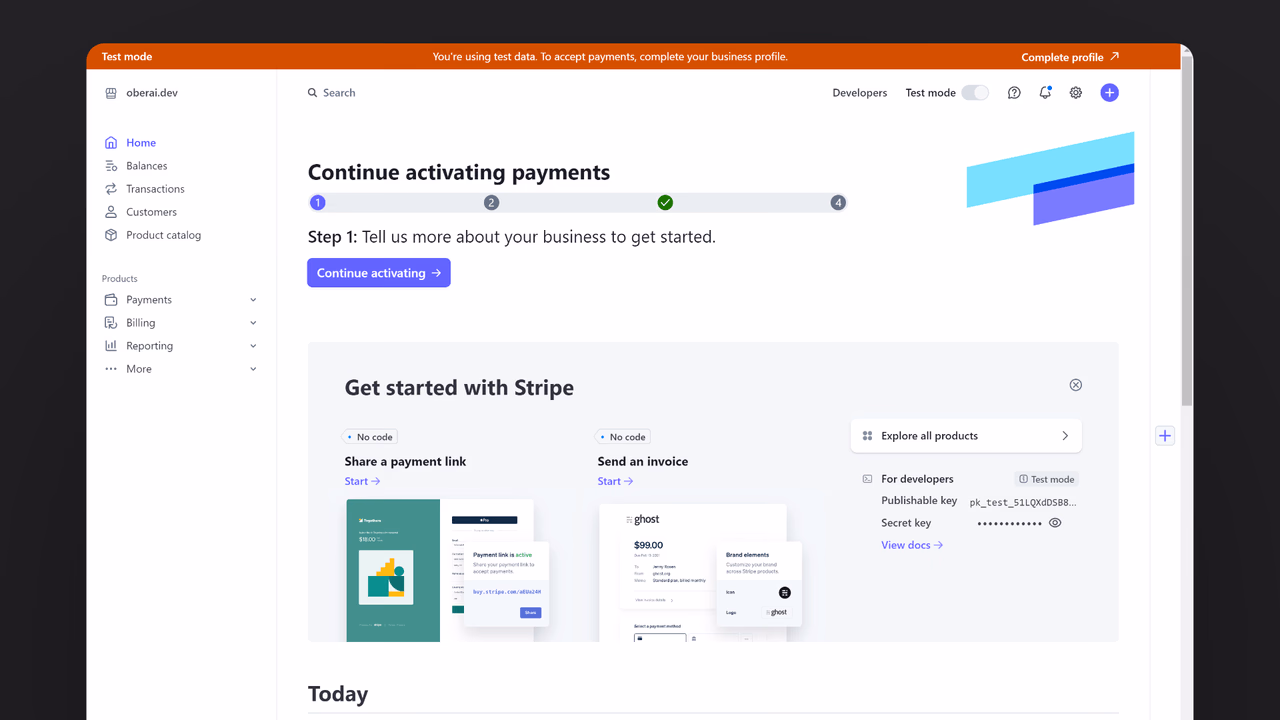
First, sign up for Stripe and open the dashboard in test mode.
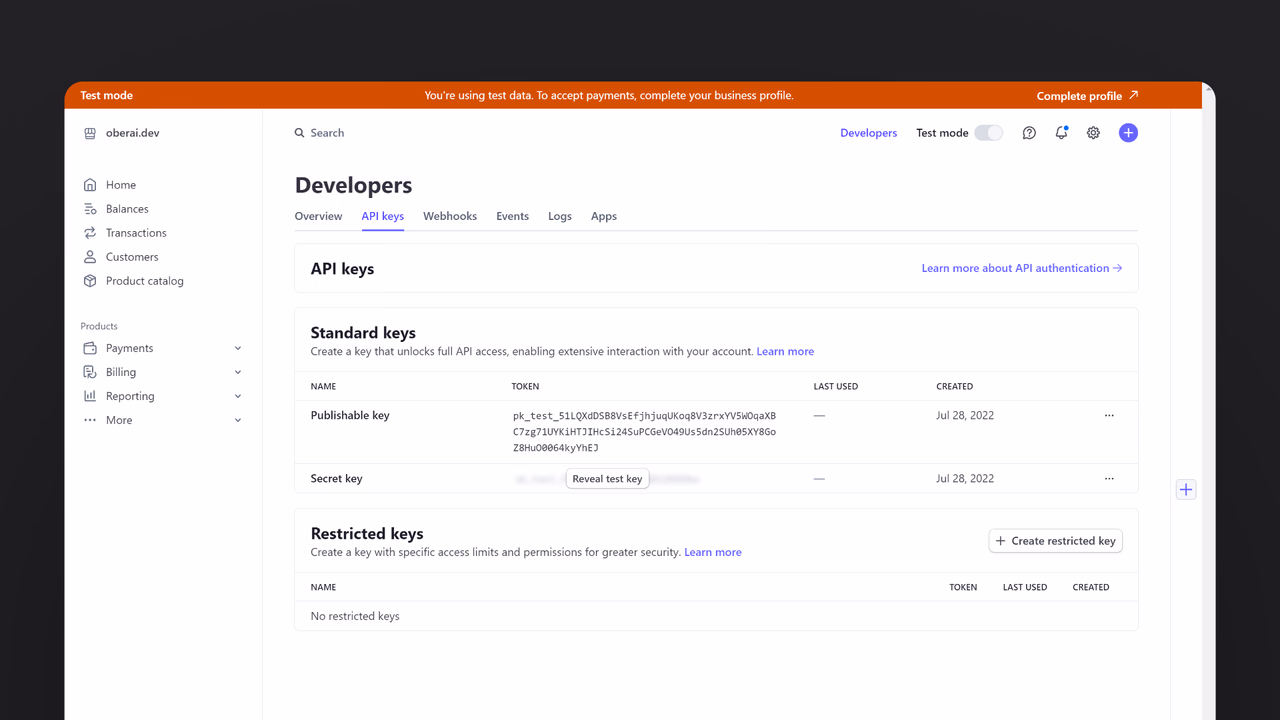
Head to the Developers page from the navbar and click on the API keys tab. Save the Secret key for further usage.
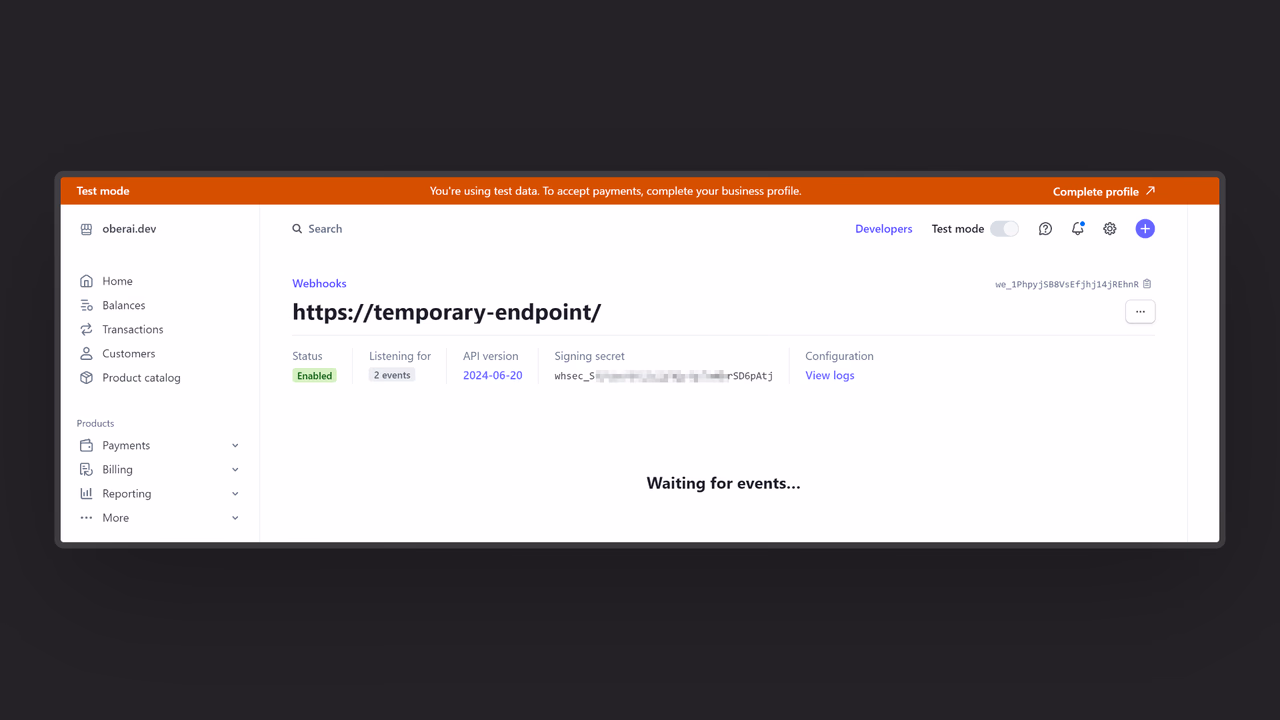
Then, go to the Webhooks tab, select the event checkout.session.completed, and add a temporary endpoint https://temporary-endpoint (we will replace this with our final endpoint later). Save the webhook signing secret for later usage.
Step 2: Create the Appwrite Function
For this step, you must create an account on Appwrite Cloud or self-host Appwrite if you haven’t already. If you decide to self-host Appwrite, there are additional setup steps to use Appwrite Function templates.
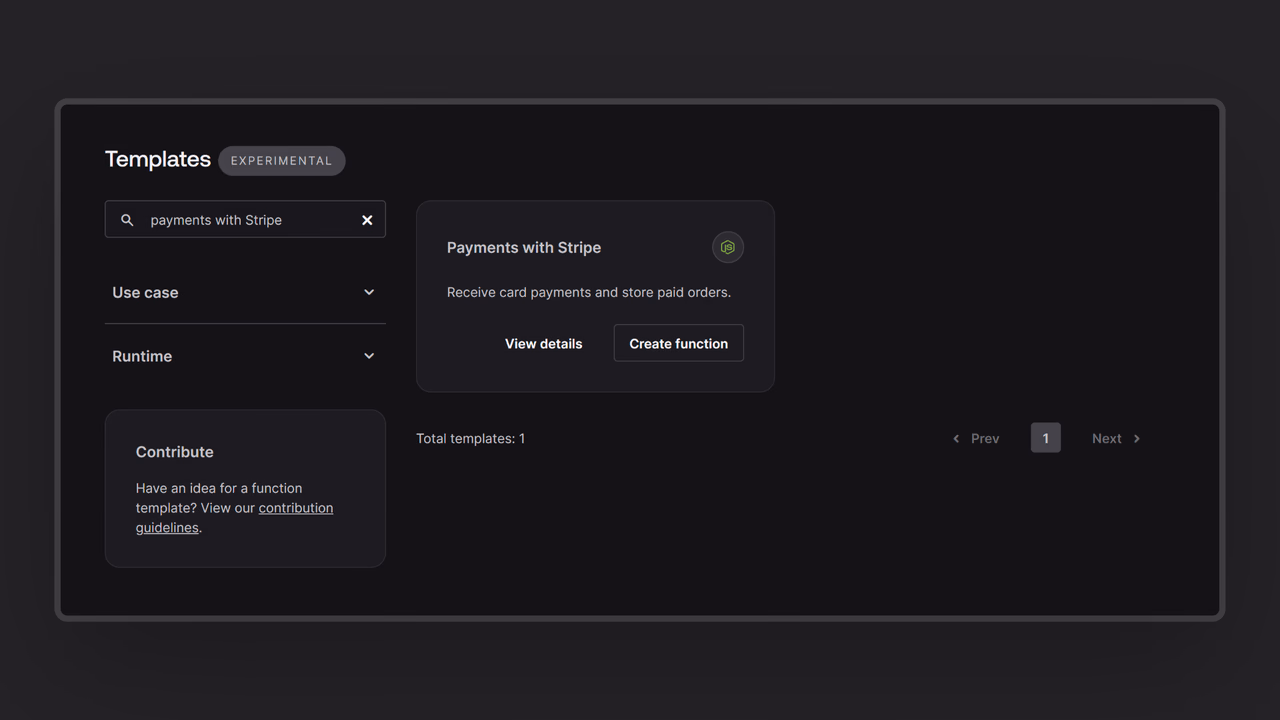
Head over to the Appwrite console, navigate to the Functions page, click the Templates tab, and search for the Payments with Stripe function template.
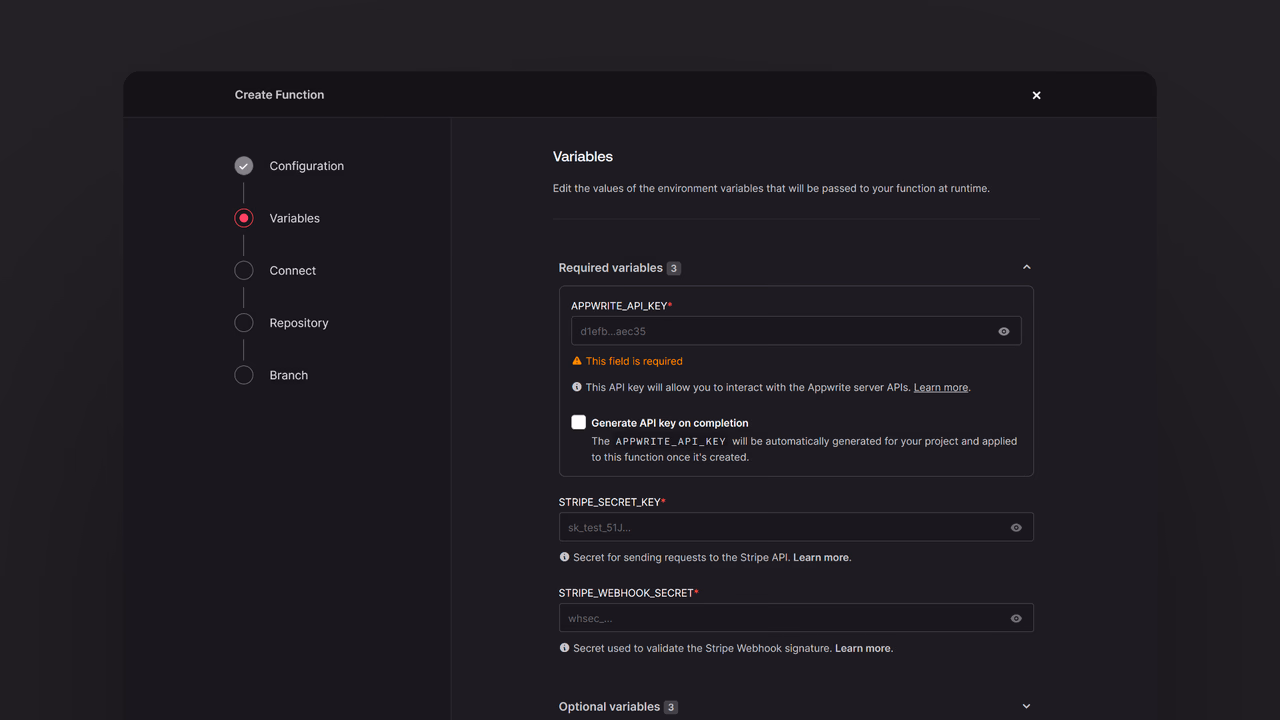
During the setup process, click the checkbox to generate an Appwrite API key on completion and add the Stripe secret key and webhook secret in the Variables step. If you are self-hosting Appwrite, click on the optional variables dropdown and update the Appwrite endpoint to your instance’s publicly accessible endpoint.
Then, create a new repository with the default branch and root directory settings. You can edit this repository later to update the function logic. Once the function is deployed, go to the Settings tab on the Function page, scroll down to your Build settings, and update the commands to the following (and then redeploy the function):
npm install
npm run setup
Then, go to the Domains tab, copy the domain, and update it in your Stripe webhook details in the following format:
https://DEPLOYED_FUNCTION_DOMAIN/webhook
Step 3: Test the function
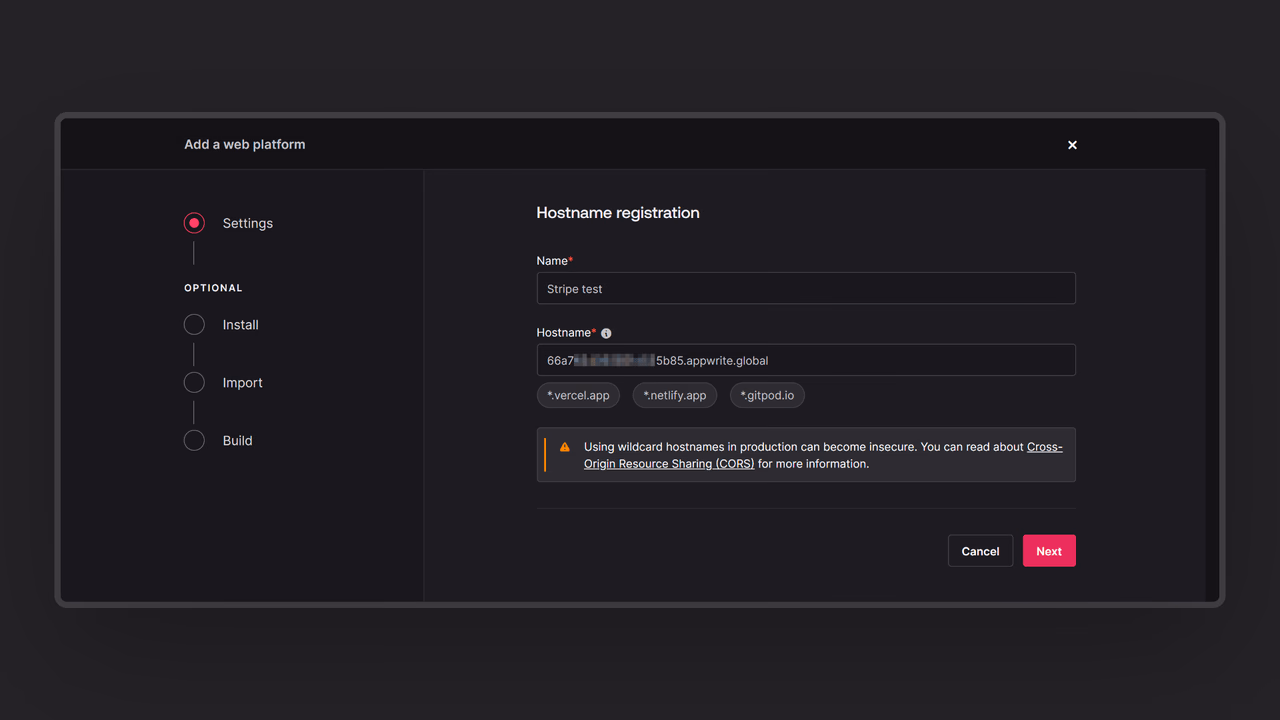
Once all the steps are complete, it is time to test the function! First, copy the function URL, go to the Appwrite project dashboard, and add it to the Platforms section as a web app. This will register your function URL as an authorized hostname to interact with Appwrite (to prevent CORS).
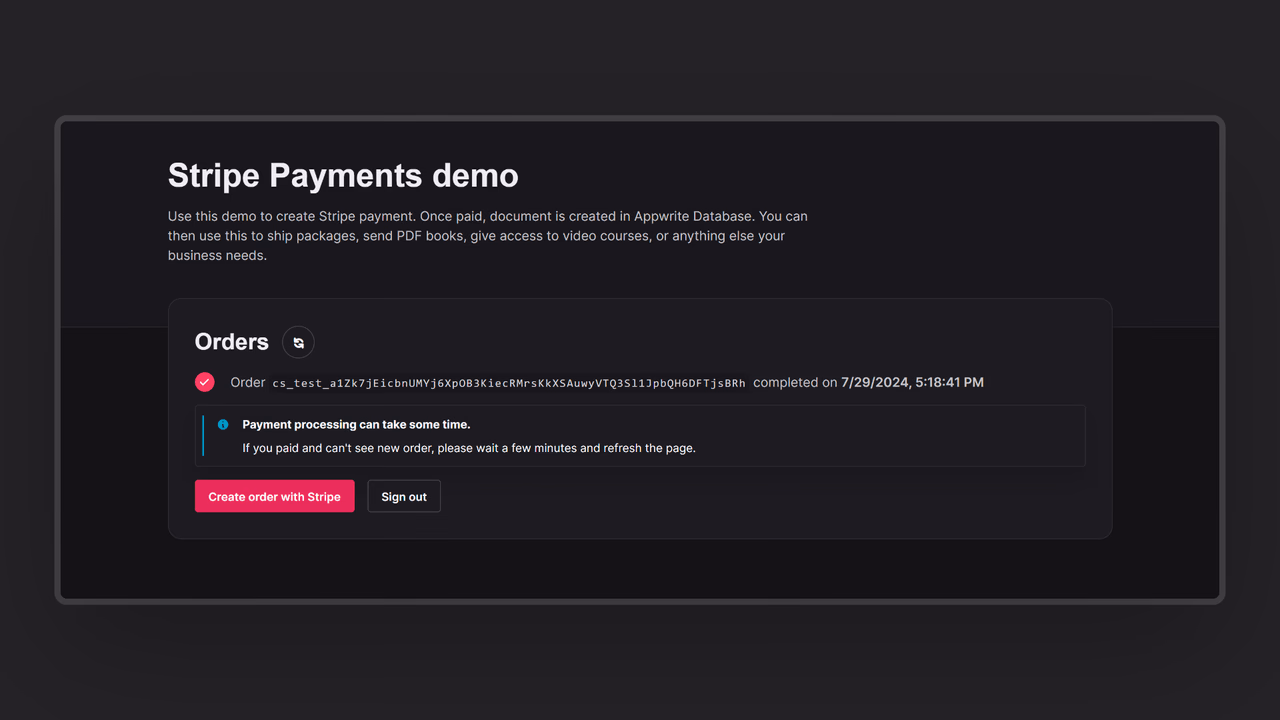
Then, open it in your browser to test the function and access the pre-built interactive UI. You can anonymously log in through this UI and create a payment order using Stripe’s test card number. As soon as this process is completed, the function UI will show you the completed order.
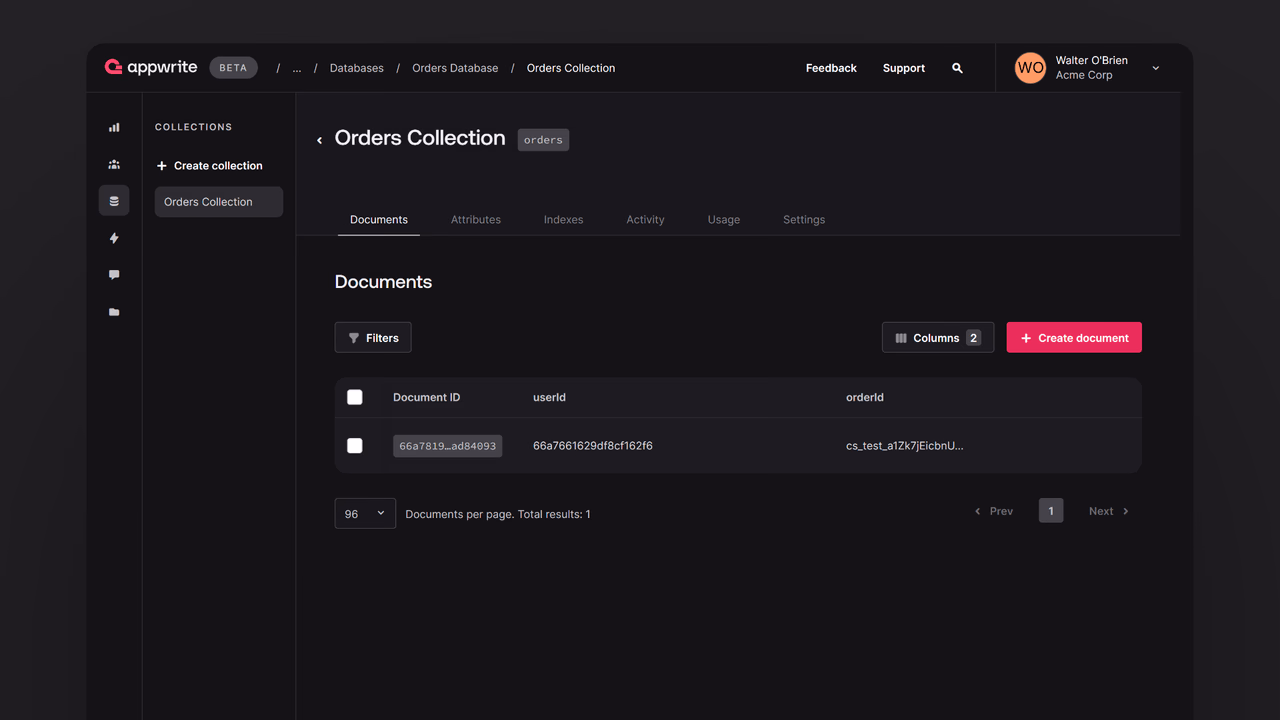
You can visit the Databases page in your Appwrite project, enter the orders database and the orders table within that, and find your orders.
Read more about Stripe Payments and Appwrite Functions
If you would like to learn more about Stripe Payments and Appwrite Functions, we have some resources that you should visit: