
MongoDB is a popular NoSQL database known for its flexibility and scalability. It allows developers to store and manage large amounts of data with ease.
How does the integration work?
Traditionally, Appwrite has utilized MariaDB as its primary database under the hood. Appwrite now supports MongoDB as an alternative database option in its self-hosted setup, allowing developers to access the same Appwrite features and experience while offering greater flexibility in platform deployment.
From the developer's point of view, nothing changes in how you use Appwrite:
- You still create databases, tables, and rows from the Appwrite Console (or via SDKs).
- Appwrite stores that data in MongoDB Community Edition under the hood, along with other Appwrite metadata it needs to operate.
- You can use MongoDB Compass to confirm that the data Appwrite wrote is present in MongoDB.
How to implement
To set up the Appwrite + MongoDB (self-hosted) integration, there are several steps you must complete:
Step 1: Self-host Appwrite
Self-host Appwrite using the following Docker command:
docker run -it --rm \
    --publish 20080:20080 \
    --volume /var/run/docker.sock:/var/run/docker.sock \
    --volume "$(pwd)"/appwrite:/usr/src/code/appwrite:rw \
    --entrypoint="install" \
    appwrite/appwrite:1.9.0
docker run -it --rm ^
    --publish 20080:20080 ^
    --volume //var/run/docker.sock:/var/run/docker.sock ^
    --volume "%cd%"/appwrite:/usr/src/code/appwrite:rw ^
    --entrypoint="install" ^
    appwrite/appwrite:1.9.0
docker run -it --rm `
    --publish 20080:20080 `
    --volume /var/run/docker.sock:/var/run/docker.sock `
    --volume ${pwd}/appwrite:/usr/src/code/appwrite:rw `
    --entrypoint="install" `
    appwrite/appwrite:1.9.0
Once the command is running, open your browser and go to http://localhost:20080 (or your server's IP address on port 20080).
Step 2: Configure your setup
On visiting the aforementioned URL, Appwrite's self-hosting installation wizard will ask you to configure certain necessary fields:

- Hostname: Enter the domain or IP address where your Appwrite instance will be accessible. If you're just testing locally,
localhostworks fine. - Database: Select
MongoDB. It should already be selected by default, but ensure it is the one highlighted. - Advanced settings: Expand this if you want to change the HTTP/HTTPS ports, set an SSL certificate email address, or add an OpenAI key for the Appwrite Assistant. Unless you are an advanced Appwrite user configuring your instance for production, the default configuration should be fine.
Step 3: Secure your app
Once your instance is set up, the wizard will generate a secret key to encrypt sensitive data on your server.

Copy this key and store it somewhere safe. You will not be able to see it again after this step.
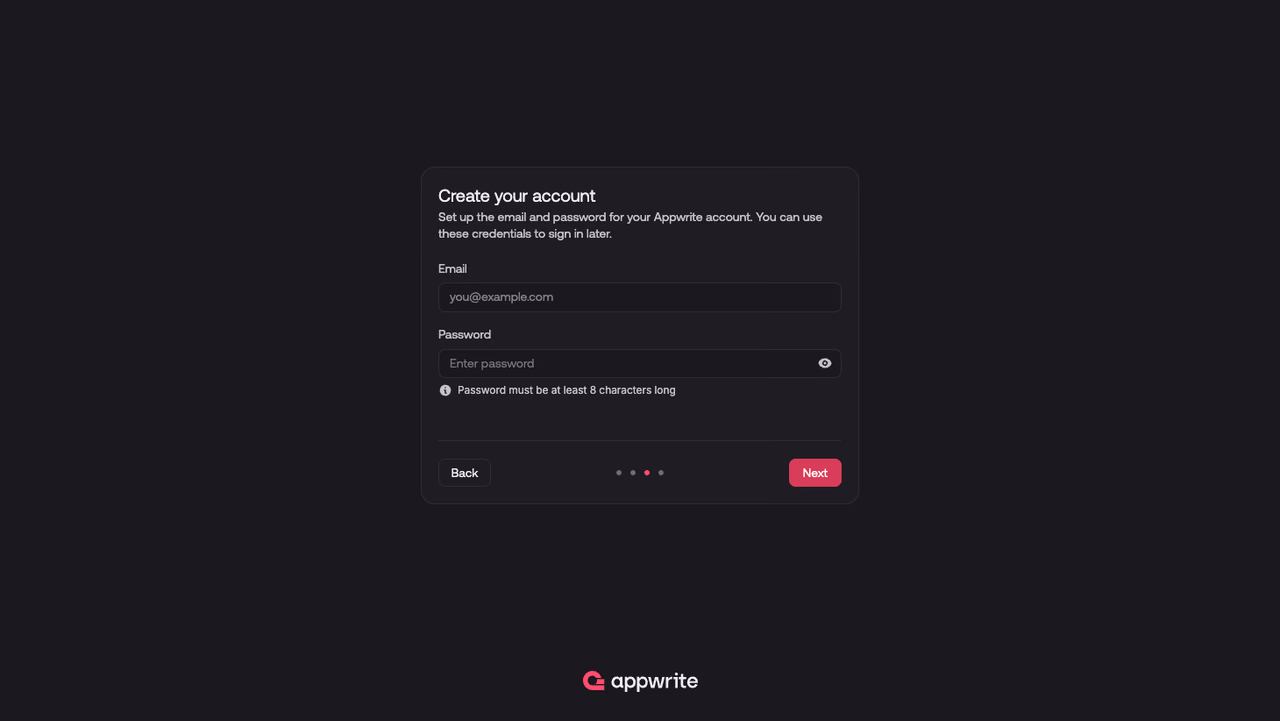
Step 4: Create your account
Create the email and password for your Appwrite account. These credentials will allow you to sign in to the Appwrite Console on your instance after installation.
Step 5: Review your setup
Before concluding, the installation wizard will show you a summary of your configuration. Double-check all the settings and verify that the database selection shows MongoDB.
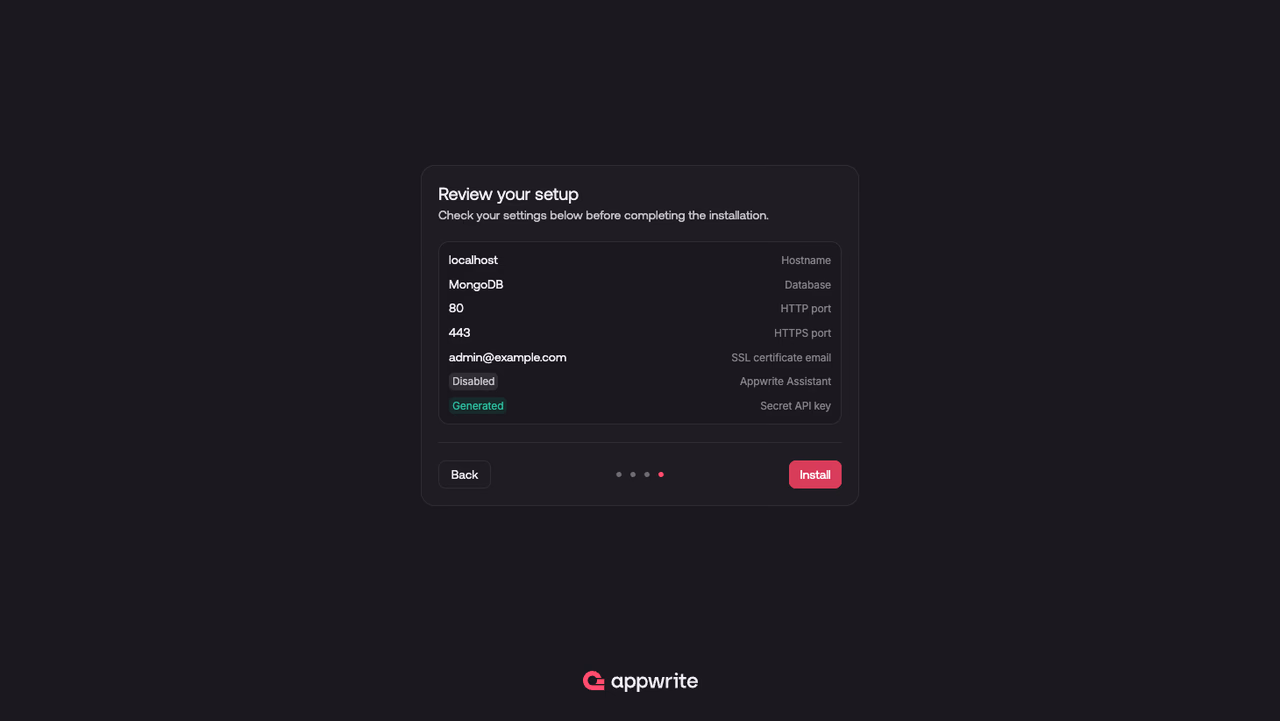
Once everything looks good, hit the Install button. The wizard will pull the necessary Docker images and set up your Appwrite instance with MongoDB configured as the underlying database.
Read more about MongoDB and Appwrite
If you would like to learn more about MongoDB and Appwrite, we have some resources that you should visit: