Google Workspace, formerly known as G Suite, is a comprehensive suite of cloud-based productivity and collaboration tools developed by Google. It includes popular applications such as Gmail for email, Google Drive for cloud storage, Google Docs for document creation, Google Sheets for spreadsheets, and Google Slides for presentations. Additionally, it offers tools for communication and collaboration, including Google Meet for video conferencing and Google Chat for instant messaging. Google Workspace is designed for businesses, educational institutions, and individuals, providing seamless integration, real-time collaboration, and robust security features to enhance productivity and streamline workflows.
How does the integration work?
You can use the Google OAuth adapter in Appwrite Auth for user authentication and management. This approach is convenient for users, allowing them to start using your app without creating a new account. Additionally, it enhances security by eliminating the need for users to manage yet another password, reducing the risk of potential vulnerabilities.
How to implement
To implement the Google OAuth adapter in Appwrite Auth, there are several steps you must complete:
Step 1: Create an OAuth 2.0 client ID on Google Cloud
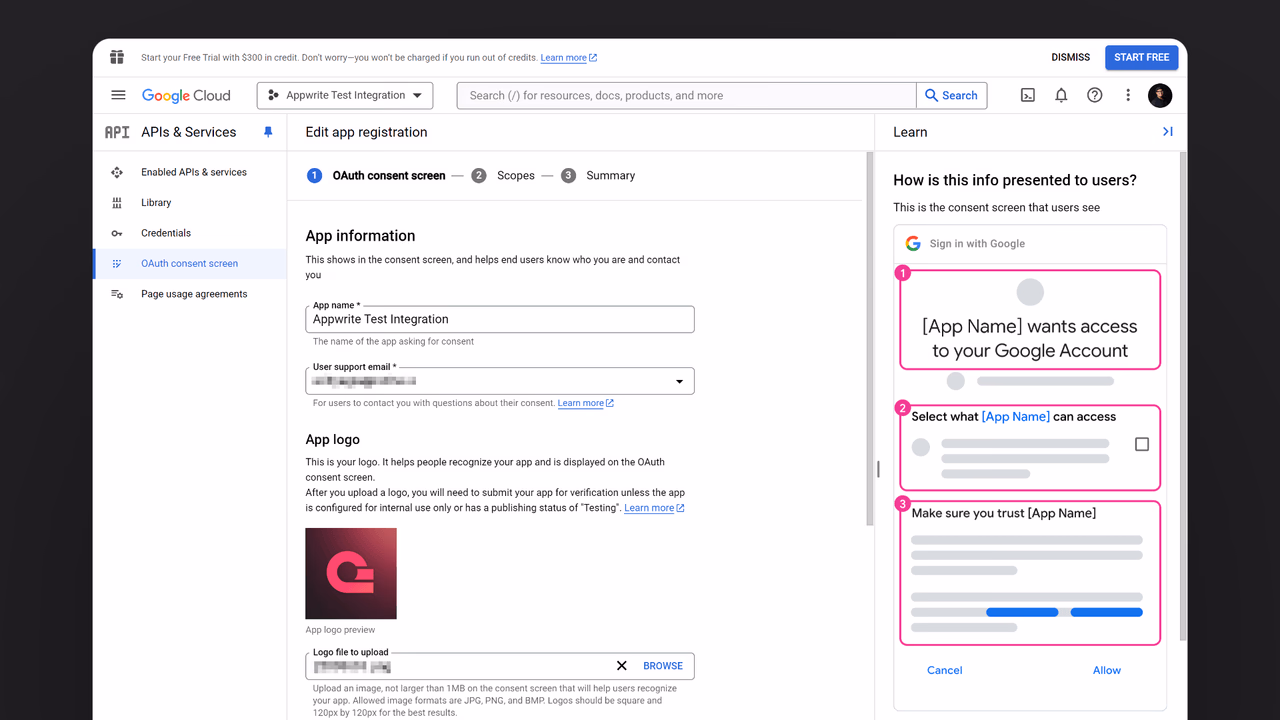
First, log into the Google Cloud Console, create a new project, click on APIs and Services in the left-side navbar, and open the OAuth consent screen page. Add all the required details about your app and select the scopes .../auth/userinfo.email, .../auth/userinfo.profile, and openid.
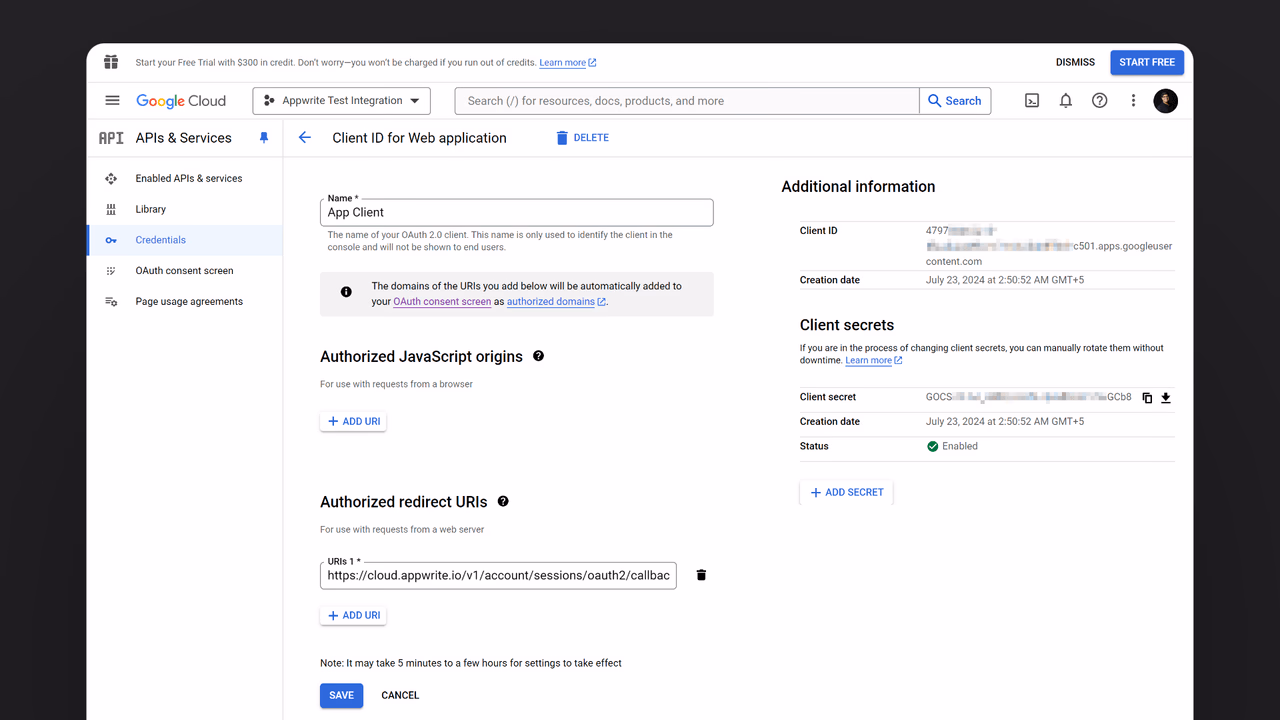
Next, go to the Credentials page under APIs and Services in the left-side navbar and create a new OAuth 2.0 client ID. Select the application type as Web application, and in the authorized redirect URIs field, temporarily add the URL https://temporary-endpoint.com/. This temporary URI will be replaced with the final URI once the OAuth2 adapter is configured on Appwrite.
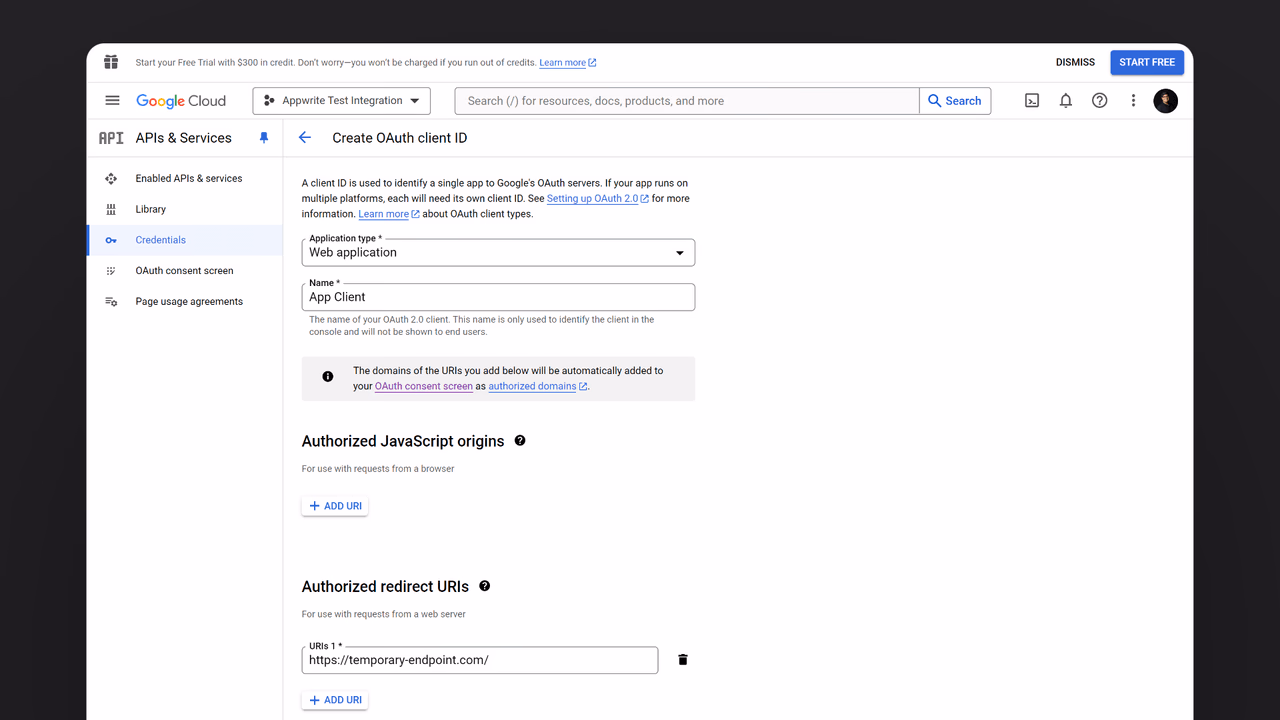
Save the generated Client ID and Client secret for later usage.
Step 2: Add Google OAuth adapter to your Appwrite project
For this step, you must create an account on Appwrite Cloud or self-host Appwrite if you haven’t already. In your Appwrite project, head over to the Auth page, open the Settings tab, and click on Google under the OAuth2 Providers section.
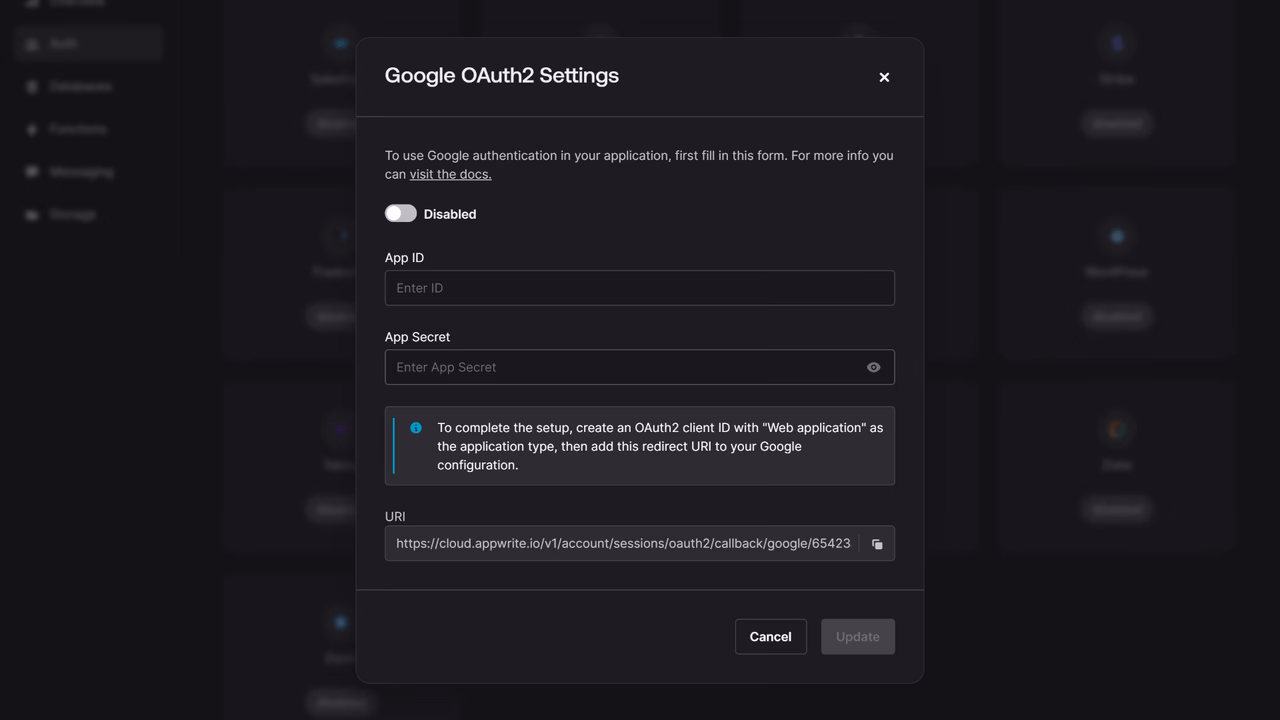
Add the Client ID and Client secret you saved from Google Cloud and copy the URI to add to the authorized redirect URIs field in the credential you created on Google Cloud.
Step 3: Test the provider.
Follow the OAuth 2 login flow to test your provider.
Read more about Google and Appwrite Auth
If you would like to learn more about Google and Appwrite Auth, we have some resources that you should visit: