Claude Desktop is a standalone application by Anthropic that allows users to interact with the Claude large language model directly from their Mac or Windows desktops. Designed for convenience and speed, it offers a distraction-free chat experience, supports multiple conversations, and runs natively for faster performance and system integration. Whether you're brainstorming, coding, summarizing documents, or automating workflows, Claude Desktop makes it easy to harness AI assistance without relying on a browser.
How does the integration work?
The Appwrite MCP server integrates with Claude Desktop using the Model Context Protocol (MCP), allowing you to connect your Appwrite project to Claude Desktop.
This integration enables you to perform various operations on your Appwrite resources, such as creating users, managing databases, and more, directly from Claude Desktop using natural language commands.
How to implement
To implement the MCP with Claude Desktop integration, there are several steps you must complete:
Step 1: Create an Appwrite API key
First, you must create an account on Appwrite Cloud or self-host Appwrite if you haven't already.
Select your project (or create a new one), and head to the Overview page from the left sidebar. Under the Integrations section, click on the API Keys tab, and then click on Create API Key. Select the scopes for whichever Appwrite services you want to work with, set the duration, and create the API key. You must then copy it for future usage.
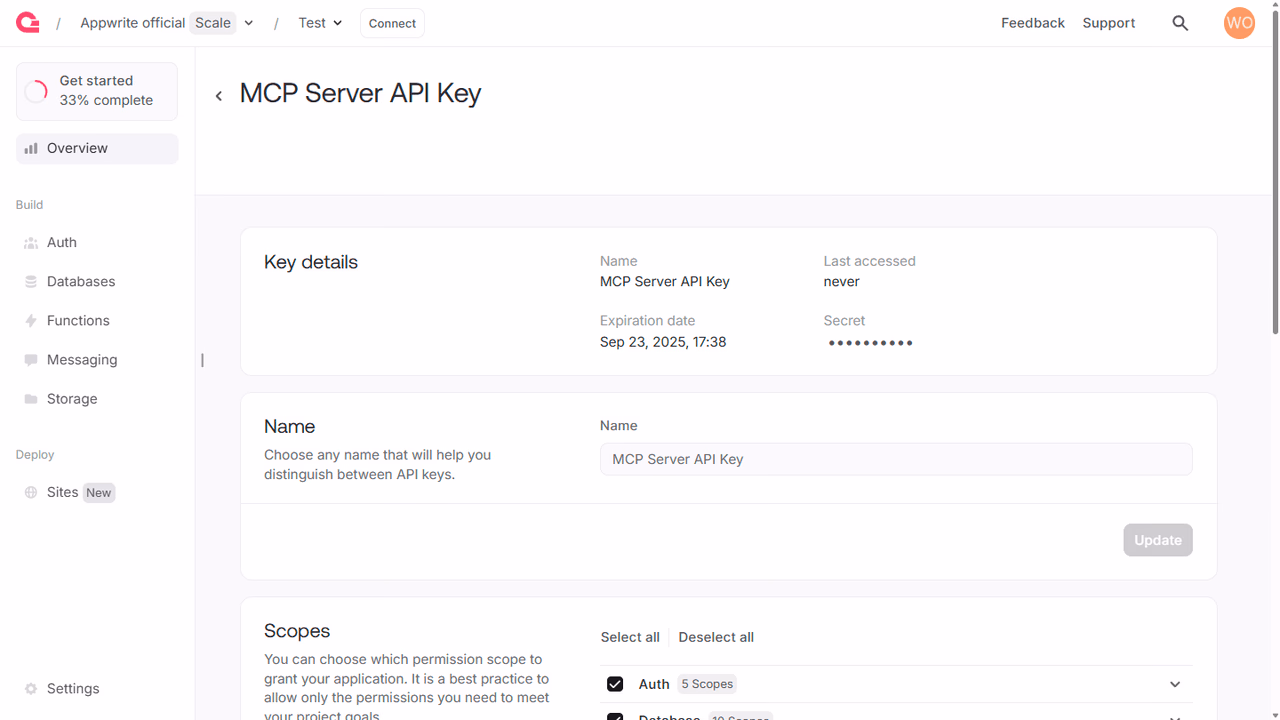
Then, head to the Settings page from the left sidebar, and copy the Project ID and API Endpoint for future usage.
Step 2: Configure the MCP server on Cursor
Pre-requisite: Install uv
You must install uv on your system to use the MCP server.
To configure the MCP server on Claude Desktop, head to the app's Settings page (press CTRL + , on Windows or CMD + , on MacOS), navigate to the Developer tab, and click on Edit Config. This will open the claude_desktop_config.json file, where you must add the following:
{
    "mcpServers": {
        "appwrite": {
            "command": "uvx",
            "args": [
                "mcp-server-appwrite"
            ],
            "env": {
                "APPWRITE_API_KEY": "<your-api-key>",
                "APPWRITE_PROJECT_ID": "<your-project-id>",
                "APPWRITE_ENDPOINT": "https://<REGION>.cloud.appwrite.io/v1"
            }
        }
    }
}
This configuration will set up the MCP server to connect to your Appwrite project using the API key, project ID, and endpoint, which you must update before saving and exiting the file.
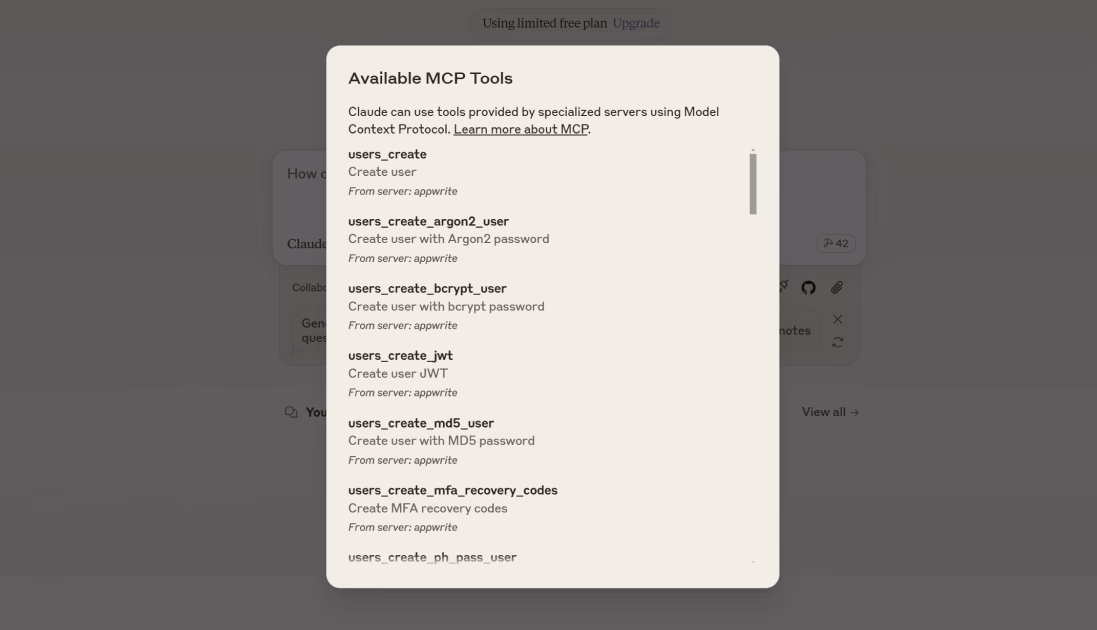
Once you have updated and saved the claude_desktop_config.json file, restart Claude Desktop and click on the MCP tools button (at the bottom right section of the prompt input) to view the available MCP tools.
Claude Code
If you are using the Claude Code CLI, you can use the following command in your terminal to configure the MCP server in the exact same manner:
claude mcp add-json appwrite '{"command":"uvx","args":["mcp-server-appwrite"],"env":{"APPWRITE_PROJECT_ID": "your-project-id", "APPWRITE_API_KEY": "your-api-key", "APPWRITE_ENDPOINT": "https://<REGION>.cloud.appwrite.io/v1"}}'
Step 3: Test the integration
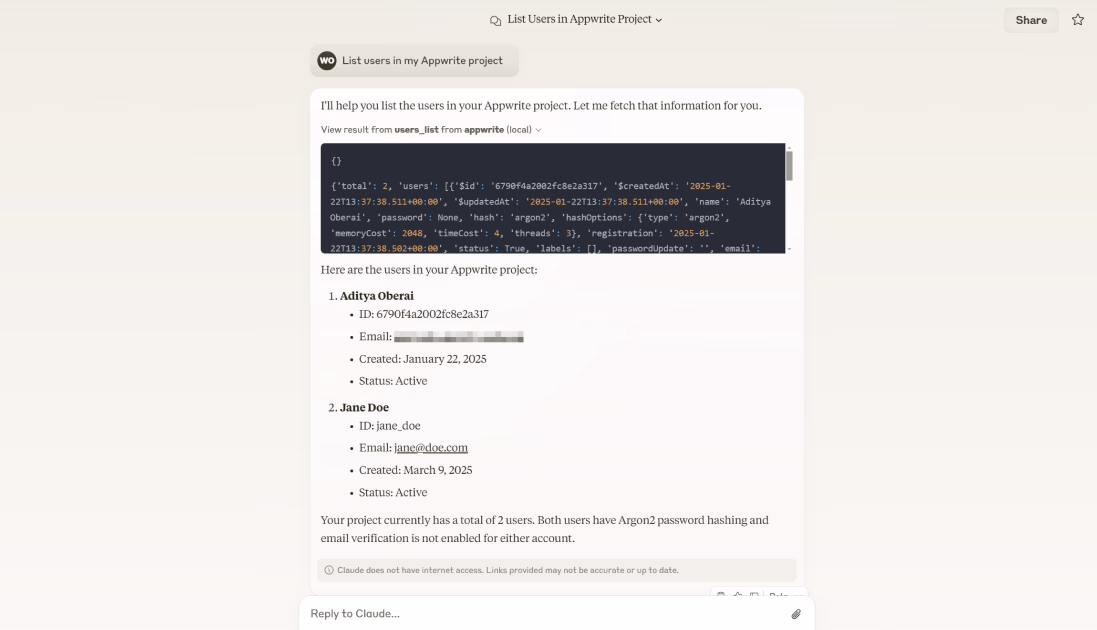
Finally, you can test the integration by asking Claude Desktop to list all the users in your Appwrite project.
Read more about MCP with Claude Desktop
If you would like to learn more about MCP with Claude Desktop, we have some resources that you should visit: