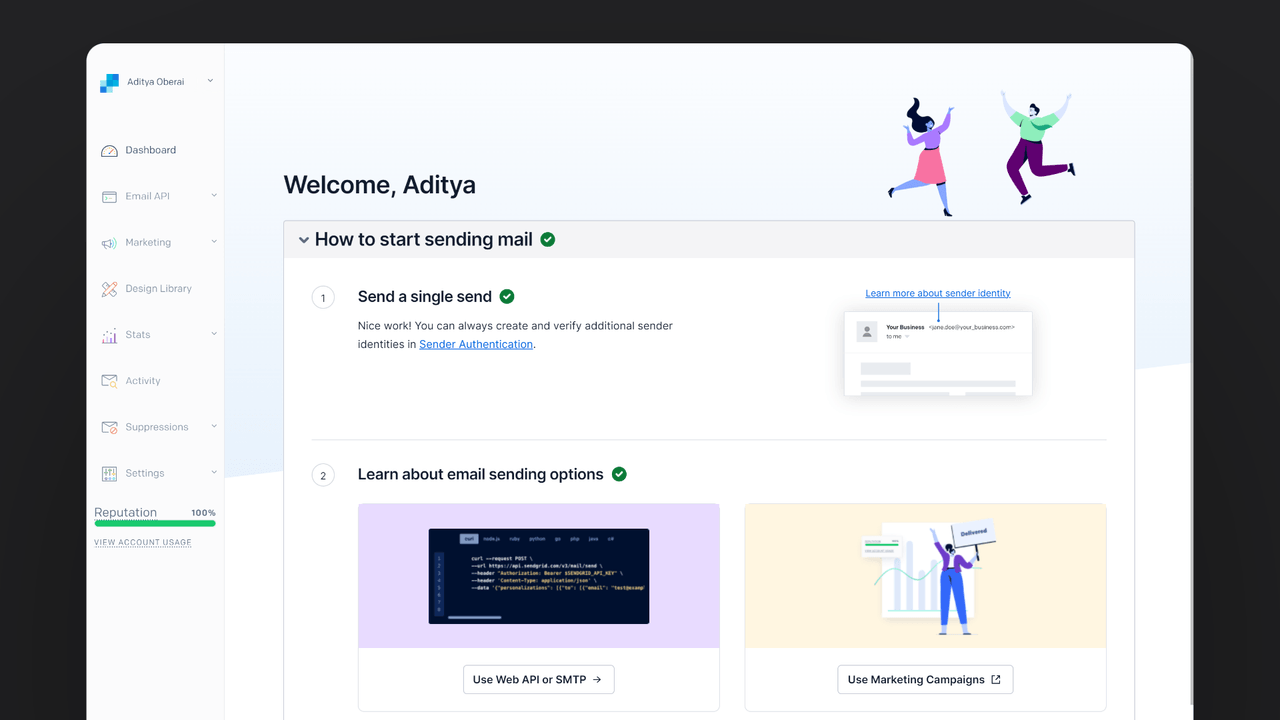
SendGrid is a cloud-based service that provides email delivery and marketing solutions. It helps businesses manage email communications, including transactional emails (like password resets and order confirmations) and marketing emails (newsletters and promotions).
How does the integration work?
You can use the SendGrid provider in Appwrite Messaging to send customized emails to your users for various purposes such as reminders, promotions, announcements, and even custom authentication flows. They can be sent immediately or scheduled for later.
How to implement
To implement the SendGrid provider in Appwrite Messaging, there are several steps you must complete:
Step 1: Sign up on Sendgrid
First, you must sign up for a SendGrid account and finish your account setup.

Next, create an API key with full access and save the key for further usage. After, follow SendGrid's Domain Authentication process to authenticate your domain name. If you don’t own a domain, you can follow their Single Sender Verification process to verify your Sender identity.
Step 2: Add SendGrid provider to your Appwrite project
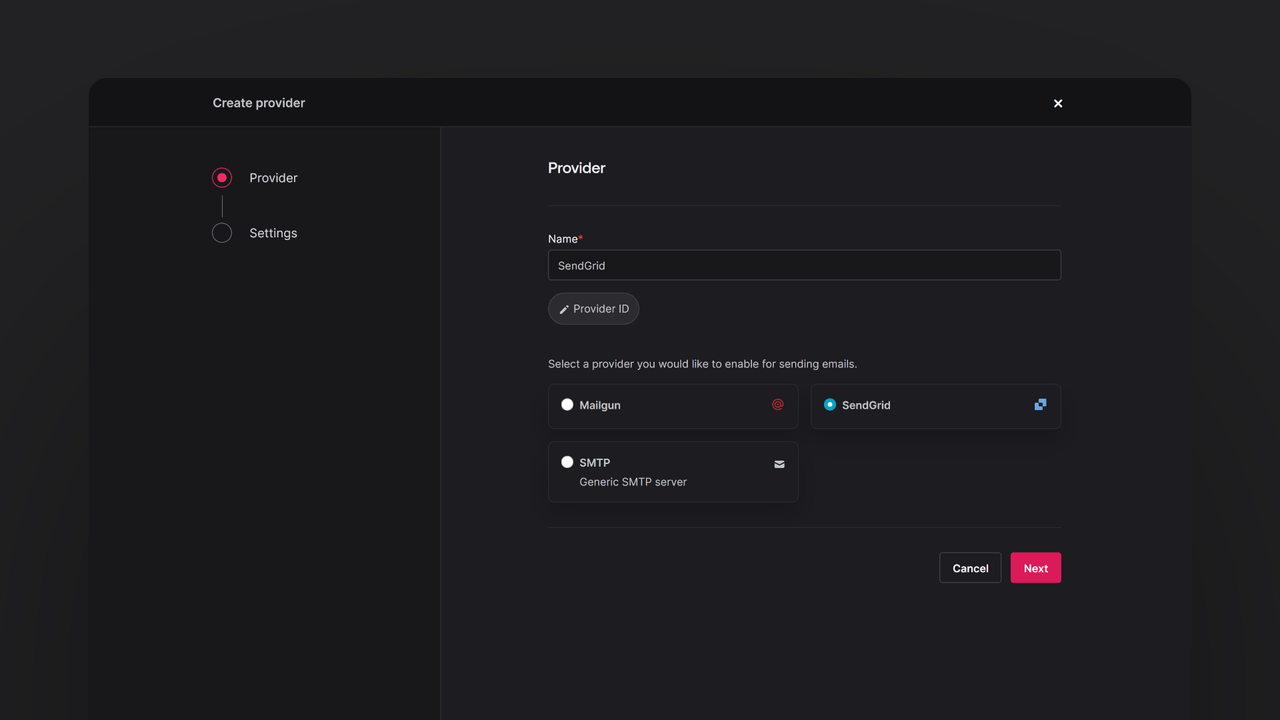
For this step, you must create an account on Appwrite Cloud or self-host Appwrite if you haven’t already. In your Appwrite project, head over to the Messaging page, click on the Providers tab, and create a new Email provider.

Fill in the following fields:
| Field name | |
API key | The full access API key you saved from the SendGrid dashboard. |
Sender email | The provider sends emails from this sender email. The sender email must either be an email under an authenticated domain or a verified sender identity. |
Sender name | The sender name that appears in the emails sent from this provider. |
Reply-to email | The reply-to email that appears in the emails sent from this provider. The reply-to email must either be an email under an authenticated domain or a verified sender identity. |
Reply-to name | The reply-to name that appears in the emails sent from this provider. |
Step 3: Test the SendGrid provider
Before you proceed, you must already have at least one topic or target set up.
Once the provider is set up, you can go to the Messages tab on the Messaging page and create an email message. You can add the test message, configure the users to send the message to, and pick when the message should be sent out.

Read more about Sendgrid and Appwrite Messaging
If you would like to learn more about Sendgrid and Appwrite Messaging, we have some resources that you should visit:


