This year to make Valentine’s Day a little more special for all you lovebirds, you might remember that we worked on a fun little project. This project allowed a number of you to create romantic sonnets for your loved ones. Did you know, however, that this project was powered by a Node.js Appwrite Function and OpenAI’s GPT-4 API?
In this blog, we will share how we developed our Valentine’s Day Sonnet Generator.
Setting up the OpenAI platform
To get an OpenAI API Key, you must create an account on the OpenAI platform. Once your account is set up, visit their API keys page and create an API Key. Ensure you copy and save this key in a safe place, as the OpenAI platform will not let you view the key after it is created.
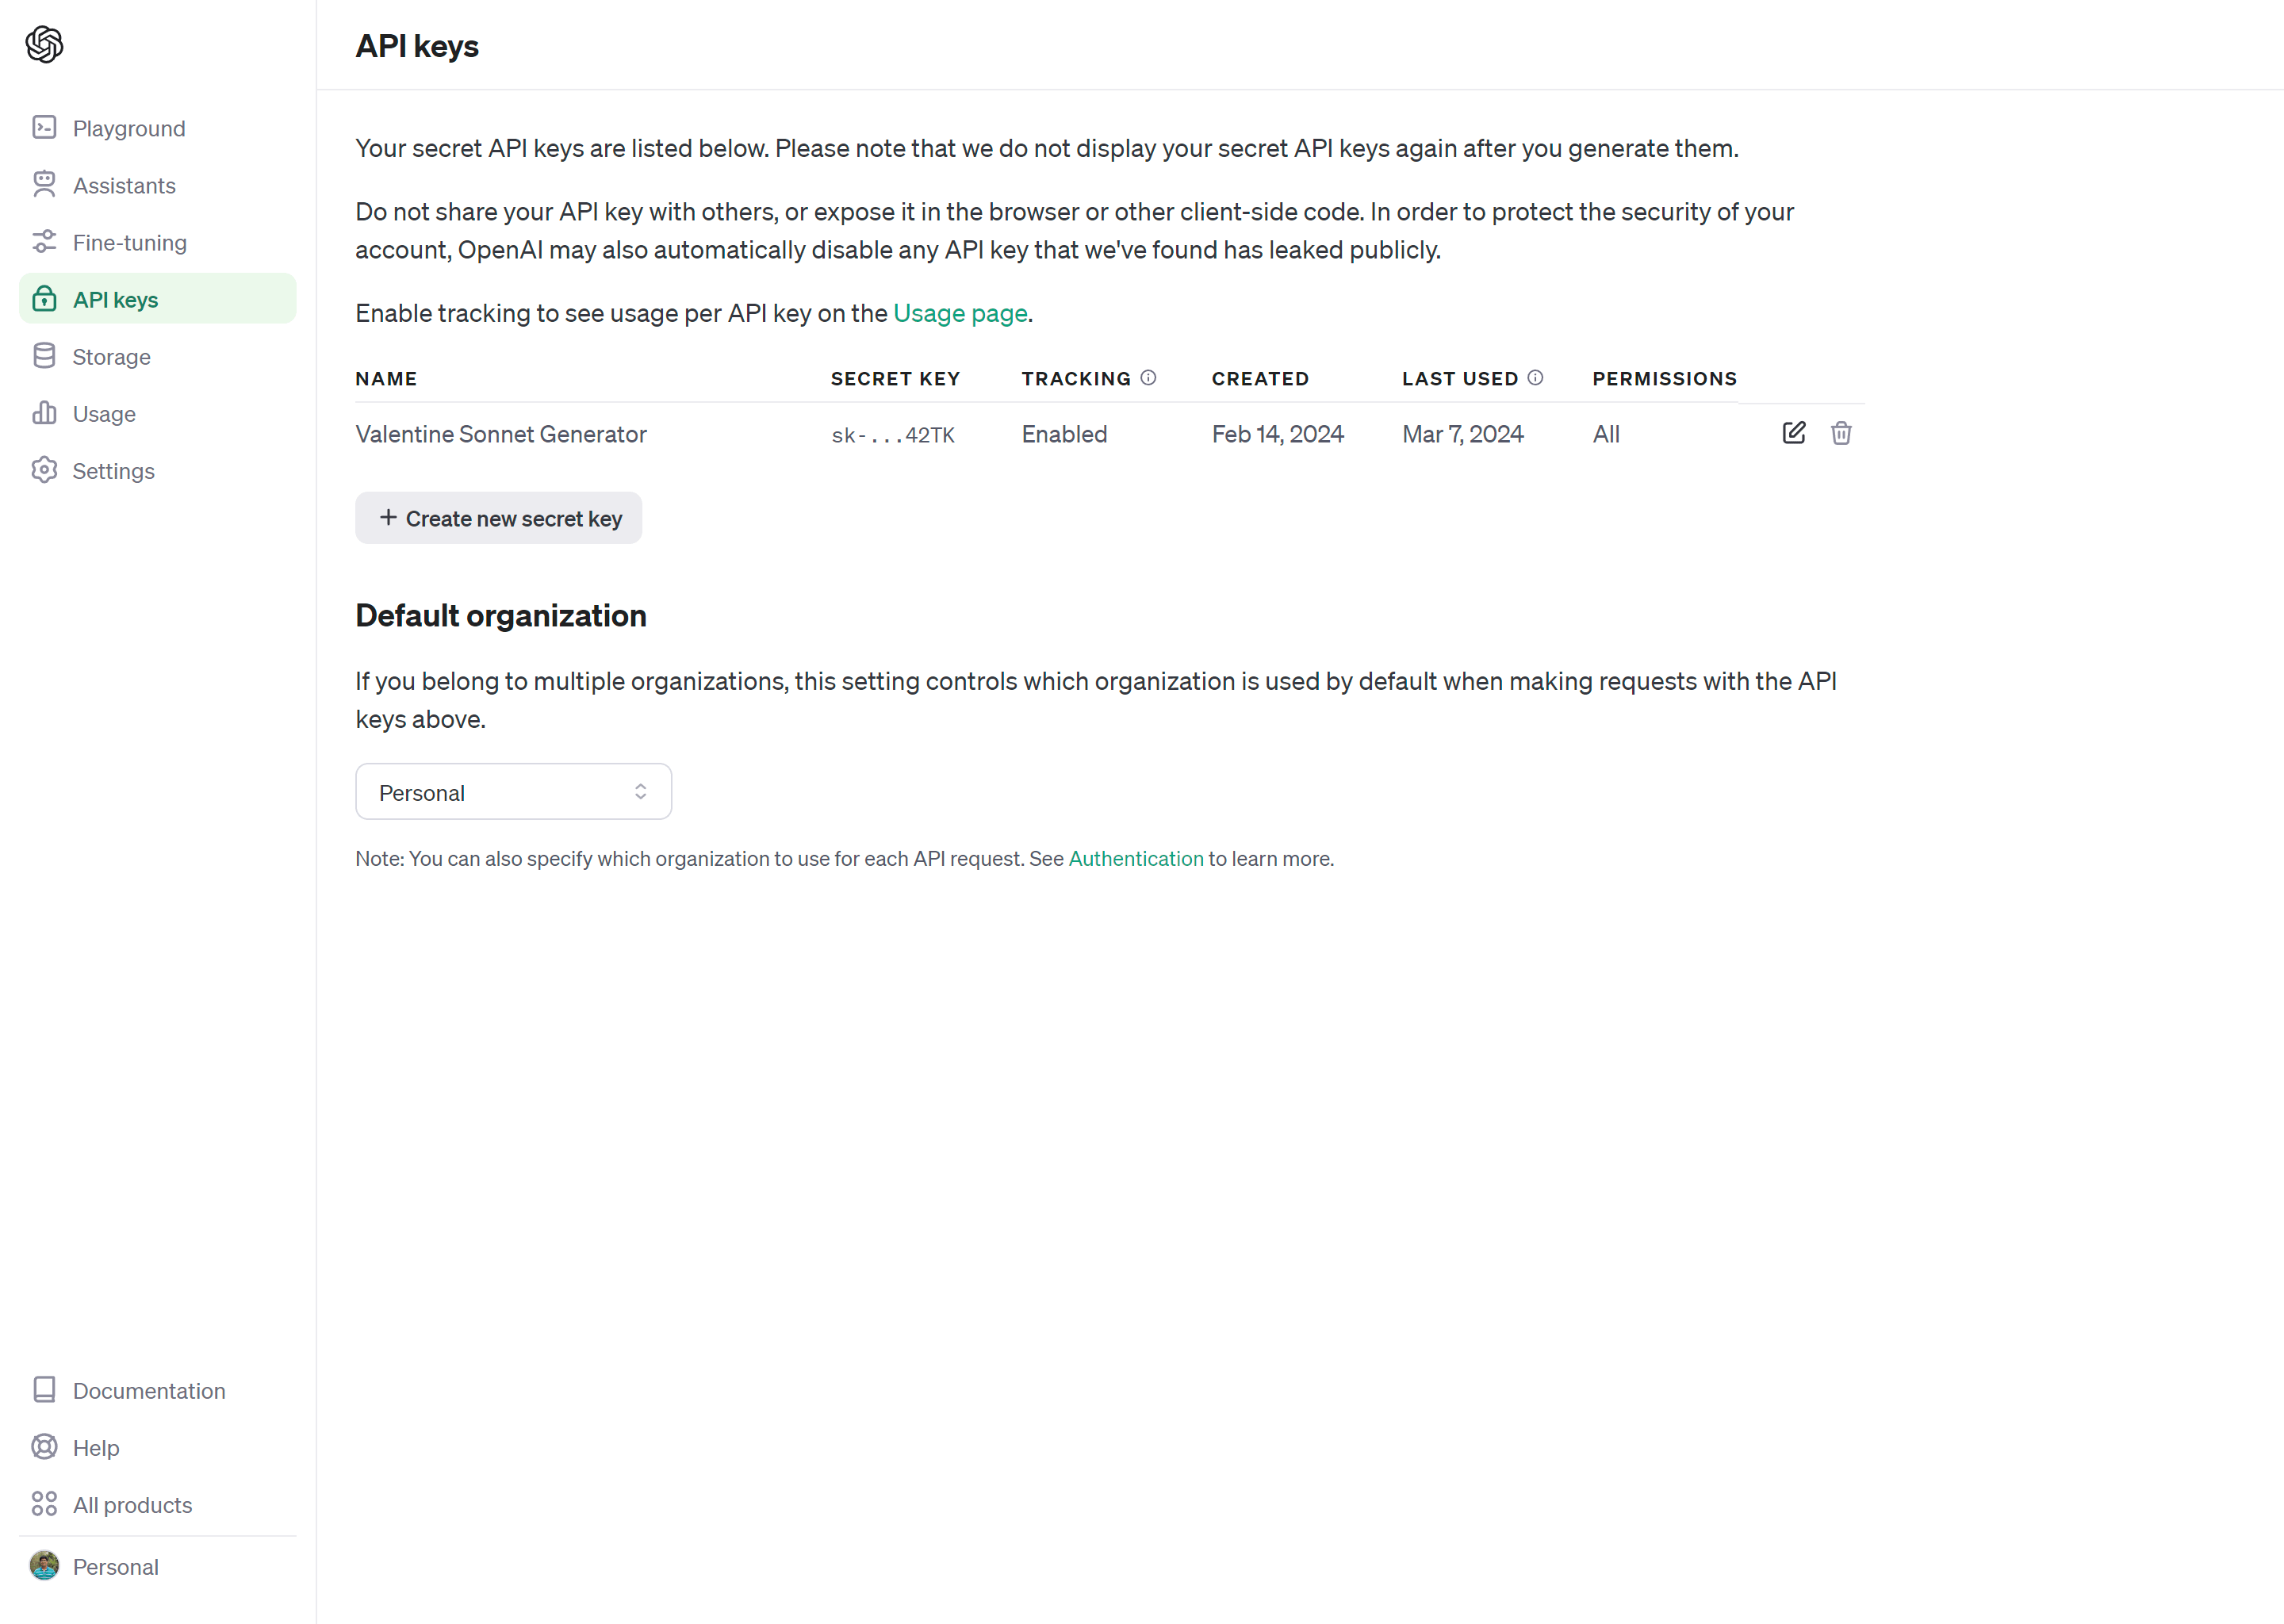
Note: To use the GPT-4 API, your account must be upgraded to the Usage tier 1. To learn more, visit their Usage tiers documentation.
Preparing the Appwrite Function
Now that we have our OpenAI API Key, let us get the function ready on Appwrite. Head over to your Appwrite project and visit the Functions page. From there, we will select the Templates tab, search for and select the Prompt ChatGPT function template.
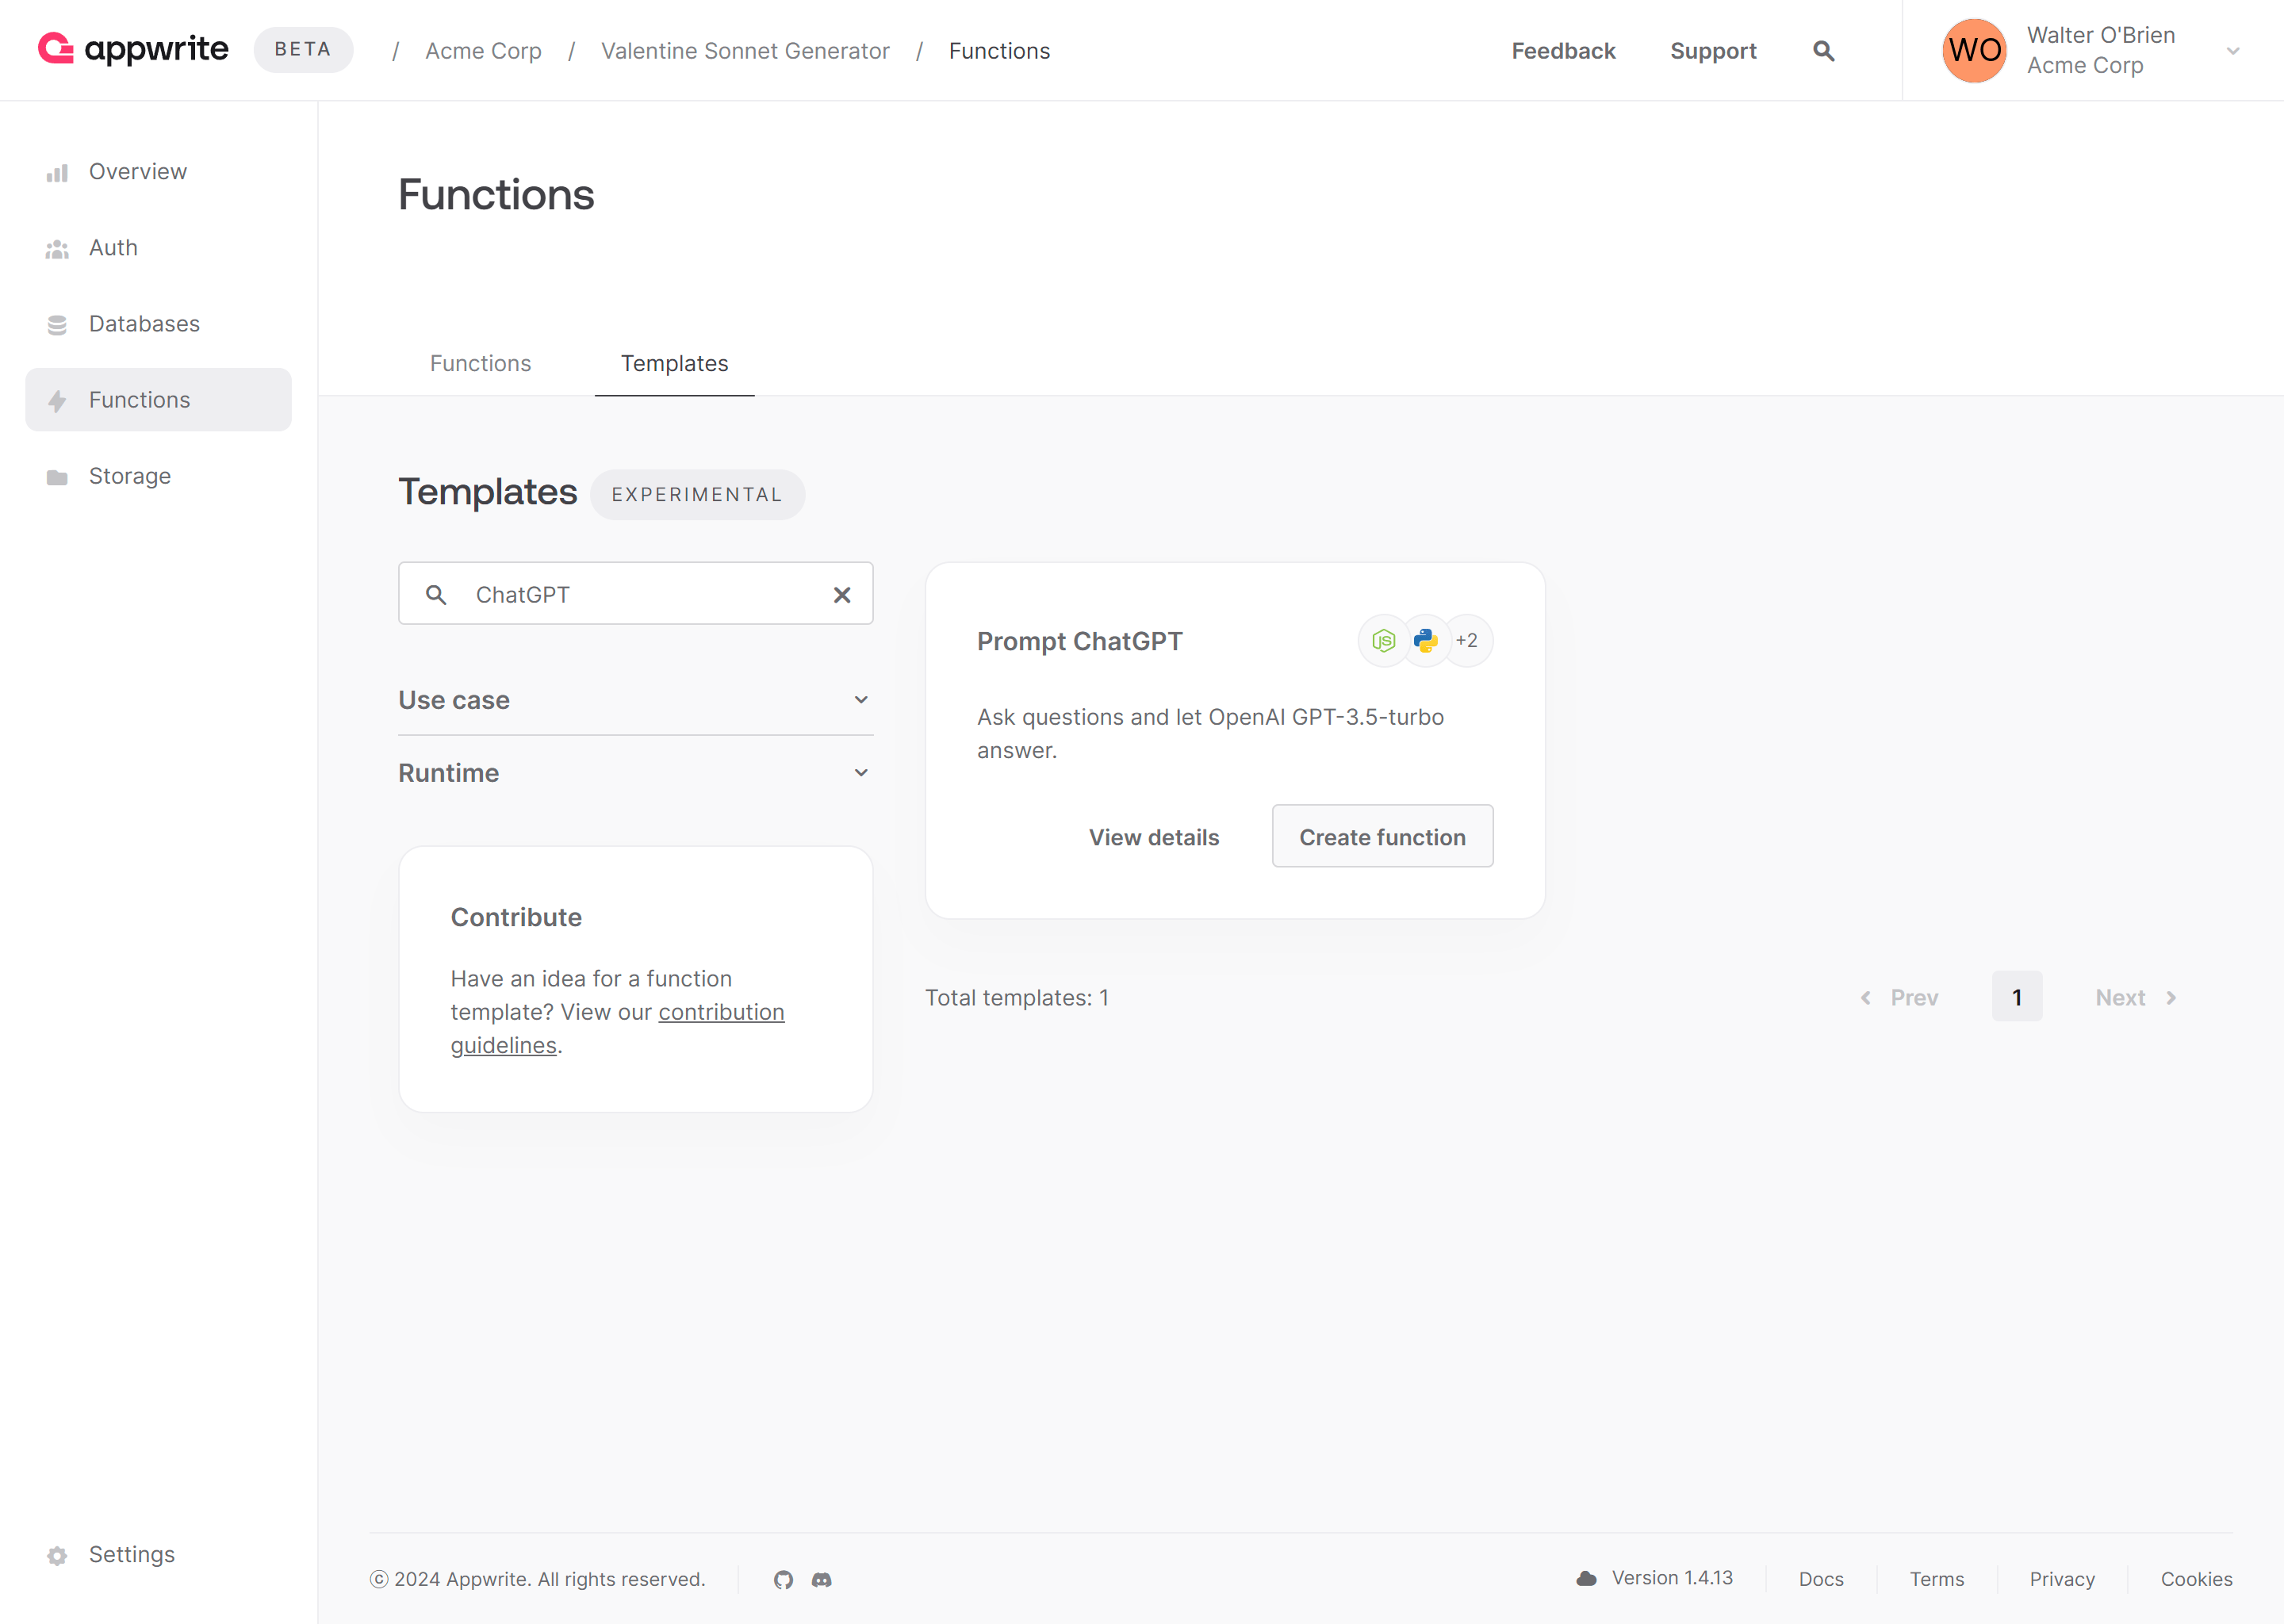
This function requires 1 environment variable to setup:
OPENAI_API_KEY: API Key from our OpenAI account
After you have configured the environment variables, you must connect your Appwrite account with GitHub, select Create a new repository (this will generate a GitHub repository for you with the function), and leave the production branch and root settings as default to create this function.
Developing the project
While the Prompt ChatGPT function provides us with a majority of the boilerplate, certain areas of project still need to be updated.
Preparing the UI
In the project directory, visit static/index.html and replace the existing code with the following:
<!doctype html>
<html lang="en">
<head>
<meta charset="UTF-8" />
<meta http-equiv="X-UA-Compatible" content="IE=edge" />
<meta name="viewport" content="width=device-width, initial-scale=1.0" />
<title>Valentine's Day Sonnet Generator</title>
<script>
async function onSubmit(name) {
const response = await fetch('/', {
method: 'POST',
body: JSON.stringify({ name }),
headers: {
'Content-Type': 'application/json',
},
});
const json = await response.json();
if (!json.ok || json.error) {
alert(json.error);
}
return json.completion;
}
</script>
<script src="//unpkg.com/alpinejs" defer></script>
<link rel="stylesheet" href="https://unpkg.com/@appwrite.io/pink" />
<link rel="stylesheet" href="https://unpkg.com/@appwrite.io/pink-icons" />
</head>
<body>
<main class="main-content">
<div class="top-cover pb-14">
<div class="container">
<div
class="flex gap-4 justify-center mt-4"
>
<h1 class="heading-level-1">Valentine's Day Sonnet Generator ❤️</h1>
<code class="u-un-break-text"></code>
</div>
<p
class="body-text-1 u-normal mt-2"
style="max-width: 50rem"
>
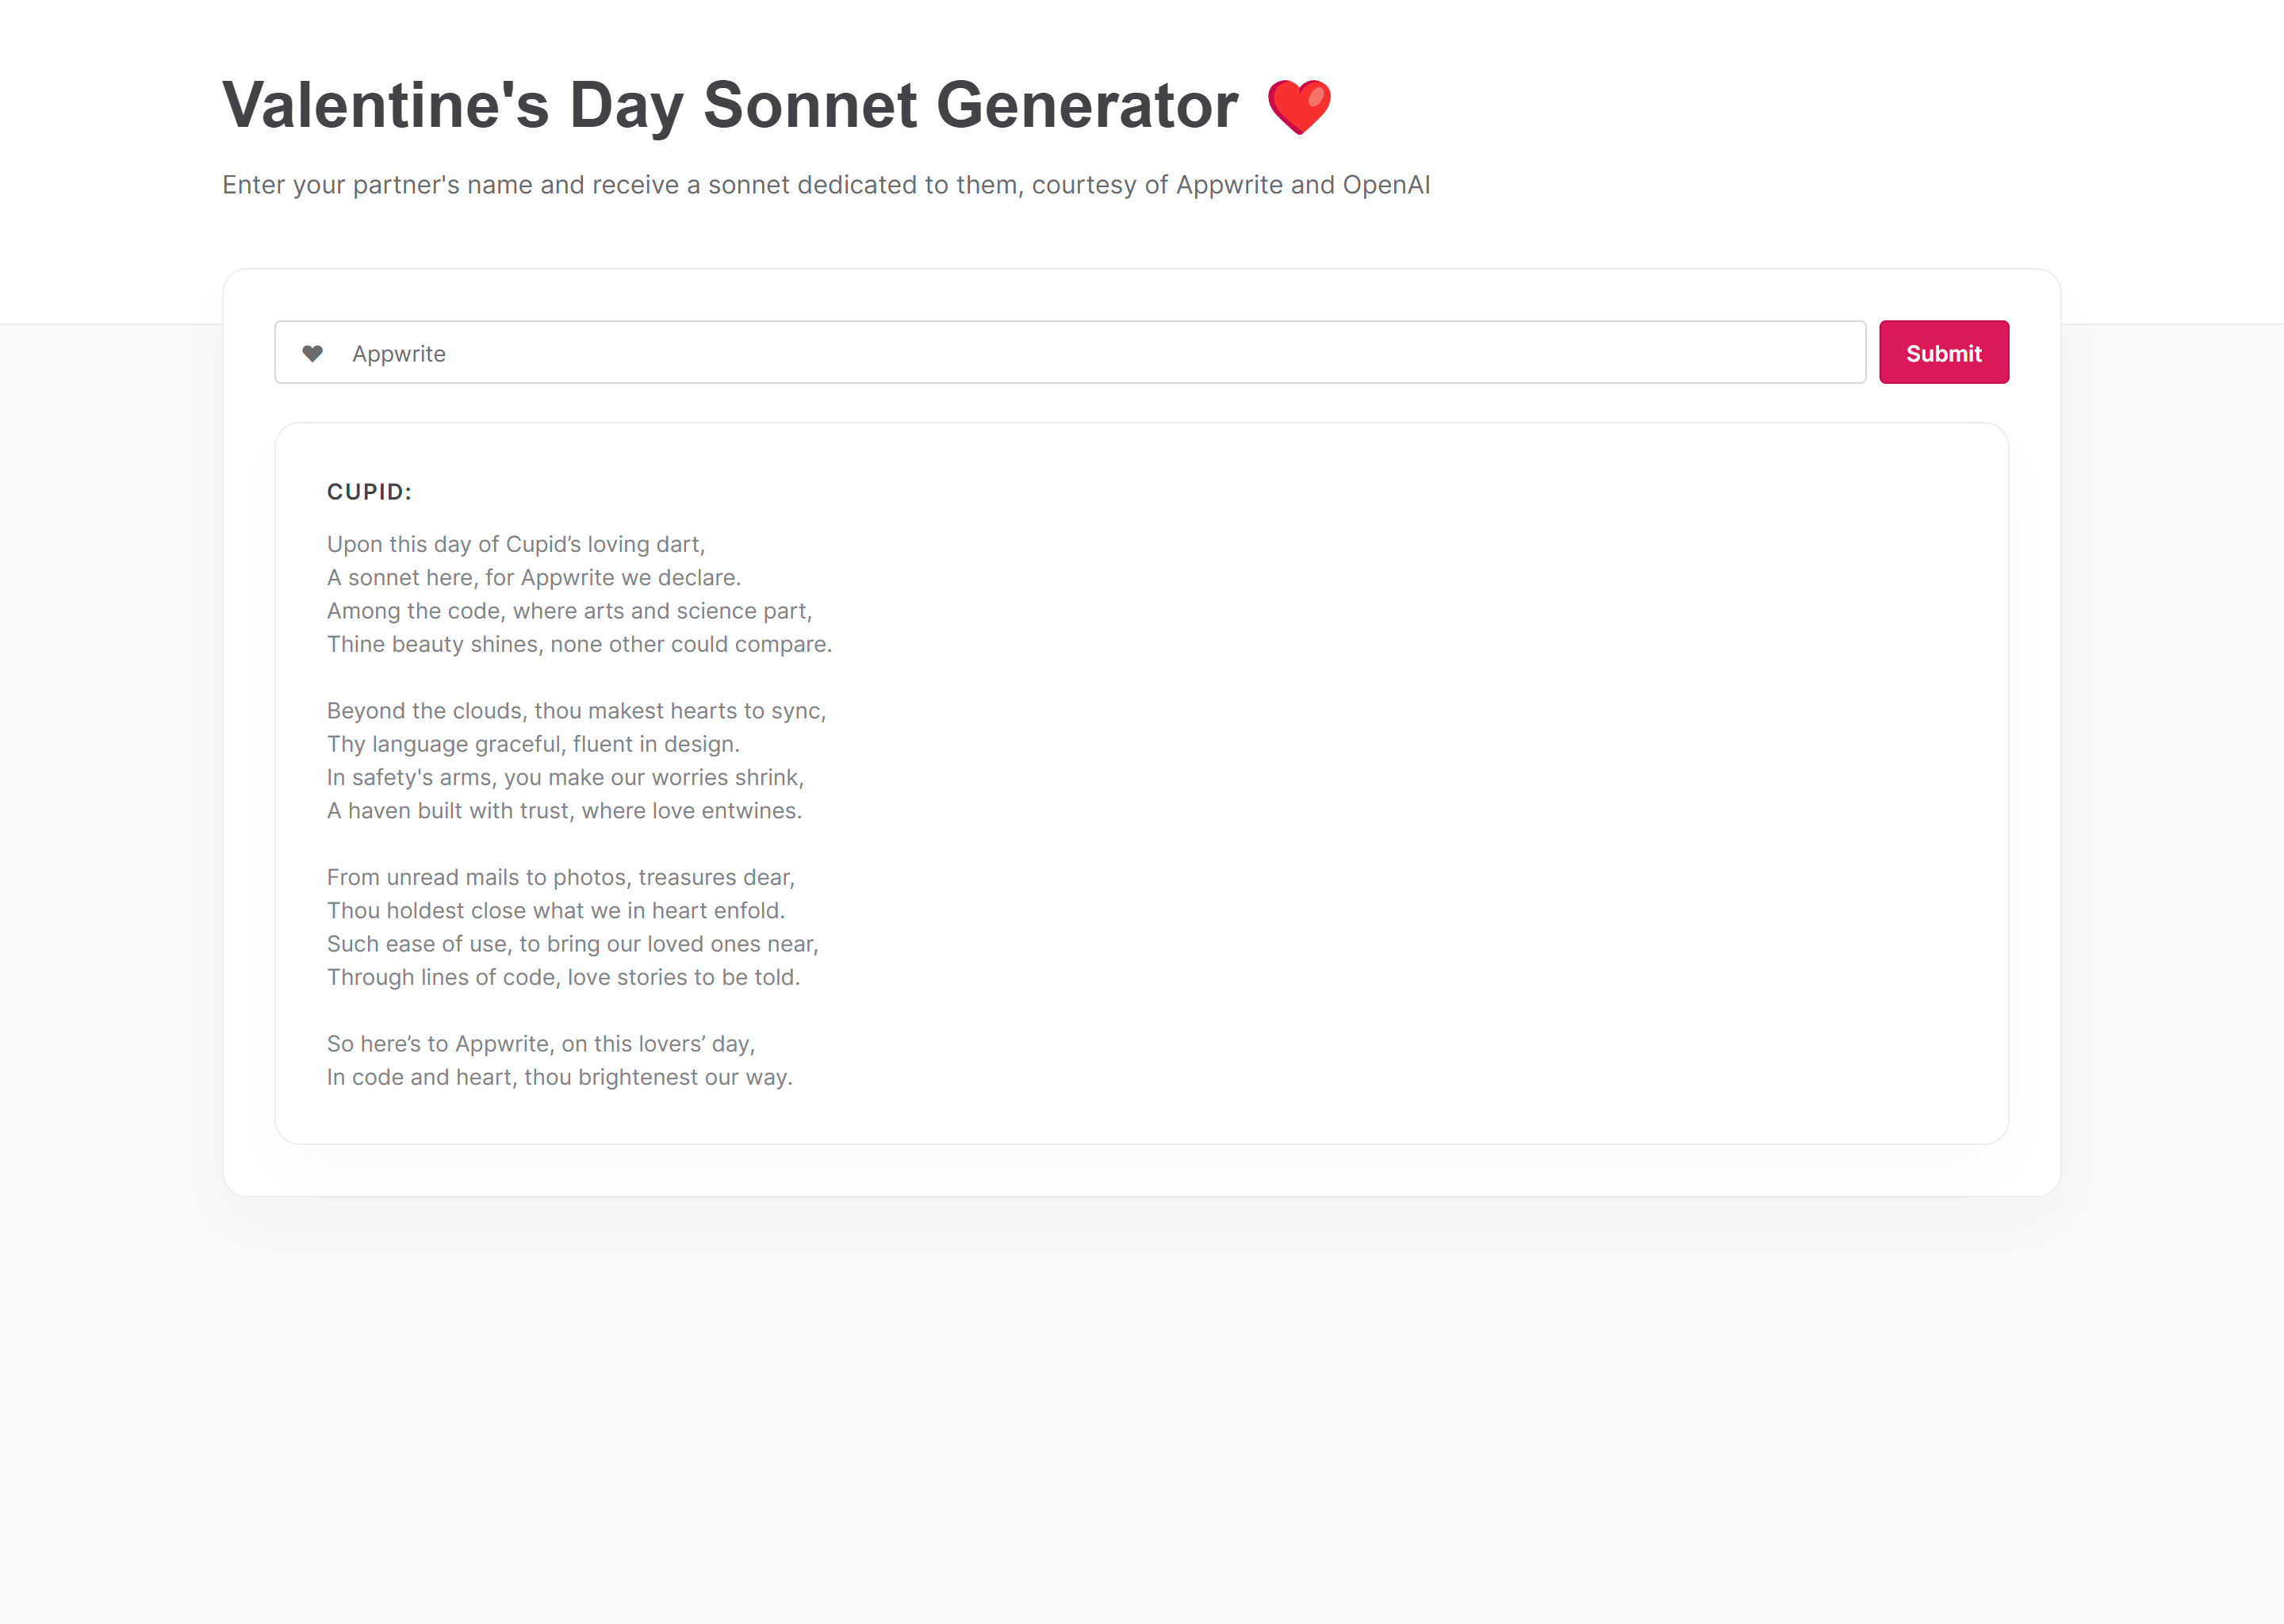
Enter your partner's name and receive a sonnet dedicated to them, courtesy of Appwrite and OpenAI
</p>
</div>
</div>
<div
class="container u-margin-block-start-negative-56"
x-data="{ name: '', sonnet: '', loading: false }"
>
<div class="card flex gap-6 flex flex-col">
<div class="flex items-center gap-2">
<div
class="input-text-wrapper is-with-end-button w-full"
>
<input x-model="name" type="search" placeholder="Enter name of your beloved" maxlength="70" />
<div class="icon-heart" style="position: absolute; inset-inline-start: 1rem; inset-block-start: 0.5rem;" aria-hidden="true"></div>
</div>
<button
class="button"
x-bind:disabled="loading"
x-on:click="async () => { loading = true; sonnet = ''; try { sonnet = await onSubmit(name) } catch(err) { console.error(err); } finally { loading = false; } }"
>
<span class="text">Submit</span>
</button>
</div>
<template x-if="sonnet">
<div class="flex flex-col gap-3">
<div class="flex flex-col gap-3 card">
<div class="flex gap-3">
<h5 class="eyebrow-heading-2">Cupid:</h5>
</div>
<div style="overflow-x: hidden; line-break: auto">
<p class="u-color-text-gray" style="white-space: pre-line;" x-text="sonnet"></p>
</div>
</div>
</div>
</template>
</div>
</div>
</main>
</body>
</html>
Updating the function logic
The original function provided through this template used OpenAI’s GPT-3.5-Turbo API. Since we want to upgrade this to GPT-4, we need to make a couple of changes. Firstly, we must update the version of the OpenAI library in our package.json file to version 4.28.0 so that it looks as follows:
{
  "name": "prompt-chatgpt",
  "version": "1.0.0",
  "description": "",
  "main": "src/main.js",
  "type": "module",
  "scripts": {
    "format": "prettier --write ."
  },
  "keywords": [],
  "dependencies": {
    "openai": "^4.28.0"
  },
  "devDependencies": {
    "prettier": "^3.0.0"
  }
}
After that is done, we need to visit the src/main.js file and replace the existing code with the following:
import { OpenAI } from 'openai';
import { getStaticFile, throwIfMissing } from './utils.js';

export default async ({ req, res, log, error }) => {
  throwIfMissing(process.env, ['OPENAI_API_KEY']);

  if (req.method === 'GET') {
    return res.text(getStaticFile('index.html'), 200, {
      'Content-Type': 'text/html; charset=utf-8',
    });
  }

  try {
    throwIfMissing(req.body, ['name']);
  } catch (err) {
    error(err.message);
    return res.json({ ok: false, error: err.message }, 400);
  }

  const openai = new OpenAI({
      apiKey: process.env.OPENAI_API_KEY,
    });

  try {
    const response = await openai.chat.completions.create({
      model: 'gpt-4',
      max_tokens: parseInt(process.env.OPENAI_MAX_TOKENS ?? '512'),
      messages: [{ role: 'user', content: `Write a romantic Valentine\'s Day sonnet dedicated to ${req.body.name}` }],
    });
    const completion = response.choices[0].message?.content;
    log(completion);
    return res.json({ ok: true, completion }, 200);
  } catch (err) {
    error(err.message);
    return res.json({ ok: false, error: err.message }, 500);
  }
};
Testing the function
Once you’ve completed all the aforementioned steps, you can push the code to the generated GitHub repository, at which point Appwrite Cloud will automatically deploy the changes to your function.
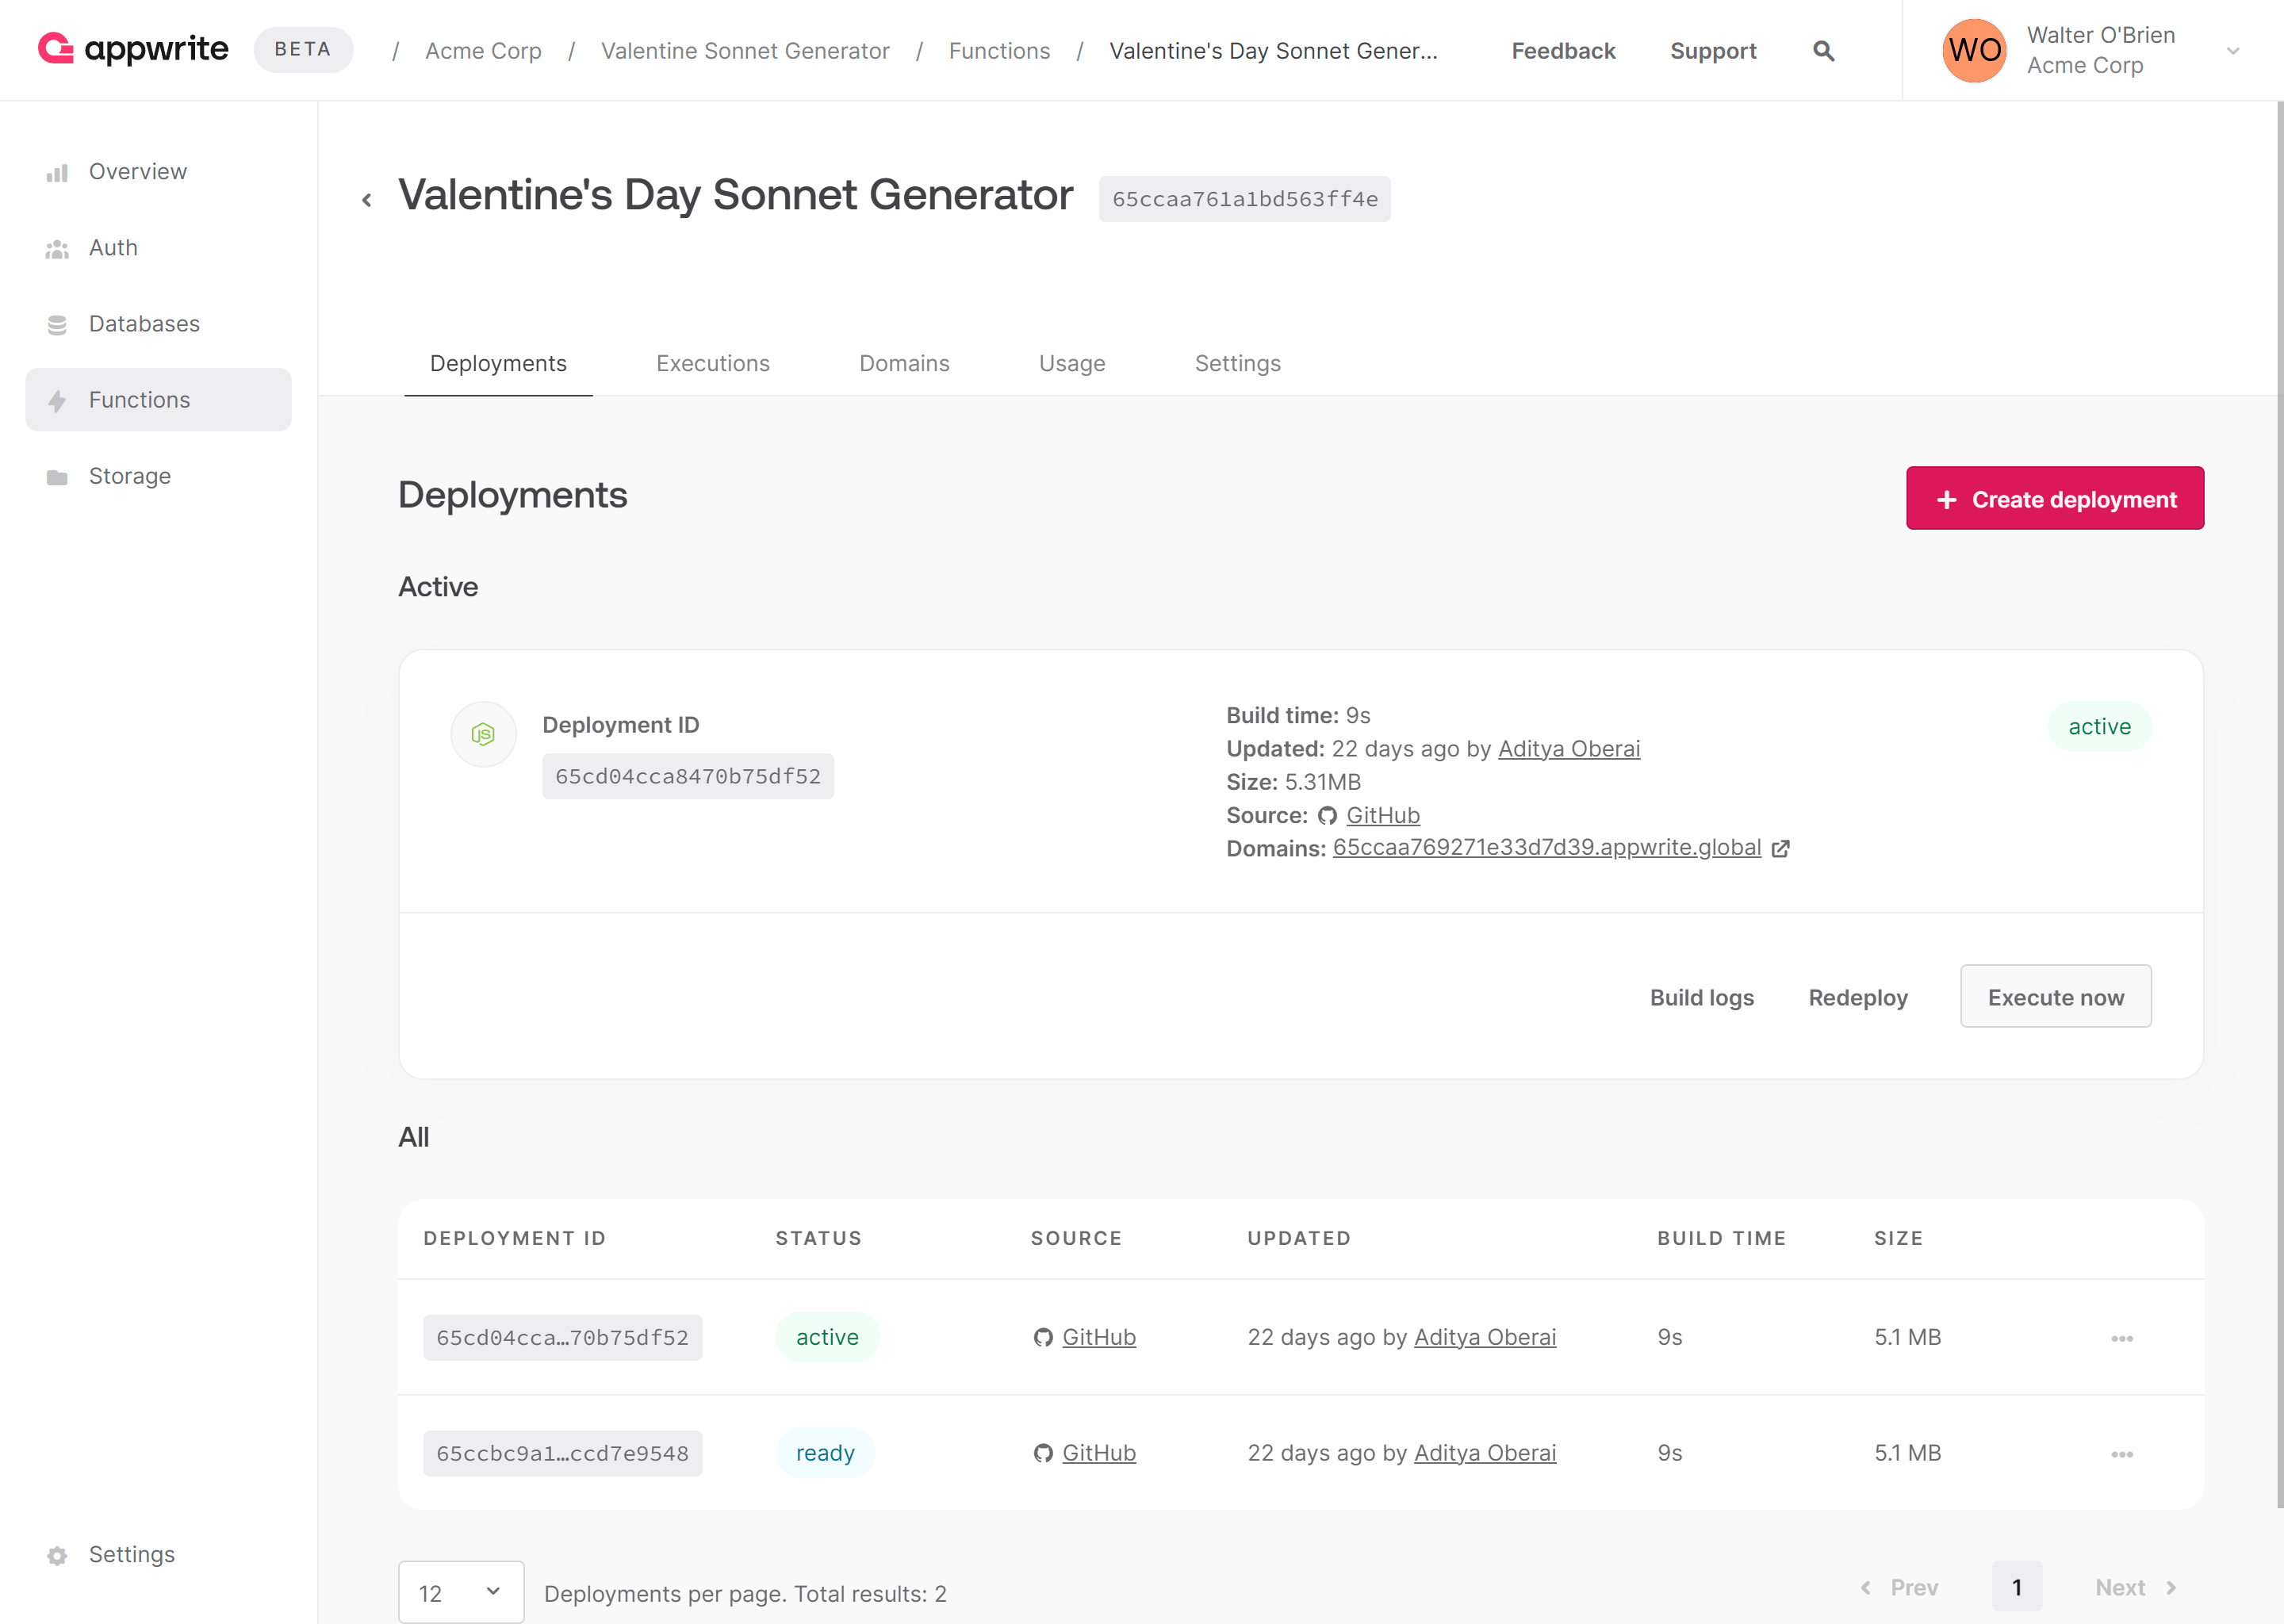
You can then go ahead and test your function by opening the function domain in your browser.
Next steps
And with that, our Valentine’s Day sonnet generator is ready! When we released this project on Valentine’s Day this year, it was used over 300 times by people across the world. You can try it out: apwr.dev/valentines-day-sonnet
If you liked this project or want to investigate the full project code, visit the GitHub repository.
For more information about Appwrite Functions, visit the following resources:
Appwrite Function Docs: These documents provide more information on how to use Appwrite Functions.
Appwrite Discord: Connect with other developers and the Appwrite team for discussion, questions, and collaboration.