Recently, Appwrite launched its newest product, Appwrite Messaging, an open-source messaging solution that allows you to send push notifications, emails, and SMS directly to your users. In this blog, we will discuss all the fundamental features of the Messaging product and how a message is actually sent through the internal service.
Unified messaging platform
To give you a quick refresher, Messaging covers three communication channels under one unified API, allowing you to send email, SMS, and push notifications from your Appwrite project. It connects with a variety of third-party providers, such as Vonage, Twilio, Mailgun, and more, to deliver your messages. Our documentation provides a full overview of providers.

Messaging concepts
Appwrite Messaging helps you communicate with your users through push notifications, emails, and SMS text messages. With Messaging, you can deliver messages to groups of users through topics or address individual users' email, phone, or devices through targets. This enables several use cases, such as
Personalized communication for marketing
Real-time app alerts to increase user engagement and retention
Transactional messages, such as payment updates, invoices, etc.
Custom security checks and authentication flows
Let’s now discuss the three core Messaging concepts: topics, targets, and messages.
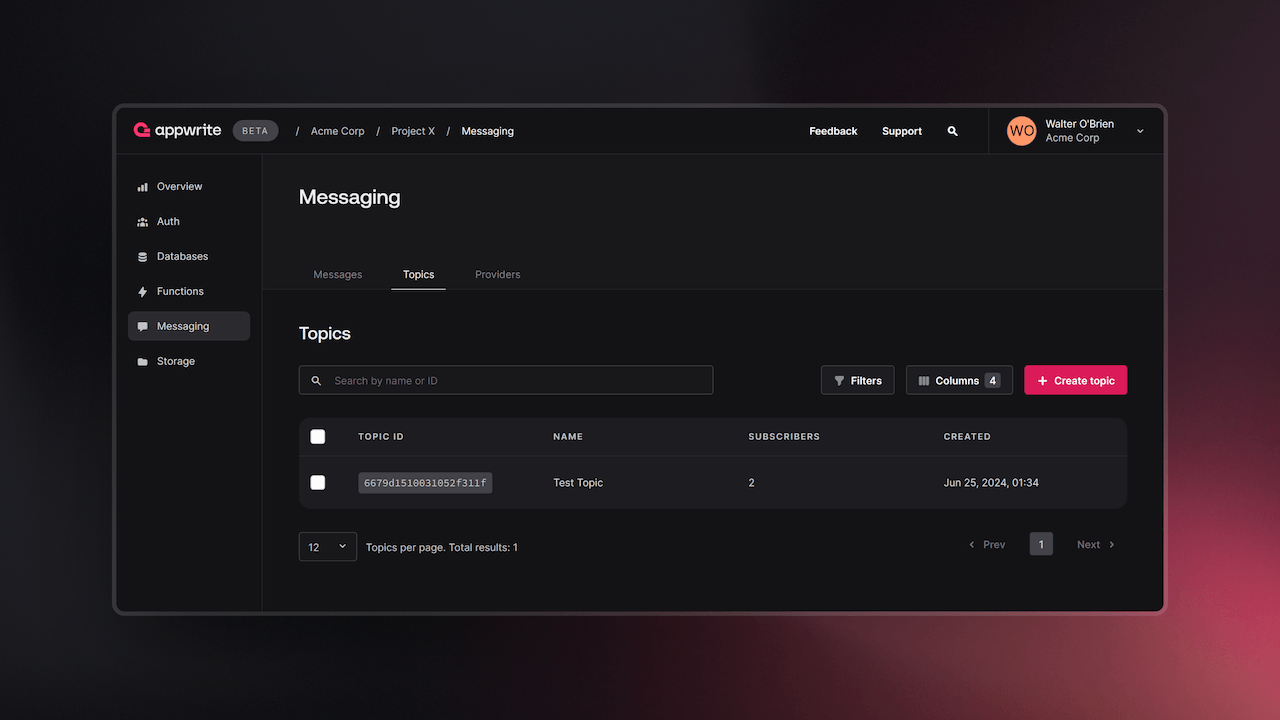
Topics
In Appwrite Messaging, you can use topics to deliver messages to groups of users at once. Topics should have a clear meaning or goal. For example, a topic can represent a group of customers that receive common announcements or product updates.
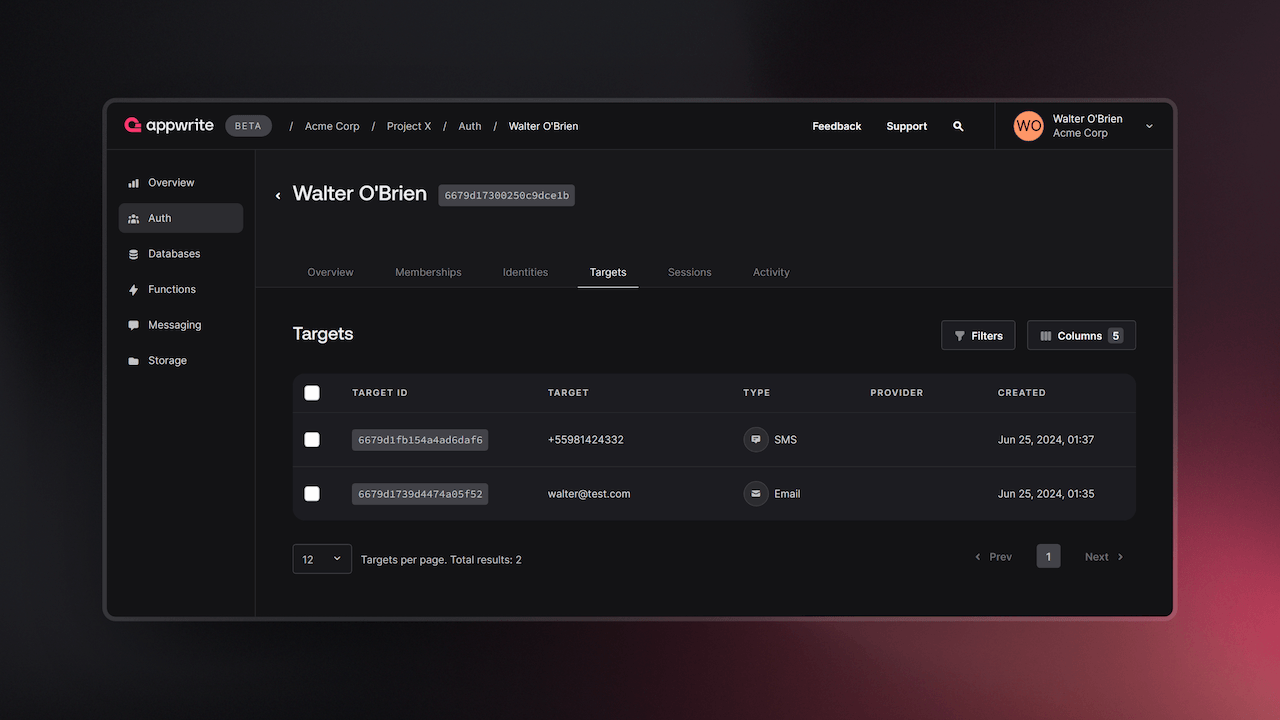
Targets
Targets are different ways a user can be reached. For example, a user might have two emails, a phone number, and a phone and tablet installed with your app. This means the user has five different targets where you can deliver messages.
You can send a message directly to a set of targets or add them as subscribers to a topic. For example, if you want to send a payment reminder to a user manually, you could choose to send it just to a specific target. If you want to send out your monthly newsletter, you could have a topic many targets can subscribe to and then send the message to the topic instead.
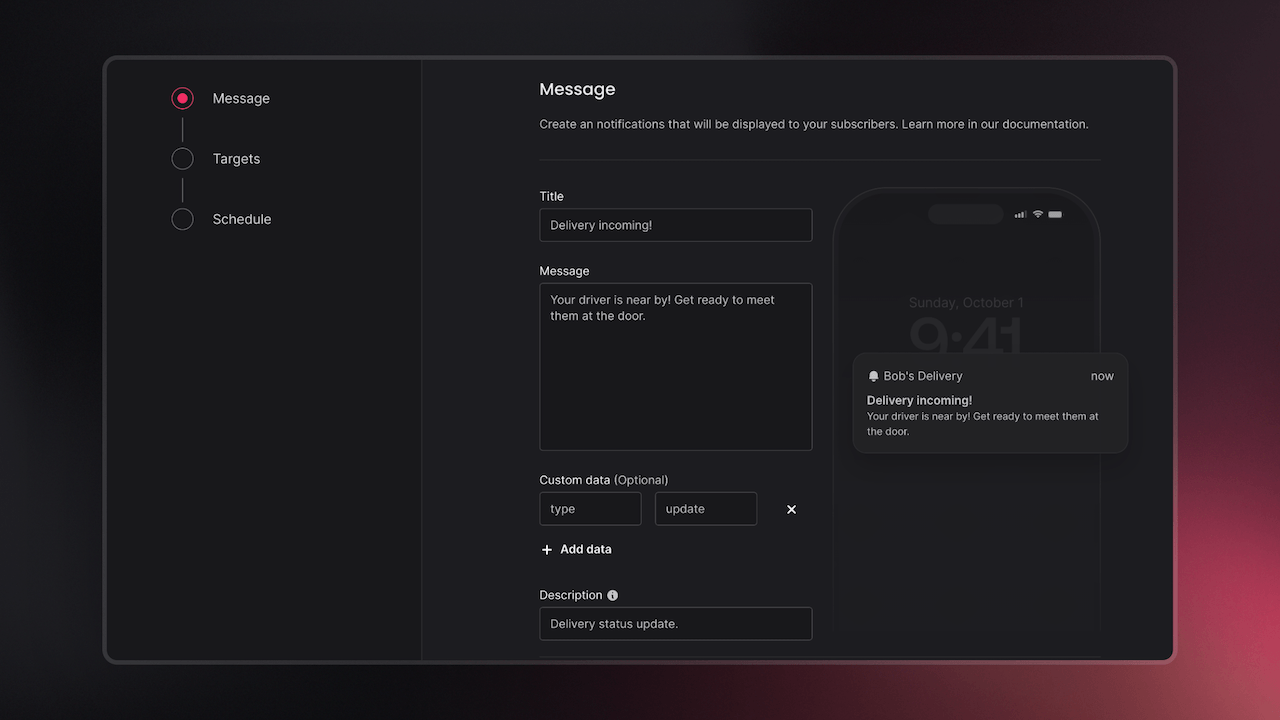
Messages
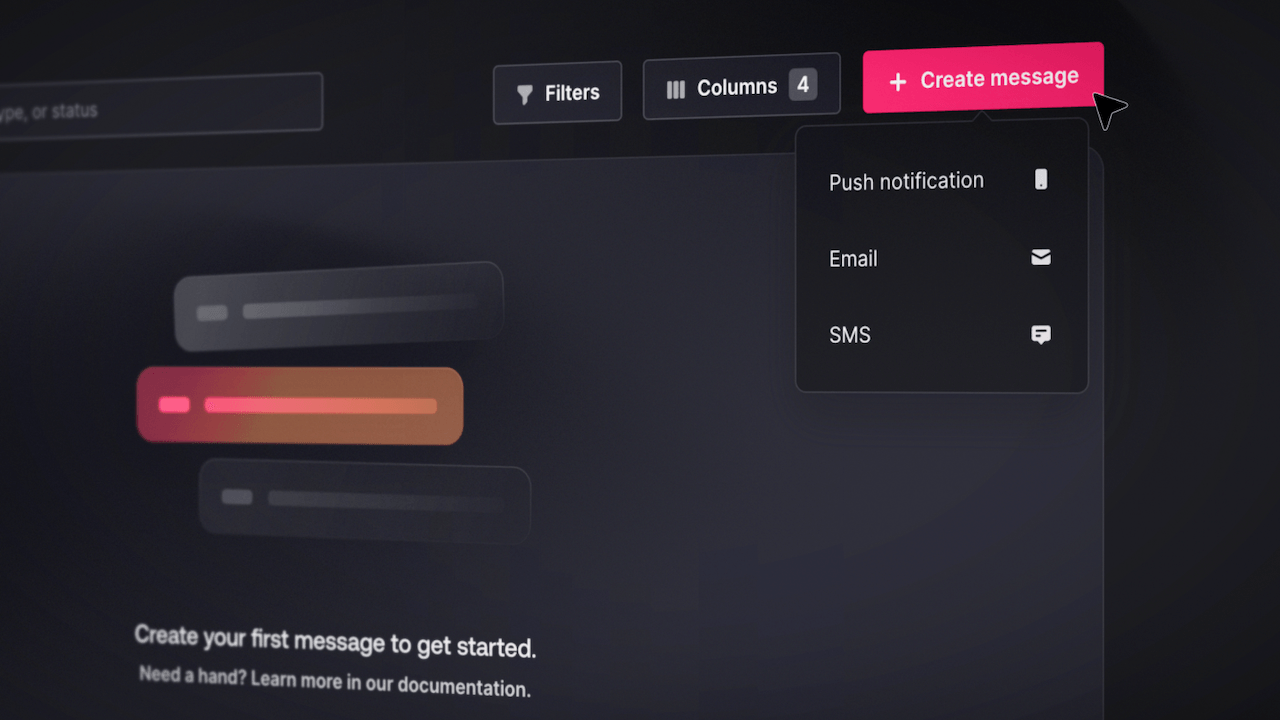
Messages contain information that is sent to a user from the application. A message can be of any of the following types:
Push notifications
Emails
SMS
Here’s an example of how you would programmatically send an SMS to a topic using the Appwrite Node.js SDK.
const sdk = require('node-appwrite');

const client = new sdk.Client()
    .setEndpoint('https://cloud.appwrite.io/v1')  // Your API Endpoint
    .setProject('<PROJECT_ID>')                  // Your project ID
    .setKey('919c2d18fb5d4...a2ae413da83346ad2'); // Your secret API key

const messaging = new sdk.Messaging(client);
.
.
.
const message = await messaging.createSms(
    sdk.ID.unique(),
    'Hello from Appwrite Messaging!',
    [smsTopic], // topic to send SMS to
    [],
    [],
    false,
    ''
);
You can also watch the product tour on YouTube to get a full overview of Messaging from the Console.
How Messaging works
Now that we have learned about the three core concepts of Appwrite Messaging, let us dive deeper into how the product works. Each time you send or schedule a push notification, email, or SMS text, it's recorded in Appwrite as a message is displayed in the Messages tab. However, there is a lot more that goes on under the hood.
Here's a step-by-step breakdown of how Appwrite Messaging works:
Validate input on API request
The process starts when the Appwrite API is called to create a message, which validates the input.
Create message document
A document containing details about the message, including recipients and content, is created on the internal database.
Create schedule document
A schedule document is created on the internal database, specifying when the message should be sent. This document is necessary for the message scheduler.
Queue the message via the message scheduler
Every minute, the scheduler checks the internal database for scheduled messages.
For each scheduled message, it checks if the message should be sent at that time.
If yes, the message is queued for sending.
Preparing and sending the message via the messaging worker:
First, the worker fetches users and targets from topics, where targets can be email addresses, devices, or phone numbers. Targets that don't match the message type are ignored.
The worker then fetches the appropriate provider for each target based on the message type. If no specific provider is set, the first enabled provider matching the message type is used.
Targets are grouped based on the corresponding provider.
The message content is built for the specific provider and sent to the targets in batches. The worker then checks for other pending providers and repeats this step accordingly.
After sending the messages, the message status and logs are updated on the internal database and displayed on the Appwrite Console.
Going forward
We hope this blog improved your understanding of how Appwrite Messaging works. With that said, we have numerous additional resources to help you learn more about messaging in applications and build with Appwrite Messaging: