Whether we contribute to any existing software or build new one, user authentication is a fundamental feature our users need. Between email-password authentication, magic URLs, phone and email OTPs, and 30+ OAuth providers, Appwrite offers a variety of 1st-party offerings for your apps. However, every now and then, you will need an authentication solution beyond this list. Fortunately, Appwrite now offers a solution that allows developers to integrate any external authentication method with their Appwrite project.
Therefore, in this blog, we will learn about Appwrite’s custom token authentication solution, how it works, and how you can implement it in a SvelteKit app.
What is custom token authentication?
Custom token authentication allows you to use one of Appwrite’s Server SDKs to generate tokens, short-lived secrets that can be exchanged for a session by a Client SDK to log in users. This allows you to code your own authentication methods using Appwrite Functions or your own server-side APIs. This can be beneficial in a number of scenarios, such as:
Legacy system integration: Integrate with old systems using unique authentication methods without major changes.
Custom security needs: Implement special security features like hardware tokens or voice recognition.
External authentication providers: Use providers like Clerk, SuperTokens, or Amazon Cognito, which Appwrite doesn’t support directly.
Advanced user authentication: Create more sophisticated auth workflows, for example, triggering different authentication methods based on the user's location, device, or behavior.
Single Sign-On (SSO): Integrate with enterprise SSO solutions that use protocols like SAML or LDAP.
Migration to Appwrite: Transition smoothly from an existing authentication system to Appwrite.
Implementing custom token authentication
In order to implement custom token authentication in an application, you need to develop two distinct parts:
Server-side function to run the authentication flow and create a user token
Client-side app to trigger the custom auth flow and create a session via the token secret
For the purposes of this demo application, I will be implementing these in a SvelteKit application.
Pre-requisites
Before we implement our auth flow, we must first:
Create an Appwrite project and create an API key
Set up a SvelteKit app on our local system
Appwrite
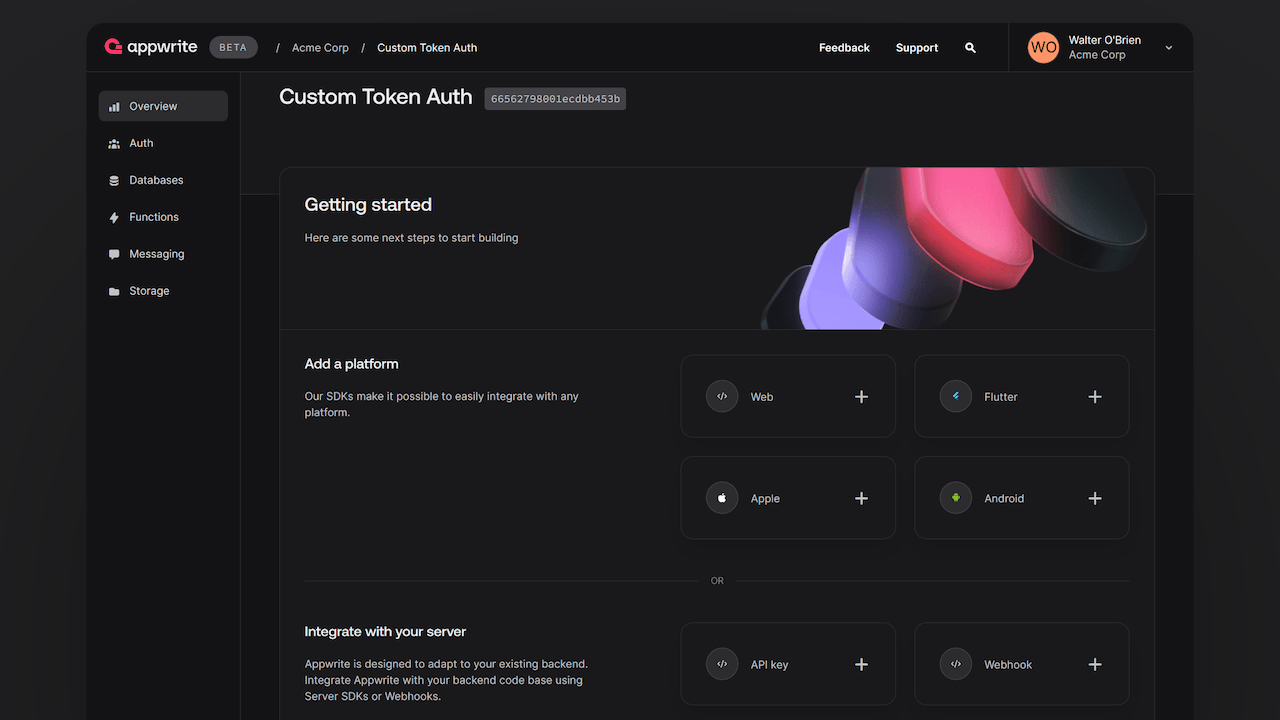
First, we must create an account on Appwrite Cloud, followed by creating a new project and an API key with the scopes users.read and users.write.
Note: If you plan to deploy this application publicly, please also add the hostname of your web app as a Web platform to the project.
SvelteKit
To build this app, we will use SvelteKit, a framework that lets you build web applications using JavaScript. For the purpose of this blog, we will use a server function in the SvelteKit app to create our custom auth flow. However, you can also use an Appwrite function or develop your own backend API if you prefer that.
We will first set up a skeleton SvelteKit project (without TypeScript):
npm create svelte@latest my-project
cd my-project
npm i
Next, we shall create a .env file at the root of the directory and add the following:
PUBLIC_APPWRITE_ENDPOINT=
PUBLIC_APPWRITE_PROJECT_ID=
APPWRITE_API_KEY=
Creating the server function
To create our server function, which contains the custom auth flow and creates a token, we will first install the Appwrite Node.js SDK by running the following command in our terminal:
npm i node-appwrite
We will then develop our API route /auth by creating a file ./src/routes/auth/+server.js and add the following code:
import { Client, Users, ID, Query } from 'node-appwrite';
import { PUBLIC_APPWRITE_ENDPOINT, PUBLIC_APPWRITE_PROJECT_ID } from '$env/static/public'; // Gets the public environment variables shared with the client
import { env } from '$env/dynamic/private'; // Gets the private server-only environment variable

const endpoint = PUBLIC_APPWRITE_ENDPOINT;
const projectId = PUBLIC_APPWRITE_PROJECT_ID;
const apiKey = env.APPWRITE_API_KEY;

const client = new Client()
    .setEndpoint(endpoint)
    .setProject(projectId)
    .setKey(apiKey);

const users = new Users(client);

/**
 * Returns user if user exists in Appwrite, if not creates a new user
 *
 * @param {string} email
 * @returns {Promise<import("node-appwrite").Models.User>} user
 */
async function getUser(email) {
    try {
        let usersList = await users.list([ Query.equal('email', email) ]);
        if (usersList.total != 0) {
            return usersList.users[0];
        } else {
            return await users.create(ID.unique(), email);
        }
    } catch (err) {
        console.error(err);
    }

}

/**
 * Logic for authentication
 *
 * @param {string} email
 * @param {string} password
 * @returns {Promise<import("node-appwrite").Models.User>} user
 */
async function authLogic(email, password) {
    try {
        // You can have any auth logic here. For this example, we're only matching the password with '123456'
        if (password === '123456') {
            return await getUser(email);
        } else {
	        returns null;
        }
    } catch (err) {
        console.error(err);
    }
}

export async function POST({ request }) {
    try {
        const requestBody = await request.json();
        const email = requestBody.email;
        const password = requestBody.password;

        // Call the auth logic
        let user = await authLogic(email, password);

        // If user exists, create a token
        if(user) {
            let token = await users.createToken(user.$id);

            // Ideally, you should not send the token object in response. Send the token secret to the user through an alternative secure channel
            return new Response(JSON.stringify({ user, token }), { status: 200, headers: { 'Content-Type': 'application/json' } });
        } else {
            return new Response(JSON.stringify({ message: 'Invalid credentials' }), { status: 401, headers: { 'Content-Type': 'application/json' } });
        }
    } catch(err){
        console.error(err);
        return new Response(JSON.stringify({ message: err.message }), { status: 500, headers: { 'Content-Type': 'application/json' } });
    }
}
When a POST request is sent to this endpoint, the POST action uses the authLogic function (which can contain any custom authentication logic). On successful credentials verification, the function returns a user from Appwrite (or creates a new one) using the getUser function.
One highly important note for production applications is that unless the client is already trusted, you should not return the token object directly to the client application. Instead, the token secret should be sent to the user over a secure channel such as email or SMS.
Developing the client app
Before we create our client app functionality, we will set up the Appwrite Web SDK. We will first install the SDK by running the following command in our terminal:
npm i appwrite
We will then create a file ./src/lib/appwrite.js and add the following code:
import { Client, Account } from 'appwrite';
import { PUBLIC_APPWRITE_ENDPOINT, PUBLIC_APPWRITE_PROJECT_ID } from '$env/static/public';

const endpoint = PUBLIC_APPWRITE_ENDPOINT;
const projectId = PUBLIC_APPWRITE_PROJECT_ID;

const client = new Client()
	.setEndpoint(endpoint) // Your API Endpoint
	.setProject(projectId); // Your project ID;

export const account = new Account(client);
Next, we will develop a page at the index route of our demo app. As this is a demo app, the code will focus only on the application logic. All CSS or styling-related information will be accessible in the final project repository at the end of the blog.
We will create a file ./src/routes/+page.svelte and add the following code:
<script>
	import { account } from '$lib/appwrite';
	import { onMount } from 'svelte';

	let user = '';
	let session = '';
	let token = '';

	let state = ['notLoggedIn', 'tokenGenerated', 'loggedIn'];
	let currentState = state[0];

	async function createToken(event) {
		try {
			event.preventDefault();

			let formData = new FormData(event.target);
			const email = formData.get('email');
			const password = formData.get('password');

			let authRequest = await fetch('/auth', {
				method: 'POST',
				headers: {
					'Content-Type': 'application/json'
				},
				body: JSON.stringify({ email, password })
			});

			let authRequestBody = await authRequest.json();

			user = authRequestBody.user;
			token = authRequestBody.token;
			currentState = state[1];
		} catch (error) {
			console.error(error);
		}
	}

	async function createSession() {
		session = await account.createSession(user.$id, token.secret);
		currentState = state[2];
	}

	async function logout() {
		token = '';
		session = '';
		currentState = state[0];
		await account.deleteSession('current');
	}

	onMount(async () => {
		await logout();
	});
</script>

<h1>Custom Token Auth Demo</h1>

{#if currentState == state[0]}
	<div>
		<h2>Login</h2>
		<form on:submit={createToken}>
			<div>
				<label for="email">Email</label>
				<input type="email" id="email" name="email" placeholder="Enter any email id" required />
			</div>
			<div>
				<label for="password">Password (Enter code: 123456)</label>
				<input type="text" id="password" name="password" placeholder="123456" required />
			</div>
			<button type="submit">Login</button>
		</form>
	</div>
{:else if currentState == state[1]}
	<div>
		<h2>Token secret: {token.secret}</h2>
		<button on:click={createSession}>Generate session</button>
	</div>
{:else if currentState == state[2]}
	<div>
		<h2>Session details</h2>
		<pre>{JSON.stringify(session, undefined, 4)}</pre>
		<button type="submit" on:click={logout}>Logout</button>
	</div>
{/if}
The page has a currentState property, which helps track whether a user has yet to start the auth flow (state[0]), has received the token secret (state[1]), and has an active session (state[2]). In state[0], the user submits their email and password (hardcoded to 123456 for the demo), which are then sent to our server function. In state[1], the user can generate a session using the token secret and user ID received from our server function. In state[2], the user can see the current session object, thus showcasing a successful login.
Testing the project
Once we have complete the steps above, the project is ready to test. Run the following command in the terminal:
npm run dev
Next steps
And with that, our demo project to try custom token authentication in Appwrite is ready! You can find the application’s complete source code at this GitHub Repo.
Additionally, if you would like to learn more about Appwrite Auth, here are some resources:
Appwrite Auth docs: These documents provide more information on how to use Appwrite Auth.
Appwrite Discord: Connect with other developers and the Appwrite team for discussion, questions, and collaboration.