

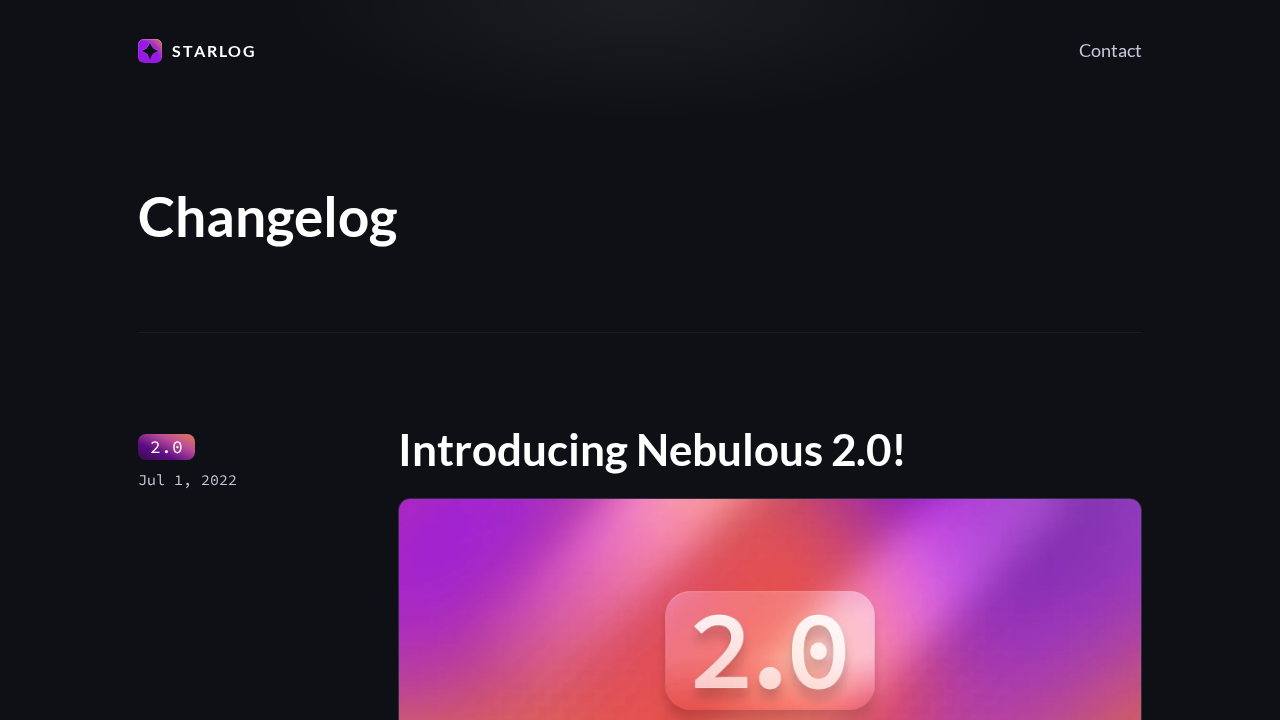
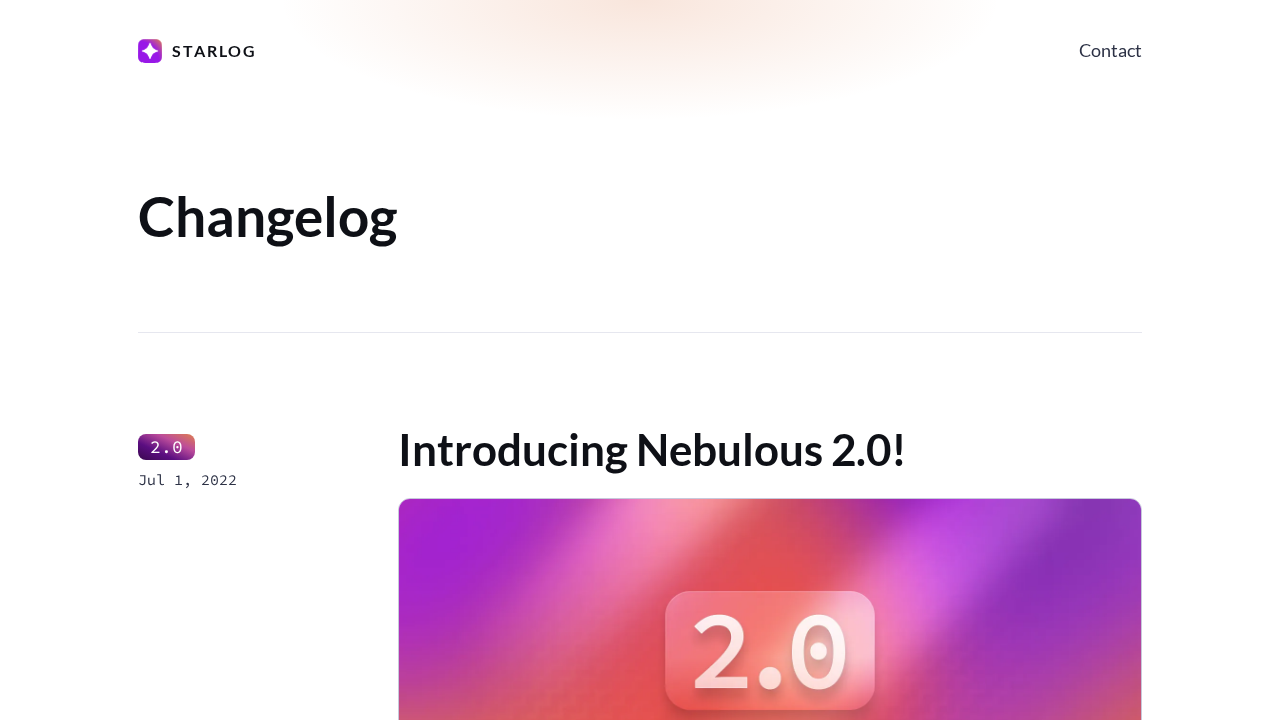
Starlog is a release notes theme for Astro. Each release is a Markdown file with a version number, a date, and a cover image, and the theme renders them as a feed of release announcements with a page for each release. It is styled with Sass and supports light and dark modes.
How does the integration work?
Appwrite Sites includes Starlog in its template library as Astro Starlog. When you create a site from the template, Appwrite builds the theme from the appwrite/templates-for-sites repository and serves it as a static site on an Appwrite domain. If you connect a repository, every release note you push to the production branch is built and published.
Appwrite applies these build settings to the template:
| Setting | Value |
|---|---|
| Framework | Astro |
| Install command | npm install |
| Build command | npm run build |
| Output directory | ./dist |
| Rendering | Static |
The template builds on the node-22 runtime, which _APP_SITES_RUNTIMES enables by default. To create a repository from the template, configure version control for your instance first. Connect later deploys the template straight from its public GitHub source.
How to implement
To deploy Starlog with Appwrite Sites, there are several steps you must complete:
Step 1: Create a site from the template
For this step, you must create an account on Appwrite Cloud or self-host Appwrite if you haven't already. In your Appwrite project, go to Sites and click Create site. Search the templates for Astro Starlog and select it.
Enter a Site name and a Site ID, then choose how to manage the code:
- Connect your repository creates a new repository from the template with your Git provider, such as GitHub, or connects one you already have, and redeploys on every push to the production branch. Choose this to publish your own release notes.
- Connect later deploys the template as it is. You can connect a repository afterwards from the site's Settings > Git repository.
Pick a subdomain under Domain and click Deploy. You can follow the build logs in the Console, and the site goes live on that domain when the build succeeds.
Step 2: Publish your release notes
Clone the repository and replace the sample content:
src/consts.ts: setSiteTitleandSiteDescription.src/content/releases/: add one Markdown file per release. The collection schema insrc/content.config.tsrequirestitle,description,versionNumber,date, and animagewithsrcandaltin the frontmatter, so a release without them fails the build.src/assets/: keep the images your releases reference here.astro.config.mjs: setsiteto your site's URL.
A release note starts like this:
---title: 'Introducing version 2.1'description: 'Faster sync and a new settings page.'versionNumber: '2.1'date: '2026-11-06'image: src: '../../assets/release-2-1.jpg' alt: 'The new settings page'---Commit and push to the production branch. Appwrite builds the change and activates the new deployment.
Step 3: Add a custom domain
Open your site's Domains tab to serve your release notes from your own domain, such as a changelog subdomain. Follow Add a custom domain for the DNS records to create.
Read more about Starlog and Appwrite Sites
If you would like to learn more about Starlog and Appwrite Sites, we have some resources that you should visit:
