

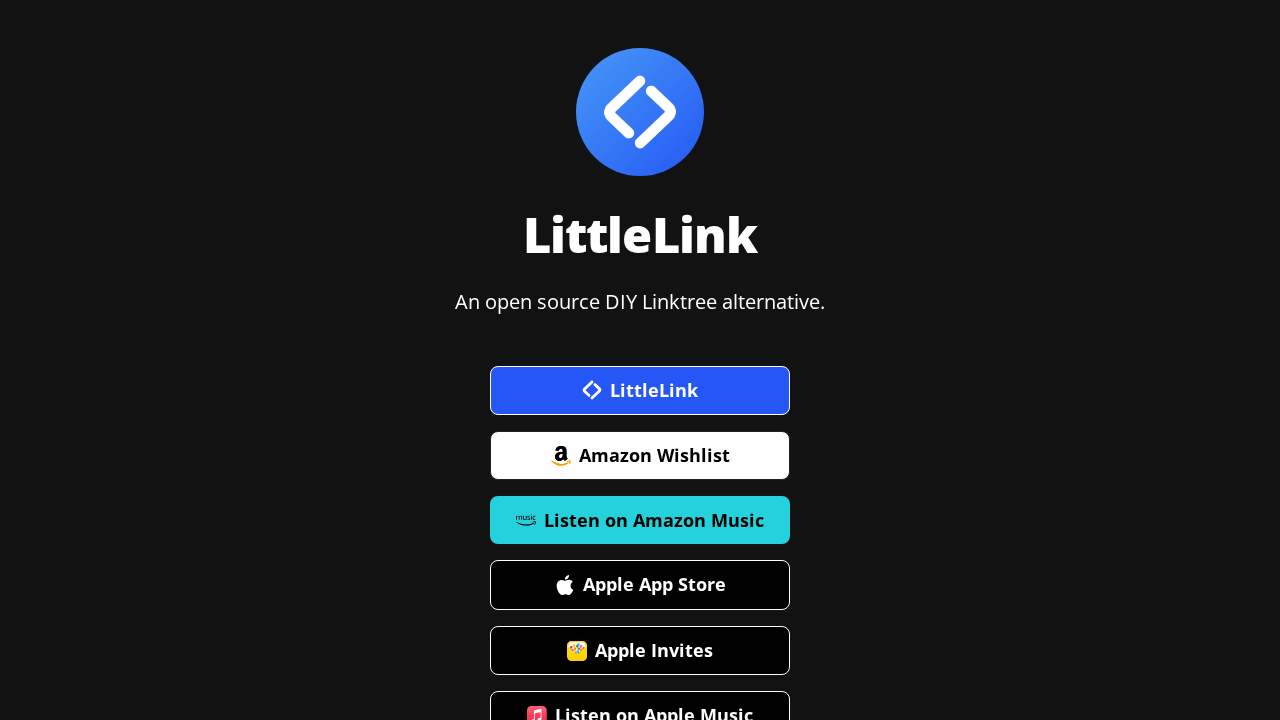
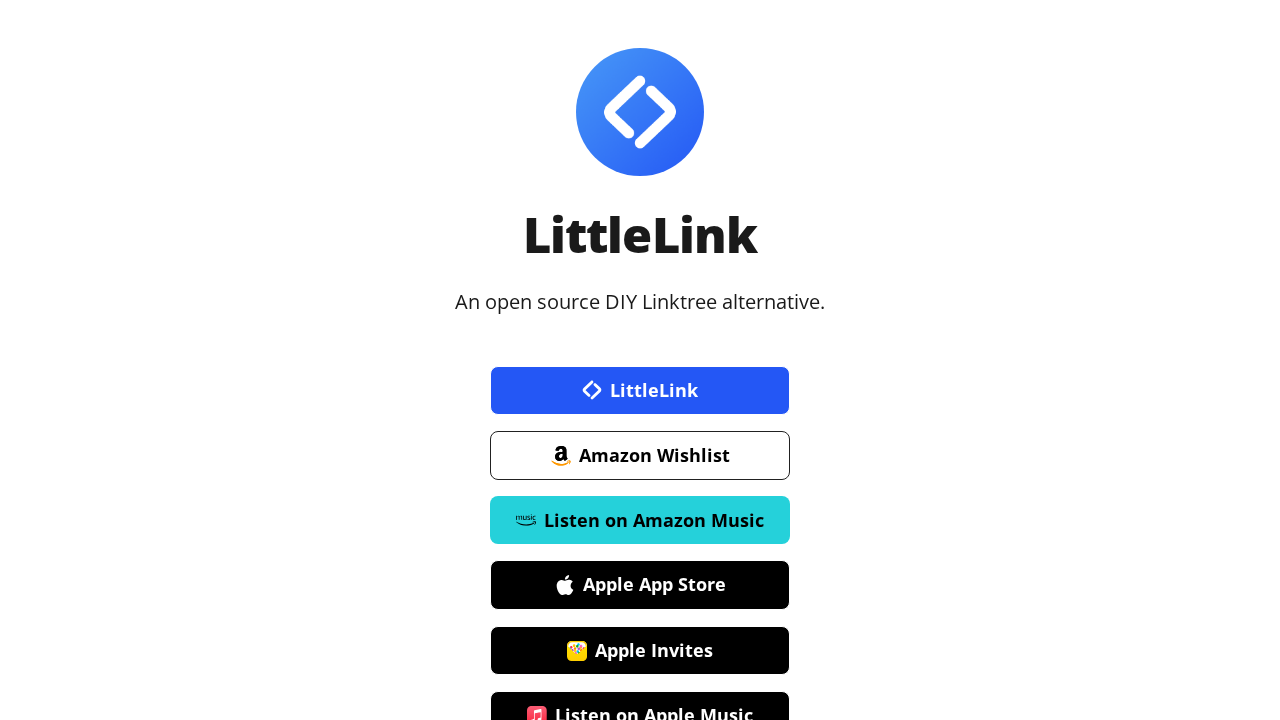
LittleLink is an open-source link page you host yourself, as an alternative to Linktree. It is plain HTML and CSS with no build step and no framework, and it ships more than 100 branded button styles for services like GitHub, YouTube, and Discord, along with automatic, light, and dark themes.
How does the integration work?
Appwrite Sites includes LittleLink in its template library. Because LittleLink has no build step, Appwrite serves the files from the appwrite/templates-for-sites repository as a static site, with no install or build command to run. If you connect a repository, every push to the production branch publishes your changes.
Appwrite applies these build settings to the template:
| Setting | Value |
|---|---|
| Framework | Other |
| Install command | None |
| Build command | None |
| Output directory | ./ |
| Rendering | Static |
To create a repository from the template, configure version control for your instance first. Connect later deploys the template straight from its public GitHub source.
How to implement
To deploy LittleLink with Appwrite Sites, there are several steps you must complete:
Step 1: Create a site from the template
For this step, you must create an account on Appwrite Cloud or self-host Appwrite if you haven't already. In your Appwrite project, go to Sites and click Create site. Search the templates for LittleLink and select it.
Enter a Site name and a Site ID, then choose how to manage the code:
- Connect your repository creates a new repository from the template with your Git provider, such as GitHub, or connects one you already have, and redeploys on every push to the production branch. Choose this so you can add your own links.
- Connect later deploys the template as it is. You can connect a repository afterwards from the site's Settings > Git repository.
Pick a subdomain under Domain and click Deploy. The site goes live on that domain as soon as the deployment finishes.
Step 2: Add your links
Everything lives in index.html. Clone the repository and update it:
- Set the page
<title>, the meta description, and the author and canonical URL tags in<head>. - Replace
images/avatar.pngandimages/avatar@2x.pngwith your photo, and update the name and the short description under it. - Keep the buttons you need inside the
button-stackelement, set eachhrefto your profile URL, and delete the rest. Each button uses a class such asbutton-githubfromcss/brands.css. - Change the
classon the<html>tag totheme-auto,theme-light, ortheme-darkto pick a theme.
To style a service that isn't included, design the button in the LittleLink Button Builder and paste the generated CSS into css/brands.css and the HTML into index.html. Commit and push to the production branch to publish the change.
Step 3: Add a custom domain
Open your site's Domains tab to serve the page from your own domain. Follow Add a custom domain for the DNS records to create.
Read more about LittleLink and Appwrite Sites
If you would like to learn more about LittleLink and Appwrite Sites, we have some resources that you should visit:

