

Formspree is a form backend. You point a form at a Formspree form, and Formspree receives and stores the submissions, so a static site can collect data without a server of its own. Its React library, @formspree/react, submits a form from a React component and reports the submission state.
How does the integration work?
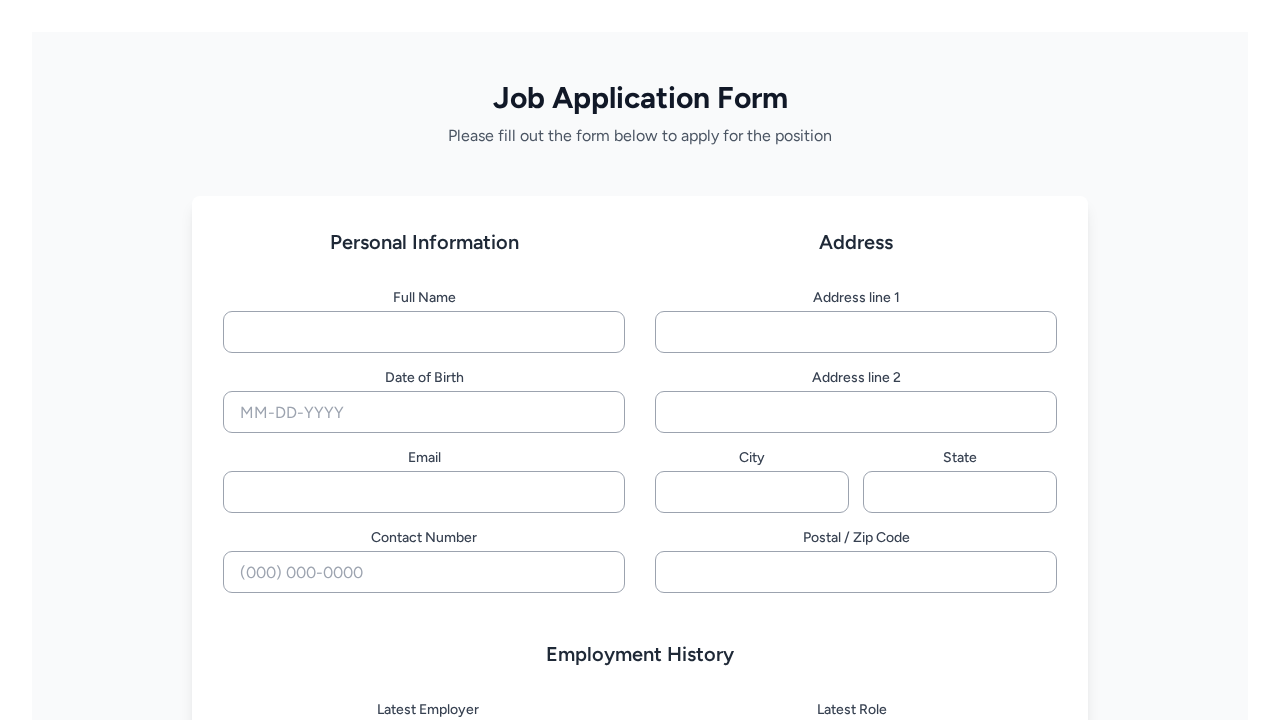
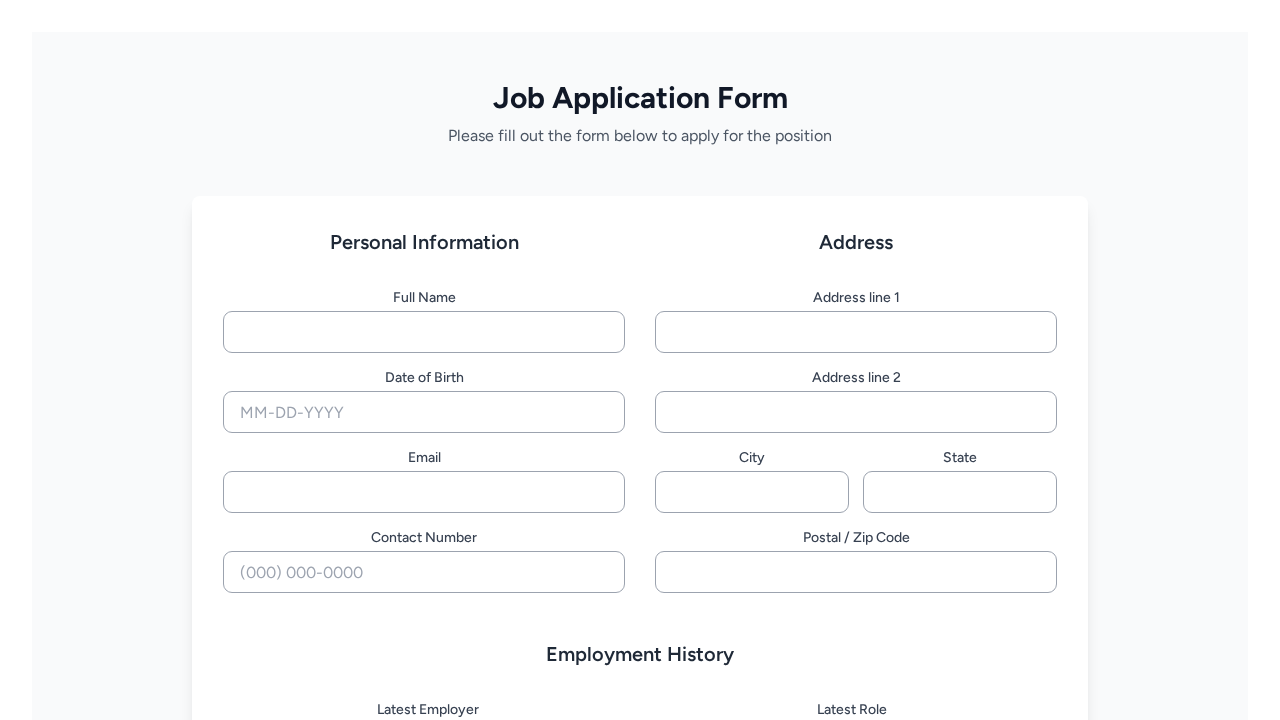
Appwrite Sites has a Job applications form with Formspree template: a React, Vite, and Tailwind CSS job application form that sends every submission to Formspree. The form calls useForm from @formspree/react with the form ID in the VITE_FORMSPREE_FORM_ID environment variable, disables the submit button while sending, and shows a confirmation message when Formspree accepts the submission.
Appwrite builds the template from the appwrite/templates-for-sites repository and serves it as a static site:
| Setting | Value |
|---|---|
| Framework | React |
| Install command | npm install |
| Build command | npm run build |
| Output directory | ./dist |
| Rendering | Static, with index.html as the fallback file |
The template builds on the node-22 runtime, which _APP_SITES_RUNTIMES enables by default. To create a repository from the template, configure version control for your instance first. Connect later deploys the template straight from its public GitHub source.
How to implement
To collect job applications with Formspree and Appwrite Sites, there are several steps you must complete:
Step 1: Create a form on Formspree
Sign up for Formspree and create a new form in the dashboard. Open the form's Integration tab and copy the hashid at the end of the URL shown under Your form's endpoint is. This is the form ID the template needs, for example xrgkpqld.
Step 2: Create a site from the template
For this step, you must create an account on Appwrite Cloud or self-host Appwrite if you haven't already. In your Appwrite project, go to Sites and click Create site. Search the templates for Job applications form with Formspree and select it.
Enter a Site name and a Site ID, then choose Connect your repository if you want to edit the form later, or Connect later to deploy it as it is. Under the template's variables, set VITE_FORMSPREE_FORM_ID to the form ID you copied. The variable is required, and Vite reads it at build time, so the deployed form already points at your Formspree form.
Pick a subdomain under Domain and click Deploy.
Step 3: Test the form
Open the deployed site, fill in the application, and click Submit Application. After Formspree accepts it, the page shows a thank-you message, and the submission appears in your form on the Formspree dashboard.
If you change the form ID later, update VITE_FORMSPREE_FORM_ID in the site's Settings > Environment variables and redeploy the site, because variable changes only apply to new deployments.
Step 4: Customize the fields
The form lives in src/App.jsx. Each input's name attribute, such as email, previous-company, or start-date, becomes a field in the Formspree submission. Add, remove, or rename inputs there, and edit the options of the position select to list your open roles. Push the change to the production branch to redeploy.
Read more about Formspree and Appwrite Sites
If you would like to learn more about Formspree and Appwrite Sites, we have some resources that you should visit:

