Start with Firewall_
Create your first Appwrite Firewall rule and see how it affects project API traffic.
2 min read
In this quick start you create a deny rule on the project API, send a request that it blocks, and find that request in the traffic overview.
Open Firewall
- Sign in to Appwrite Cloud.
- Open a project.
- Open Firewall in the sidebar.
Create a deny rule
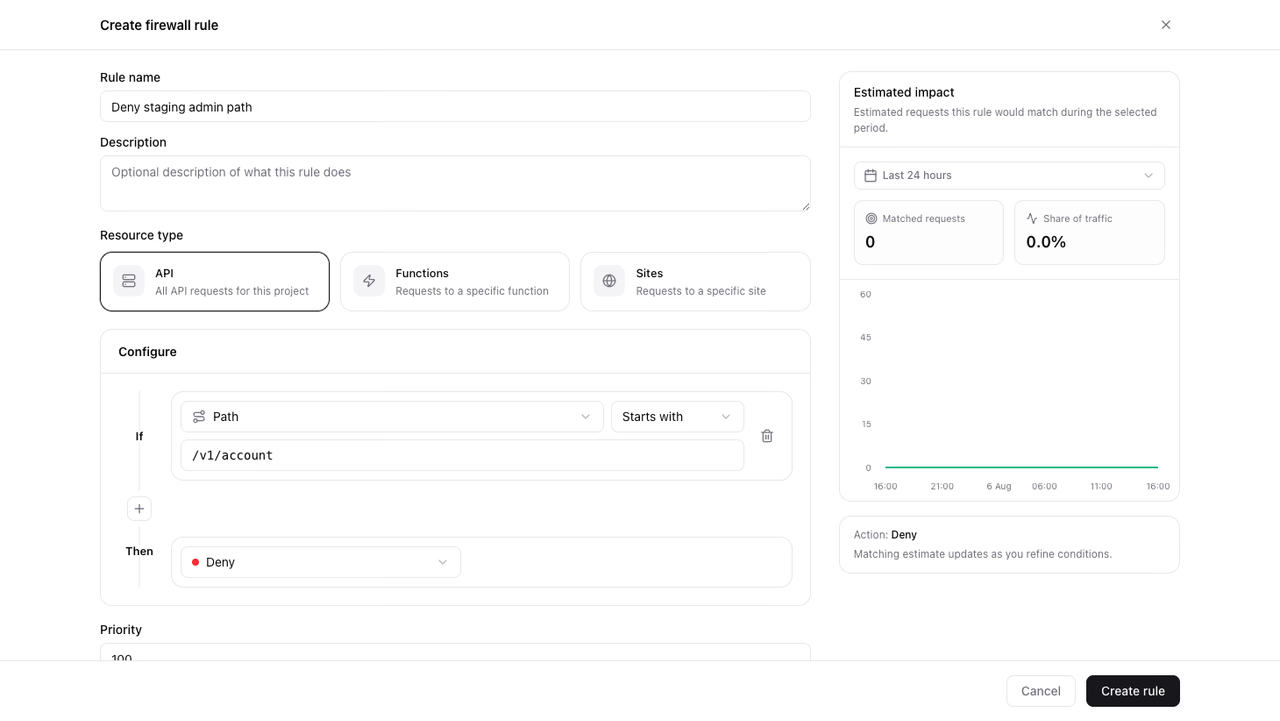
- Click Create rule.
- Enter a Rule name (for example
Deny staging admin path). - Leave Resource type set to API so the rule applies to project API traffic (
/v1/...). - Under conditions, set:
- Attribute: Path
- Operator: Starts with
- Value: a path you want to block (for example
/v1/account)
- Under Then, choose Deny.
- Keep Priority at
100. - Leave Enabled on.
- Review the impact preview in the sidebar, then click Create rule.
Confirm the rule
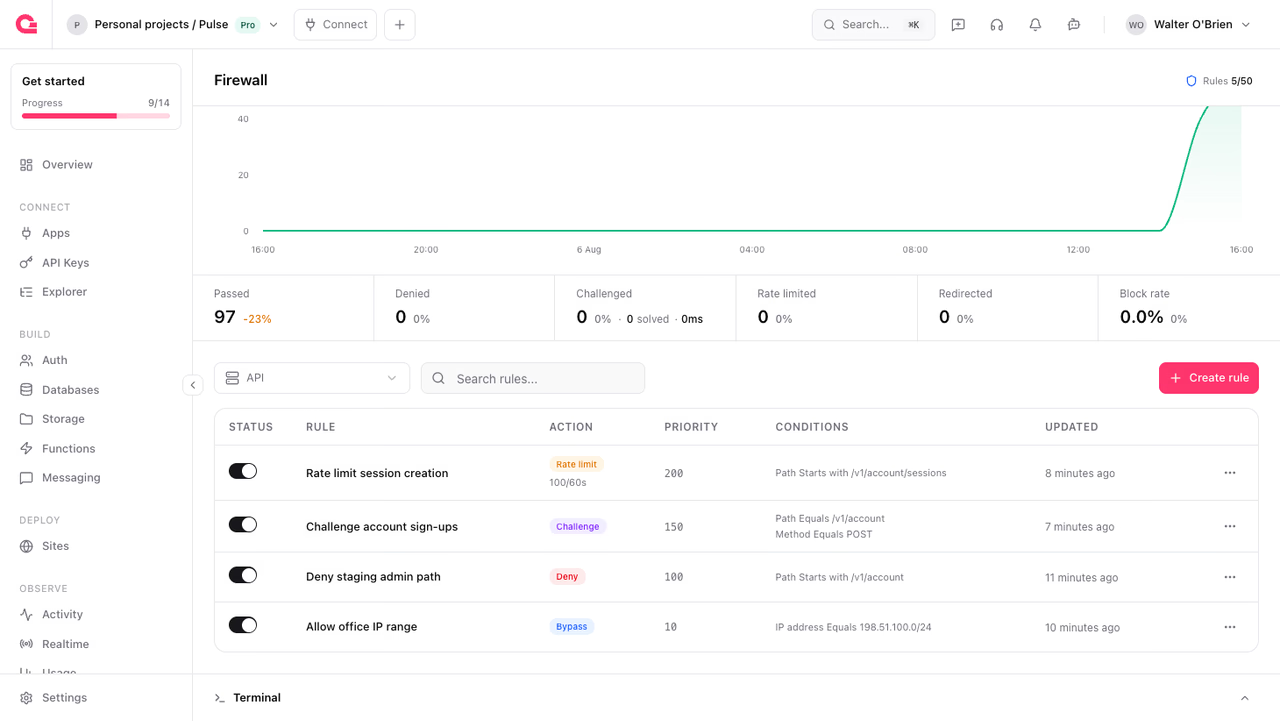
- On the Firewall page, make sure the resource selector above the rules list shows API.
- Find your rule in the list. It should show Deny and its status toggle should be on.
To change the rule later, open its actions menu and choose Update.
Test the rule
Firewall never blocks the Console, so send the request with a client SDK or an API key instead.
curl -i https://cloud.appwrite.io/v1/account \ -H "X-Appwrite-Project: <PROJECT_ID>"The response is 403, and its headers name the rule that stopped it:
HTTP/2 403x-appwrite-waf-rule: <RULE_ID>x-appwrite-waf-action: denySee it in traffic overview
Open Firewall in your project. The chart above the rules list shows requests that reached your project (Passed) alongside each Firewall outcome. The Denied series rises as matching requests arrive.
See Traffic overview for metrics and date ranges, and Actions for what each outcome means.
Next steps
The guides cover country blocks, IP allowlists, rate limits, challenges, and redirects.
Was this page helpful?
Share what worked or what we should fix. Once approved, our agents automatically apply suggested updates to the docs.