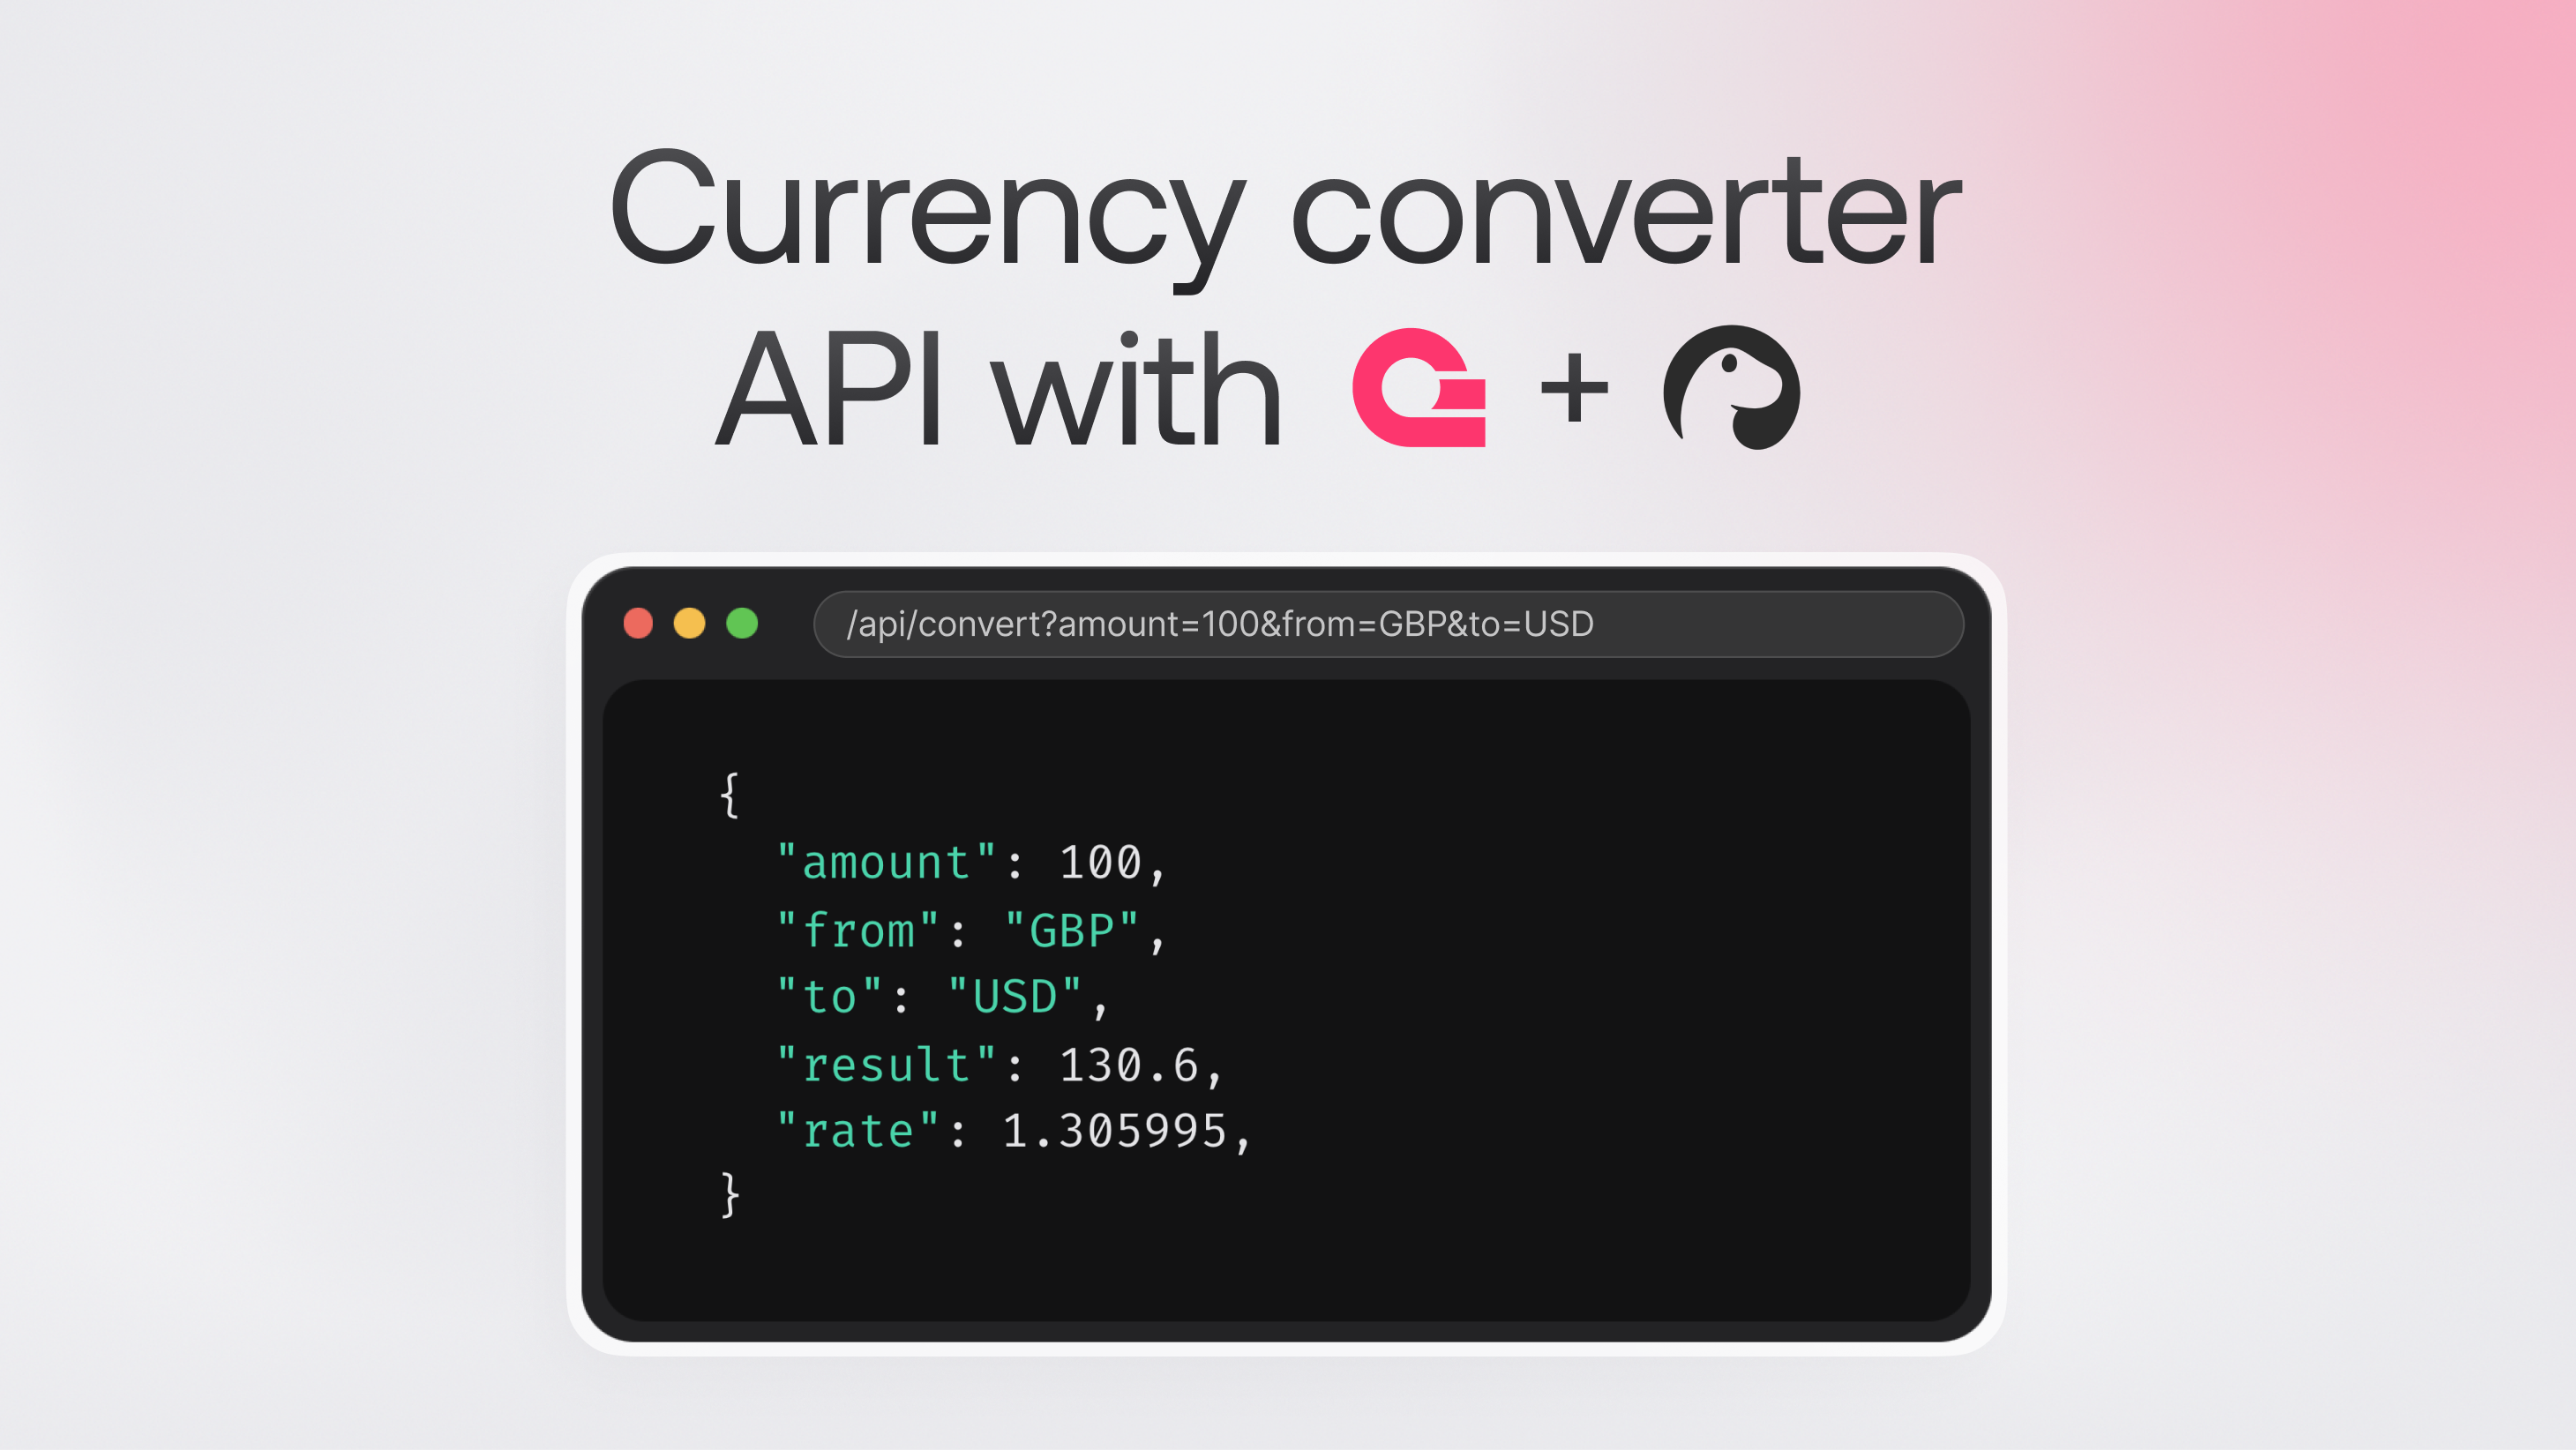
When building APIs, one of the most useful things you can create is a currency converter. Whether you're working on an application that handles pricing in different currencies or something more personal like tracking expenses across borders, having a reliable currency converter is a great tool. Today, we'll walk through building one using Deno 2 and Appwrite.
You'll learn how to set up your Deno project using Appwrite, how to fetch and parse JSON data with Deno, and how to use Appwrite Functions to deploy and run your API. By the end, you'll have a working API that converts currencies, provides users with detailed information on how to interact with it, and even utilizes Node.js packages like Zod for input validation.
Let's get started.
Setting up your Deno project
Before we dive into the code, we need to set up our project. If you've already worked with Appwrite before, this will be familiar. If not, don't worry—I'll guide you through it.
There are two ways you can set up a Deno project with Appwrite: through the Appwrite cloud console or using the Appwrite CLI.
To use the Appwrite Cloud console
Go to the Appwrite dashboard.
Create a new project if you don't have one already.
Navigate to the Functions tab and create a new function.
Choose Deno as the runtime and set up your function configuration.
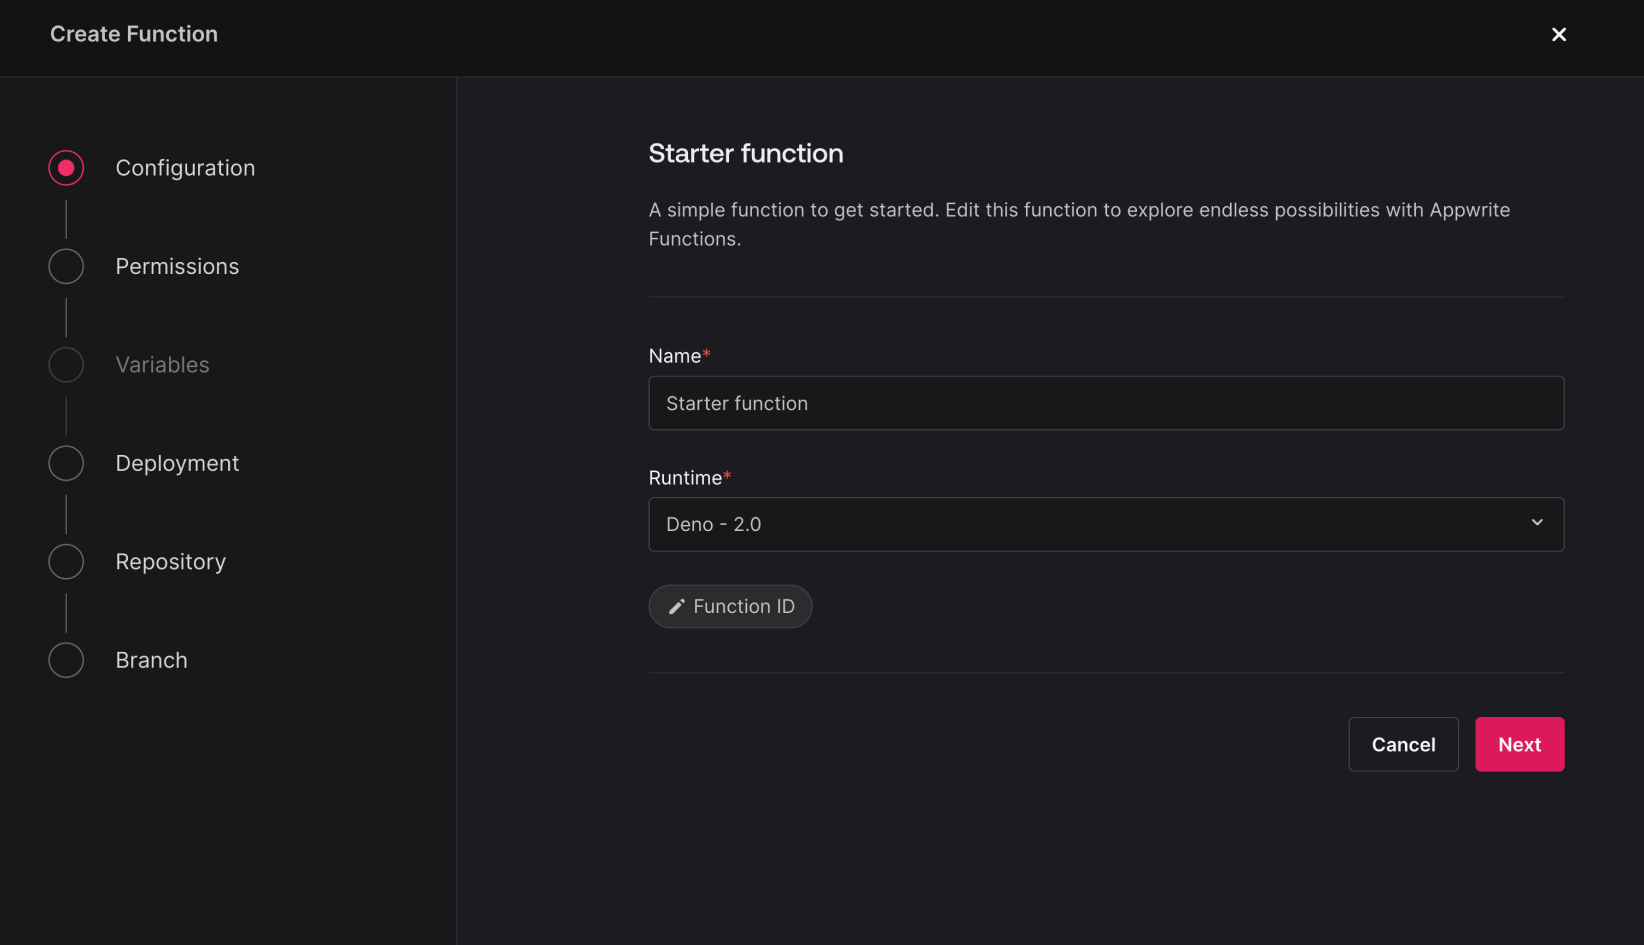
Choose where you want your code to live (GitHub or manual deployment), and click Create to finish.
You can now clone/download your function and start working on it.
If you're developing locally, the Appwrite CLI is much more convenient. It allows you to set up and manage your projects, functions, and other Appwrite resources without deploying to the cloud after every change.
To use the Appwrite CLI
First, make sure you have docker installed and running. If you don't, you can download it from the official Docker website.
Next, install the Appwrite CLI if you haven't already. Open your terminal and run:
npm install -g appwrite-cli@latest
This will install the CLI globally, so you can use the appwrite command from anywhere on your machine.
Now, log into your Appwrite account by running:
appwrite login
Once you're logged in, create a new project with:
appwrite init project
Initializing the Function with Deno
With the project set up, let's create the Deno function that will handle our currency conversion. Appwrite Functions support the Deno runtime out of the box, so it's easy to get started.
To initialize the function, run the following command:
appwrite init function
Appwrite will ask for the name of your function, the ID, and the runtime you want to use. Go ahead and name the function something like Currency Converter Function and select Deno as the runtime.
Deno natively supports TypeScript, so you don't have to worry about going through extra steps to configure your project for TypeScript. Appwrite will generate a basic Deno function for you, including a main.ts file in the src directory.
You can test the function locally by running:
appwrite run function
This will list the available functions in your project. Select the function you just created, and you'll get a URL where you can access your function locally. You can open this URL in your browser or use curl to test the function:
curl 'your-function-url'
Fetching exchange rates
The first feature we need for our API is fetching the exchange rates. We'll be using the ExchangeRate API to do this. It's a free API that provides real-time exchange rates for over 170 currencies. You can sign up for a free API key on their website.
Once you have your API key, the next step is to create a .env file in the root of your function and store the key there. Here's what your .env file should look like:
EXCHANGE_RATE_API_KEY=your_api_key_here
When you later deploy your function, you'll also need to set this environment variable in the Appwrite dashboard.
To add your API key in the Appwrite console:
Go to your project -> Functions.
Find your function and navigate to the Settings tab.
Scroll to the Environment Variables section and add a new environment variable with the key EXCHANGE_RATE_API_KEY and paste your API key as the value.
Once that's done, we can now write the function to fetch exchange rates. Update the main.ts file in your function with the following code:
async function fetchExchangeRates(): Promise<{ [currency: string]: number }> {
  console.log('Fetching exchange rates from API')
  const apiKey = Deno.env.get('EXCHANGE_RATE_API_KEY')
  const response = await fetch(
    `https://v6.exchangerate-api.com/v6/${apiKey}/latest/USD`,
  )
  const data = await response.json()

  if (data.result === 'success') {
    return data.conversion_rates
  } else {
    throw new Error('Failed to fetch exchange rates')
  }
}
What's happening here is straightforward. We're using Deno.env.get() to access the API key stored in our environment variables. This ensures the key isn't exposed in the code, which is good practice for security.
Then, we use Deno's built-in fetch function to call the ExchangeRate API. Unlike in Node.js, where you'd need to install a library like node-fetch to make HTTP requests, Deno includes this functionality natively, making things a little simpler. After fetching the data, we check if the request was successful, and if it is, we return the exchange rates. If something goes wrong, we throw an error to signal the issue.
Converting the currency
Now that we have a way to fetch exchange rates, the next step is to convert between two currencies. For the conversion logic: we'll take an amount, the currency to convert from, and the currency to convert to, and use the exchange rates to calculate the result.
Here's the code to handle that:
async function convertCurrency(
  amount: number,
  from: string,
  to: string,
): Promise<{
  amount: number
  from: string
  to: string
  result: number
  rate: number
  timestamp: string
}> {
  const rates = await fetchExchangeRates()

  if (!(from in rates)) {
    throw new Error(`Currency not found: ${from}`)
  }
  if (!(to in rates)) {
    throw new Error(`Currency not found: ${to}`)
  }

  const fromRate = rates[from]
  const toRate = rates[to]
  const conversionRate = toRate / fromRate
  const result = amount * conversionRate

  return {
    amount,
    from,
    to,
    result: Number(result.toFixed(2)),
    rate: Number(conversionRate.toFixed(6)),
    timestamp: new Date().toISOString(),
  }
}
This function uses the rates we fetched earlier to calculate the conversion. First, it checks whether the from and to currencies exist in the list of rates. If either currency is missing, we throw an error. Then, we calculate the conversion rate by dividing the to currency rate by the from currency rate. Finally, we multiply the amount by this conversion rate to get the converted amount, and return the result along with some additional information like the rate and timestamp.
Validating user input with Zod
It's important to make sure that the data coming into our API is valid. For example, we don't want users sending negative amounts or invalid currency codes. To handle this, we'll use Zod, a TypeScript-first schema validation library. The great thing about Deno 2 is that it allows us to easily use Node.js packages like Zod without extra configuration.
Let's first import Zod and define our validation schema:
import { z } from 'npm:zod@3.21.4'

const CurrencyCodeSchema = z
  .string()
  .length(3)
  .transform((val) => val.toUpperCase())

const ConversionRequestSchema = z.object({
  amount: z.number().positive(),
  from: CurrencyCodeSchema,
  to: CurrencyCodeSchema,
})
Here, CurrencyCodeSchema ensures that the currency code is a string of exactly three characters and automatically converts it to uppercase. ConversionRequestSchema ensures that the amount is a positive number and that both the from and to currencies are valid according to CurrencyCodeSchema.
Using Zod in this way ensures that the data entering our API is clean and valid before we try to process it. Catching bad input early can prevent many headaches later.
Handling API requests
Now that we've validated the user input and written the conversion logic, we need to handle incoming requests to our API. We'll create two main routes:
/convert: To convert an amount from one currency to another.
/currencies: To list all available currencies.
We'll also create a default route that provides some basic information about how to use the API.
Handling currency conversion requests (/convert)
Let's start with the /convert endpoint. This is where users will send a request to convert an amount from one currency to another. The request needs to include three query parameters: amount, from (the currency to convert from), and to (the currency to convert to).
Add the following code to your function:
if (req.path === '/convert' && req.method === 'GET') {
  try {
    const validatedInput = ConversionRequestSchema.parse({
      amount: Number(req.query.amount),
      from: req.query.from,
      to: req.query.to,
    })

    const conversionResult = await convertCurrency(
      validatedInput.amount,
      validatedInput.from,
      validatedInput.to,
    )
    return res.json(conversionResult)
  } catch (err) {
    if (err instanceof z.ZodError) {
      return res.json({ error: err.errors }, 400)
    }
    error('Conversion failed:', err)
    return res.json({ error: 'Conversion failed' }, 500)
  }
}
Let's break down what's happening here:
Checking the request path and method: We first check if the request path is /convert and if it's a GET request. This ensures that we're only processing valid requests.
Validating input: We use the ConversionRequestSchema (which we defined earlier using Zod) to validate the incoming data. The schema ensures that:
amount is a positive number.
from and to are valid 3-letter currency codes.
Performing the conversion: If the input is valid, we call the convertCurrency() function with the validated data. This function handles the actual conversion logic using the exchange rates we fetched earlier.
Returning the result: Once the conversion is successful, we send the result back to the user in JSON format. If any errors occur during the process (e.g., invalid currency codes or issues with the conversion), we log the error and return a generic "conversion failed" message with a 500 status code.
This way, we're ensuring that invalid input is caught early and that the user gets meaningful feedback on what went wrong.
Handling available currencies requests (/currencies)
Next, let's handle the /currencies endpoint. This will return a list of all available currencies that our API supports. It's a simple GET request, and we'll use the exchange rates we fetched earlier to get the list of currencies.
In your function, add the following code:
else if (req.path === '/currencies' && req.method === 'GET') {
  try {
    const currencies = await getAvailableCurrencies();
    return res.json(currencies);
  } catch (err) {
    error('Failed to fetch currencies:', err);
    return res.json({ error: 'Failed to fetch currencies' }, 500);
  }
}
Let's walk through it:
Checking the request path and method: Similar to the /convert endpoint, we check if the request path is /currencies and if it's a GET request.
Fetching currencies: We call the getAvailableCurrencies() function, which returns a list of all the supported currency codes based on the exchange rates.
Handling errors: If something goes wrong (e.g., issues fetching the exchange rates), we catch the error, log it, and return a 500 error message indicating that the currencies couldn't be fetched.
If everything works fine, the user will receive a list of available currencies in JSON format.
Providing a default response
Lastly, we'll handle any requests that don't match /convert or /currencies. Instead of just returning a 404 error, it's helpful to give users a bit more information about how to use the API.
Add this to your function:
else {
  return res.json({
    message: 'Welcome to the Currency Converter API.',
    endpoints: {
      '/convert': 'GET - Convert currency. Parameters: amount, from, to',
      '/currencies': 'GET - List available currencies',
    },
    examples: {
      convertCurrency: 'http://localhost:3000/convert?amount=100&from=USD&to=EUR',
      listCurrencies: 'http://localhost:3000/currencies',
    },
  }, 200);
}
This is a simple but effective way to guide users. Here's what it does:
Providing a welcome message: The default response includes a message explaining that the API is a currency converter.
Listing available endpoints: We provide information about the two main endpoints (/convert and /currencies), along with a description of what each endpoint does.
Giving examples: To make it easier for users, we also provide example URLs they can use to test the API. This helps users understand how to format their requests correctly.
Note that you have to change localhost:3000 to the URL of your Appwrite function or deployed API.
Wrapping it all together
The /convert endpoint handles currency conversions and validates user input to prevent errors.
The /currencies endpoint provides a list of supported currencies.
The default route offers helpful information and examples for users who may not know how to interact with the API.
With that, the API is complete and ready to be tested locally or deployed to your Appwrite instance.
Testing your Deno API
Now that the API is ready, let's test it locally. If you already have your function running locally, you can test it by sending requests to the endpoints we created. If not, you can start the function by running:
appwrite run function
This will spin up your function and give you a URL where you can access it locally. Open this URL in your browser or use curl to test the API.
For example, to convert 100 USD to EUR, you can run:
curl 'http://localhost:3000/convert?amount=100&from=USD&to=EUR'
To list all available currencies, use:
curl 'http://localhost:3000/currencies'
Remember to change localhost:3000 to the URL of your function if you're running it on a different port.
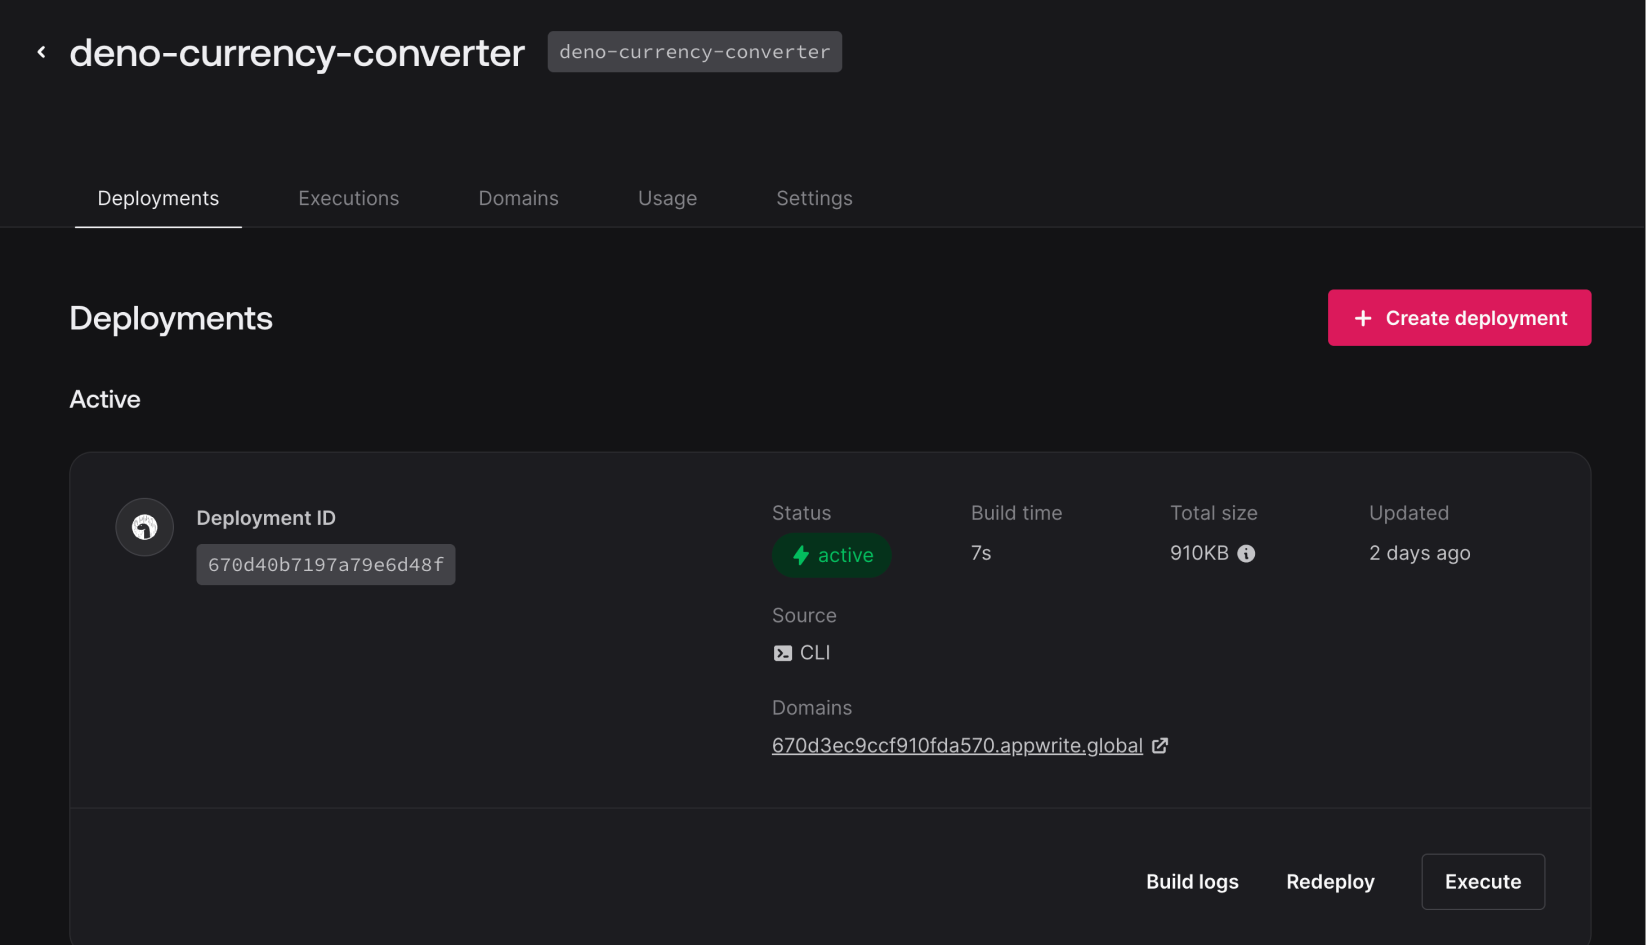
Deploying your Deno API
Once you're happy with how the API works locally, you can deploy it to your Appwrite cloud project. This will make it accessible to anyone who has the URL. To deploy your function, run:
appwrite push function
You'll get a response asking you to choose the function you want to deploy. Select the function you just created, and Appwrite will deploy it to your cloud project. You can view the function in the Appwrite dashboard and access it using the provided URL.
Wrapping up
Congrats on building a working currency converter API using Appwrite Functions and Deno 2. Along the way, we explored how Deno's built-in TypeScript support and its straightforward integration with Node.js packages like Zod make the development process easier. You also saw how Appwrite's Functions allow you to test everything locally, ensuring smooth deployment when you're ready.
This project should give you a solid foundation for building more complex APIs in the future. If you're looking to expand this, you could add features like more advanced error handling, authentication and user search history, or even integrate real-time updates for currency rates.
Feel free to experiment with and extend this API however you see fit. If you have any questions or run into issues, reach out to us on the Appwrite Discord server or send me a message on LinkedIn.