When creating a new project, there are three important things you need to do to ensure you have things set up properly and can connect to your Appwrite backend.
Forgetting to complete one of these steps will result in errors later when trying to make your first request, so let’s jump in and see what they are so things are set up properly for your next project.
1 - Add a platform
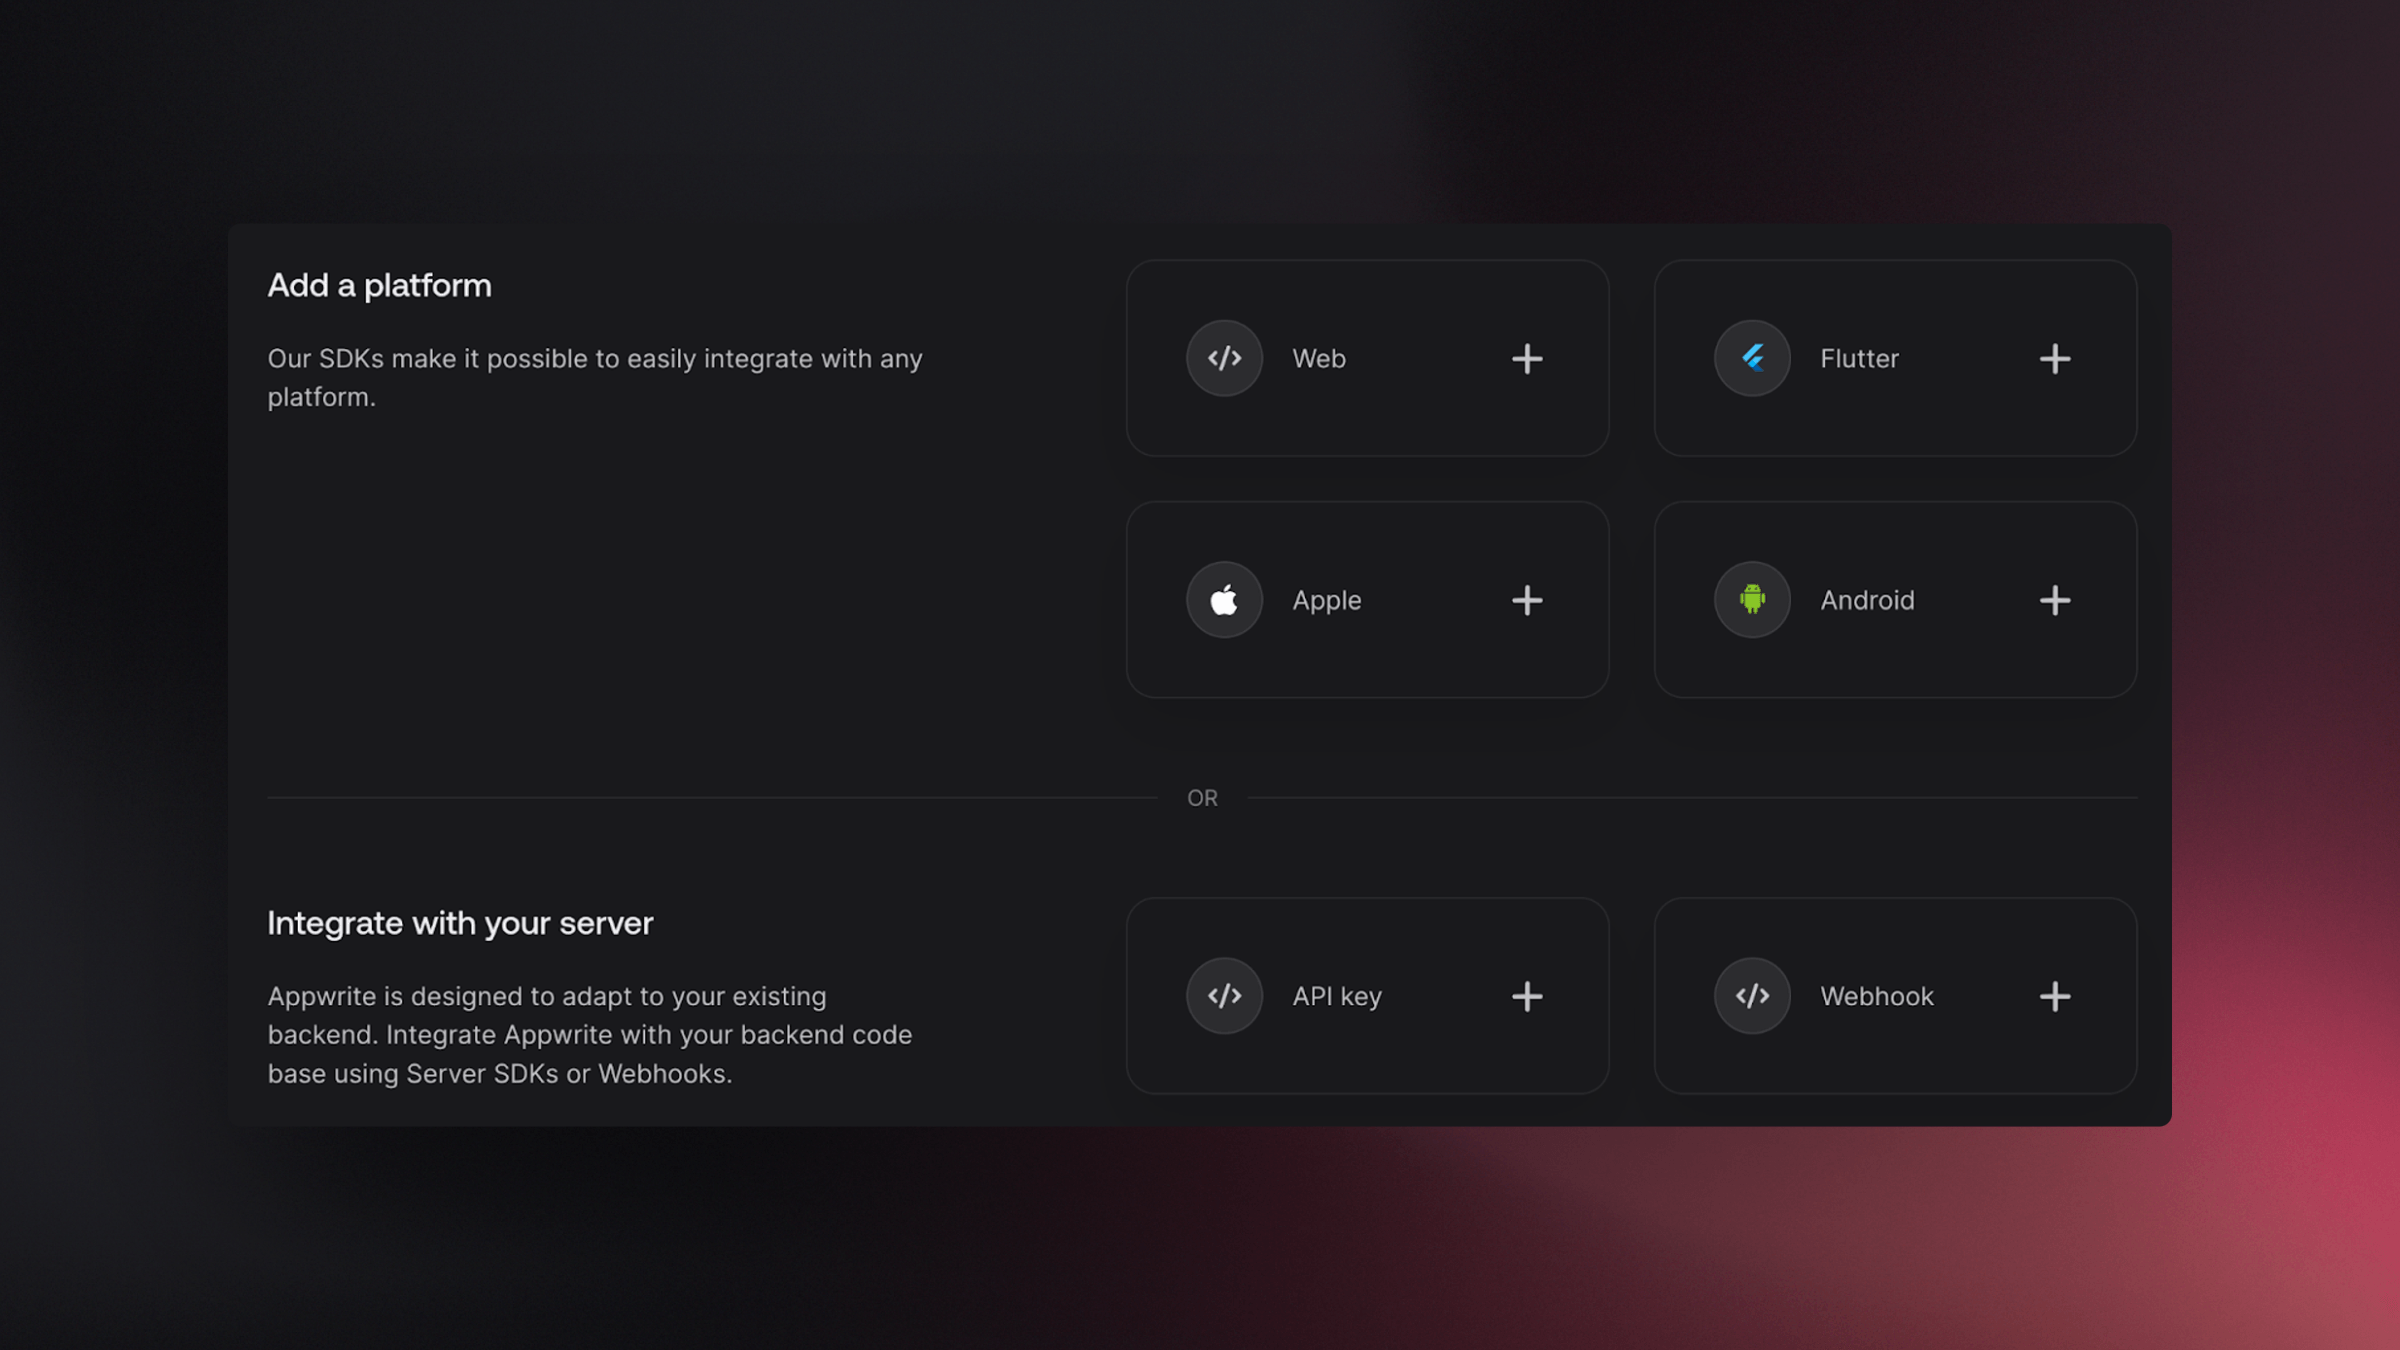
After creating a new project in the Appwrite console, you’ll need to add a platform in order to connect an SDK. You can add a platform from the “overview” tab under the “Add a platform” section. From here, you’ll need to choose between one of the four client-side SDK’s or generate an API key with a server-side SDK.
If you’re adding an API key to use one of the server SDK’s, you’ll be asked to set scopes for the key. This sets permissions, allowing us to dictate what permissions this API key has over certain parts of our application.

2 - Add a hostname
When using the Web SDK, you’ll need to set a hostname. This just tells Appwrite what origin you’ll be connecting from. Failing to set the right hostname will result in CORS error later, so be sure you pay attention when setting this. I just put out a full video and an article about handling CORS errors, so be sure to check that out if you have questions or face any problems.

3 - Permissions
Before you can read and write data from an Appwrite database collection or storage bucket, you’ll need to ensure you have the proper permissions set. This can be set from the “Settings” tab under the “Permissions” section inside a collection or storage bucket.

With these three steps to complete, you should be set to connect to an Appwrite backend from either a client or server SDK.
Resources
Visit our documentation to get started, join us on Discord to be part of the discussion, or visit our blog and YouTube channel to learn more!


