If you’re a mobile developer who doesn’t (want to) use Flutter, we have great news for you. Appwrite now has a React Native SDK in open beta. This will allow more mobile developers to benefit from Appwrite, giving everything you need to build your mobile applications backend, without the hassle of building it yourself.
A brief history of React Native
React Native has been a game-changer since its inception. Launched by Facebook in 2015, it emerged from the need to unify the development stacks for iOS and Android platforms, enabling a single codebase for both. Its importance to the developer community is monumental, enabling rapid development, offering native capabilities, and using one codebase for both iOS and Android platforms. With over 2,000 contributors on GitHub and used by thousands of apps worldwide, React Native has significantly contributed to the mobile development landscape by making app development more accessible, efficient, and scalable.
Appwrite and React Native
The addition of the SDK to Appwrite is great news for React Native mobile developers. Appwrite's commitment to providing a secure, scalable backend, combined with React Native's efficiency and native capabilities, creates a strong toolkit for building mobile applications. This integration means developers can now enjoy the best of both worlds: Appwrite's ready-to-use APIs for Authentication, Database, Storage, Messaging, Realtime, and more, alongside React Native's seamless developer experience and native feel.
Appwrite already has a Web SDK, so why a dedicated React Native SDK? React Native requires abstractions of device and system APIs to access device permissions, cameras, storage, gyroscope, and more. Appwrite leverages Expo to implement APIs such as Appwrite Storage that require access to device and system APIs.
Why is this good news for the React Native community? It simplifies the development process significantly. With Appwrite's React Native SDK, setting up backend services becomes as straightforward as developing the front end. This means less time worrying about backend complexities and more time crafting exceptional user experiences.
As the SDK is released in open beta, we will be working with the React Native community to improve it. We invite all developers to use the SDK and share feedback to help us make it more stable in the next few months.
Building mobile apps
What can you build with Appwrite and React Native? Basically, anything you can think of from social media platforms and e-commerce apps to productivity tools and interactive games. Appwrite even supports push notifications for your mobile app with Messaging.
We’ve created a playground on GitHub where we will add simple ideas for getting started with Appwrite and React Native. You can also find inspiration from other Appwrite projects on builtwithappwrite.io to see how other mobile developers have used Appwrite as their backend.
If you are used to working with Firebase and React Native but have been looking for an open-source alternative, Appwrite is now a solid choice.
Getting started with Appwrite and React Native
Diving into Appwrite's React Native SDK is easy. Here's how to get started:
Step 1: Set up Appwrite
First thing first, you must set up an Appwrite project. To do so, you must either create an Appwrite Cloud account or self-host Appwrite on your system.

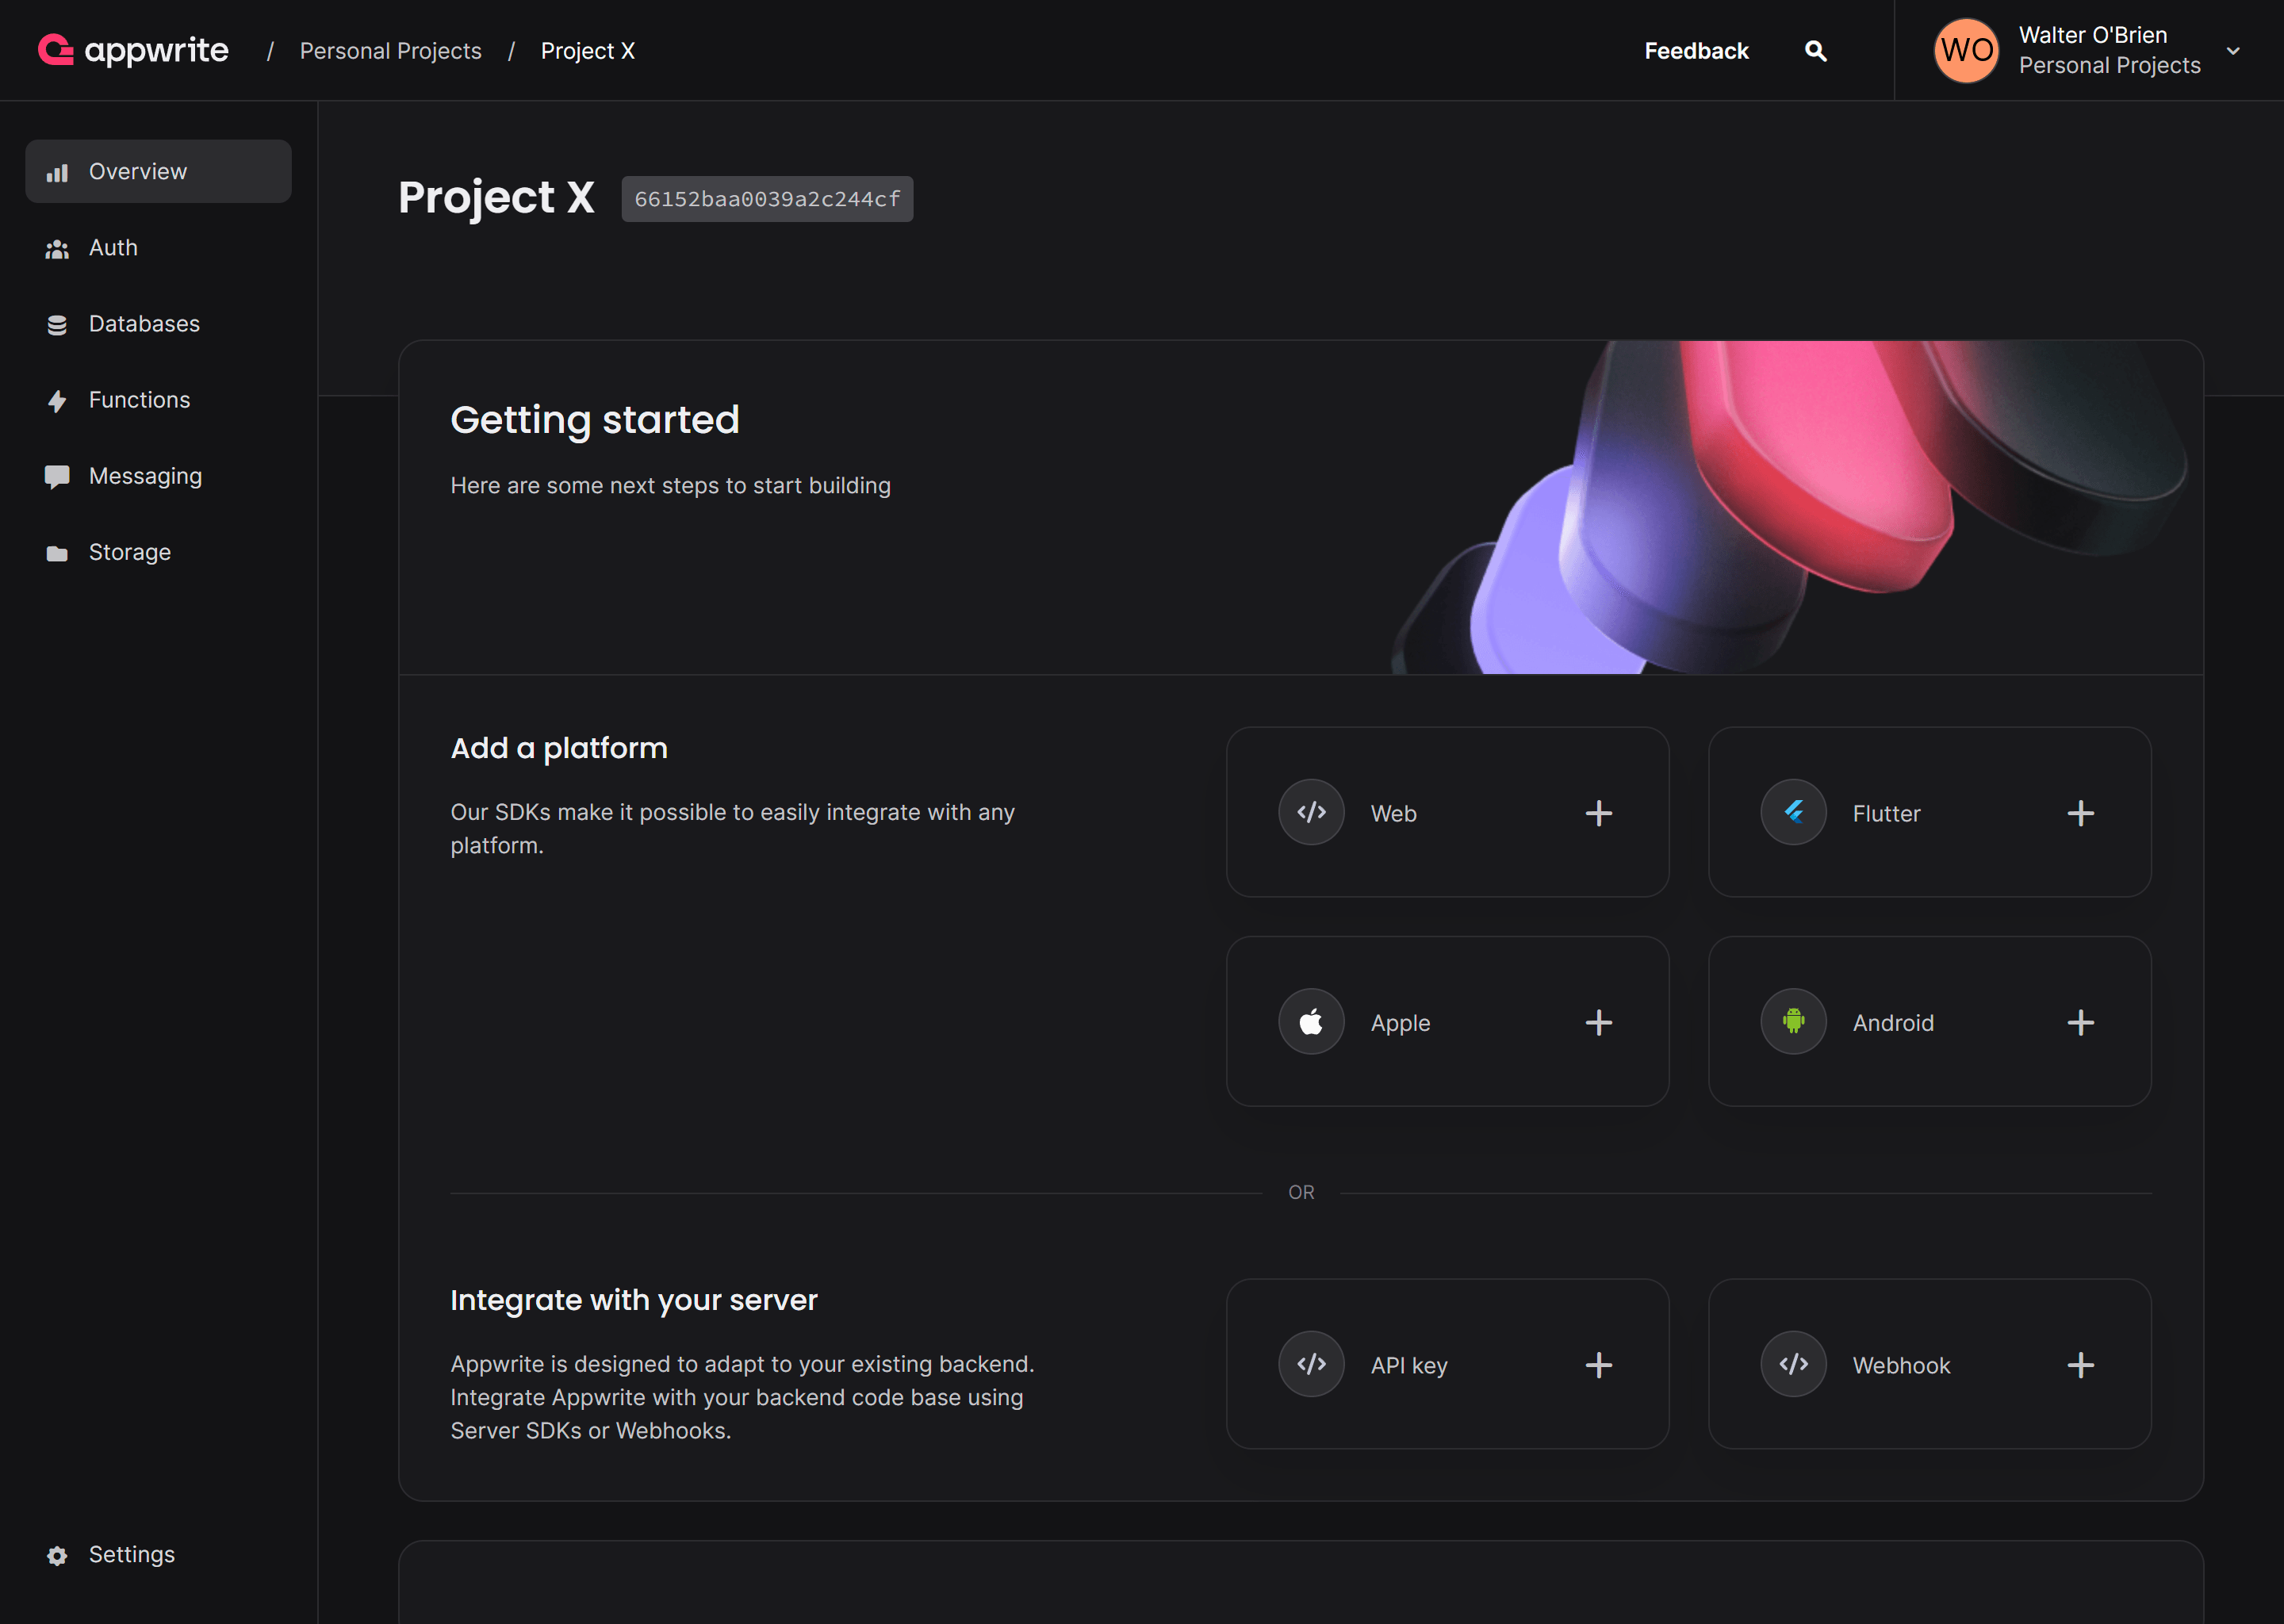
Once that is done, under Add a platform, add an Android app or an Apple app. You can skip optional steps.
iOS steps: Add your app name and Bundle ID. You can find your Bundle Identifier in the General tab for your app's primary target in XCode.
Android steps: Add your app's name and package name. Your package name is generally the applicationId in your app-level build.gradle file.
Step 2: Install the React Native SDK
Once Appwrite is up and running, install the React Native SDK in your project. This will connect your React Native app with Appwrite's suite of backend services. You can install the SDK (and necessary dependencies) using the following command:
npx expo install react-native-appwrite react-native-url-polyfill
Step 3: Explore the Documentation
Familiarize yourself with Appwrite's documentation. It's packed with tutorials, examples, and API references designed to get you up to speed in no time.
Step 4: Start Building
With everything in place, you're ready to start building your app. The React Native SDK is designed to be intuitive, allowing you to implement features like authentication, database operations, and file storage with ease.
import { Client, Account, ID } from 'react-native-appwrite';

const client = new Client();

client
    .setEndpoint('http://cloud.appwrite.io/v1') // Your Appwrite Endpoint
    .setProject('455x34dfkj') // Your project ID
    .setPlatform('com.example.myappwriteapp'); // Your application ID or bundle ID

const account = new Account(client);

// Register a user
account.create(ID.unique(), 'me@example.com', 'password', 'Jane Doe')
    .then(function (response) {
        console.log(response);
    }, function (error) {
        console.log(error);
    });
Read the quick start to get started or find a tutorial to build an ideas tracker with React Native.
Resources
Visit our documentation to learn more about our SDKs, join us on Discord to be part of the discussion, view our blog and YouTube channel, or visit our GitHub repository to see our source code.


