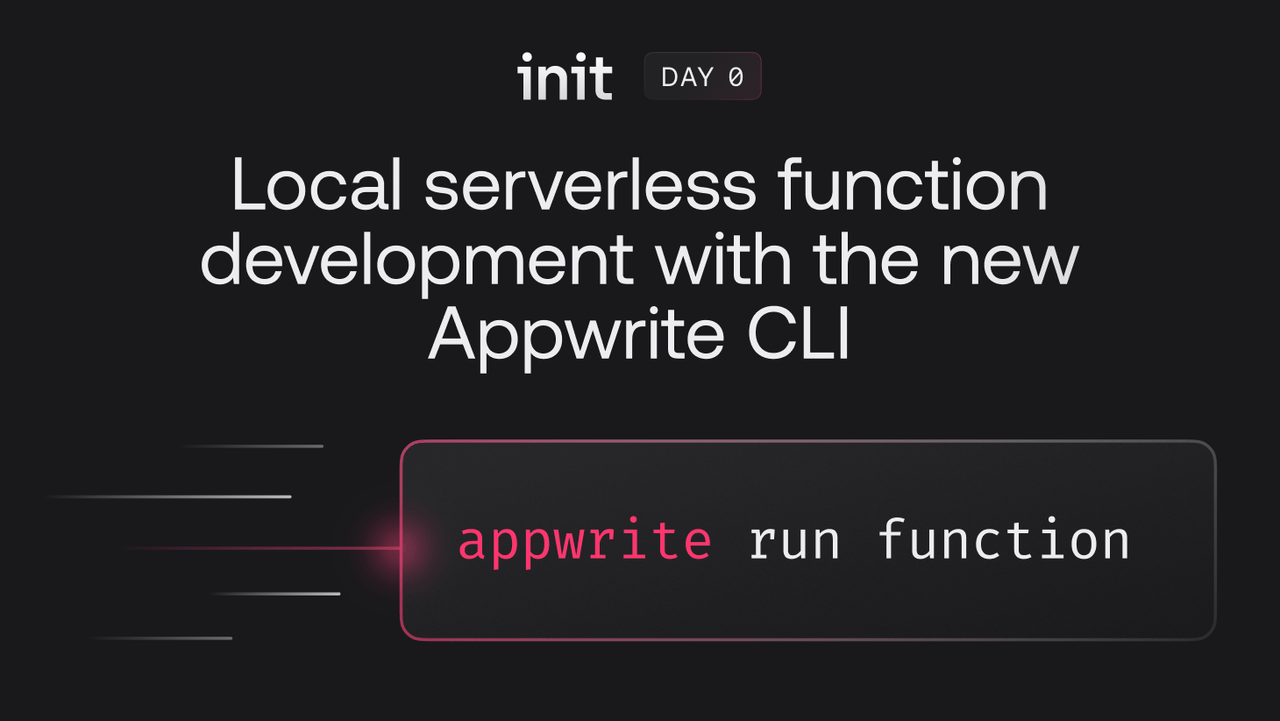
What if you could develop serverless functions quickly and effectively without the need for constant cloud deployment? If you've been stuck waiting for deployments or struggling with limited offline capabilities, there's good news. The new Appwrite CLI provides a seamless local development experience for serverless functions, enabling you to develop, test, and iterate rapidly on your functions directly from your local machine.
In this guide, we'll walk through setting up and developing Appwrite Functions locally using the new Appwrite CLI.
Why local development?
Local development offers several advantages when working with serverless functions:
Faster iteration: Developing functions locally allows you to test changes quickly without the need to deploy them to a live environment. This speeds up the development process and enables rapid iteration.
Offline development: With local development, you can work on your functions even when you're offline. This is especially useful when you're traveling or in areas with limited internet connectivity.
Debugging: Local development provides better debugging capabilities, allowing you to troubleshoot issues more effectively before deploying your functions to a live environment. This can help you avoid catastrophic errors by identifying and fixing problems early, without the risk of affecting your live application.
Cost efficiency: Running functions locally helps keep development setup costs low, as you don't need to continuously deploy functions to a cloud environment for testing.
Let's see how to set up and develop Appwrite Functions locally using the new CLI which we’ll reveal more of tomorrow.
Installing Appwrite CLI
Start by installing the latest version of the Appwrite CLI:
npm install -g appwrite-cli@latest
Setting up your project
Before developing functions, you need to set up a project. First, log in to your Appwrite account using the CLI:
appwrite login
If you’ve already worked with the Appwrite CLI, you can use appwrite whoami to check if you are signed in. This command will display your account details.
Next, initialize your project in the directory where you want to develop your function:
appwrite init project
You will be prompted with options to either create a new project or link to an existing one:
How would you like to start? (Use arrow keys)
❯ Create new project
  Link directory to an existing project
If you choose "Create new project," you'll need to select your organization, name your project, and give it an ID.
Initializing functions
With your project set up, you can now initialize your functions. Run the following command:
appwrite init functions
You'll be asked to provide details about your function like its name, ID, and runtime:
? What would you like to name your function? New Awesome Function
? What ID would you like to have for your function? new-awesome-function
? What runtime would you like to use? (Use arrow keys)
❯ Node.js (node-16.0)
  Node.js (node-18.0)
  PHP (php-8.0)
  Ruby (ruby-3.0)
  Python (python-3.9)
  Python (ML) (python-ml-3.11)
  Dart (dart-2.17)
The CLI will generate the function's code in a directory within your project. This directory will be named after the function name you provided. You can open it to see the source code and start developing your function.
Appwrite commands need your appwrite.json file to work, which is located in the root directory of your project. However, if you run Appwrite commands from the function directory, the CLI will automatically look for the appwrite.json file in the parent directories. So, commands from the function directory should work without any issues.
This way, you don't have to worry about switching directories when you need to do commands like npm install (which needs to be done in the function directory) or appwrite deploy (which needs the appwrite.json file).
Developing locally
You can start developing and testing your function locally. To do this, ensure you have Docker installed on your system. You can download Docker from here.
Next, run the following command to start your function locally:
appwrite run function
You'll be prompted to select the function you want to run locally:
appwrite run function
? Which function would you like to develop locally?
To avoid this question repeatedly, you can specify the function id directly:
appwrite run function --function-id=YOUR_FUNCTION_ID
Select the function you want to run, and the CLI will start the local server. You'll see a message like this:
Build finished.
ℹ Info Starting function using Docker ...
ℹ Info Permissions, events, CRON and timeouts don't apply when running locally.
ℹ Info 💡 Hint: Function automatically restarts when you edit your code.
✓ Success Visit http://localhost:3000/ to execute your function.
By default, the server runs on port 3000, but it will use the first available port above that if 3000 is occupied. You can customize the port using the --port flag:
appwrite run function --port=4000
The command will keep running, watching for any code changes and restarting the function accordingly. If you want to prevent this behavior, you can run:
appwrite run function --no-reload
Environment variables
By default, environment variables from your remote instance won't be loaded during local development. This is to prevent any unintended usage of remote configuration. To include these variables, use the --with-variables flag:
appwrite run function --with-variables
Additionally, environment variables can also be read from a .env file in your function folder during local development.
Impersonating users
You can impersonate a user during local function executions to automatically set the correct values for x-appwrite-user-id and x-appwrite-user-jwt headers:
appwrite run function --user-id="YOUR_USER_ID"
Conclusion
Local development with the new Appwrite CLI provides a seamless experience for developing and testing serverless functions. By following the steps outlined in this guide, you can set up your project, initialize functions, and start developing locally with ease. This approach allows you to iterate quickly, debug effectively, and develop functions offline, enhancing your overall development workflow.


