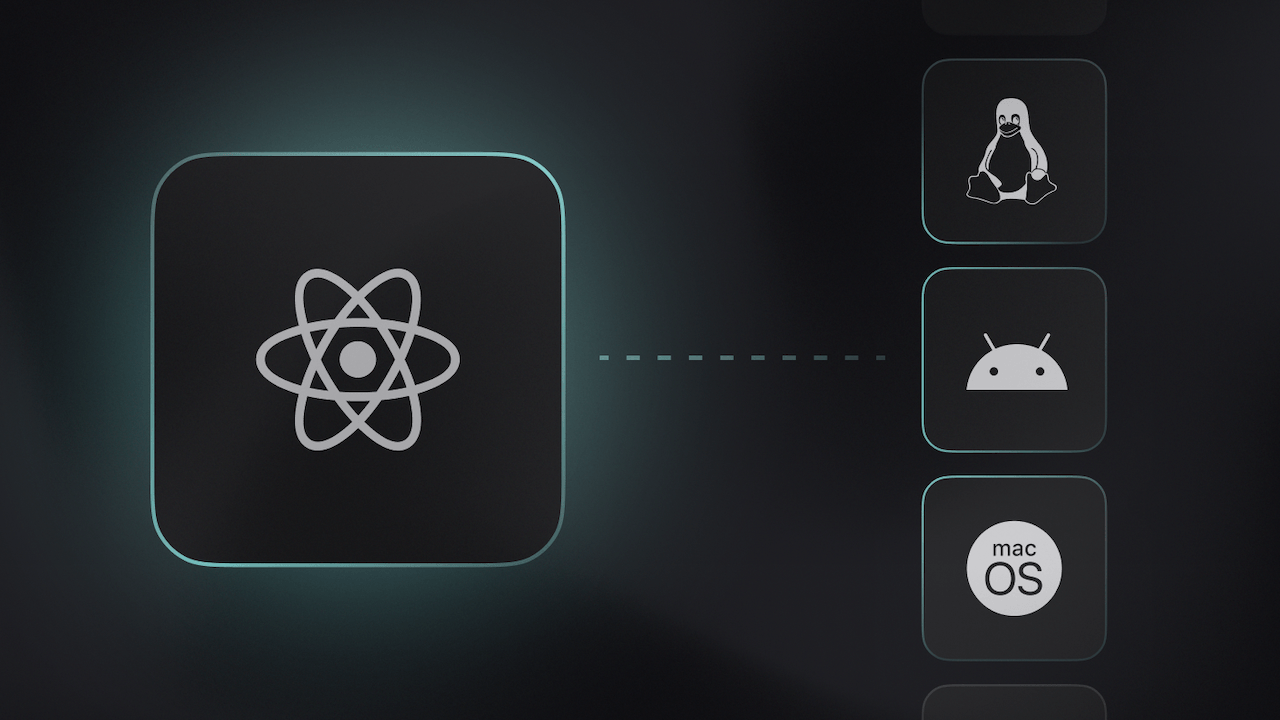
Android, iOS, macOS, Linux, Windows, and the Web. Different platforms with different codebases. As a developer, you might have faced the challenge of building one application for multiple platforms. Considering the challenge of mastering all of the skills to build an application that performs well cross-platform, it’s no wonder we have seen the rise of cross platform frameworks such as React Native and Flutter. These frameworks allow you to create applications that run smoothly on multiple operating systems from a single codebase. This saves time, reduces costs, and reaches a larger user base.
Why cross-platform?
Why might one choose cross-platform development over developing applications for each platform? Based on the intro, it might seem logical, but let’s take a deeper look at why this is beneficial in some cases.
There might be several reasons, but the most important ones are as follows:
Broader target: cross platform development enables developers to reach a broader target from the beginning by targeting multiple platforms.
Cost: cross platform development saves costs, as fewer developers are required to develop applications for multiple platforms.
Feature parity: Features across platforms can be deployed in parallel without discriminating the users.
Faster development time: With a single codebase, development cycles are shorter. Features bug fixes are implemented just once for all the platforms, increasing the delivery speed.
Simple codebase management: managing a single codebase is much simpler than managing multiple projects with different platform-specific languages and APIs.
Uniform design: It is easy to implement uniform designs across platforms and also platform specific changes if and when required.
But as good as it might sound, there are also situations when choosing cross platform is not the best idea.
Advanced device features: When your application relies on advanced device features, and cutting-edge platform-specific features, then it’s a good idea to choose native over cross-platform development
High-performance requirements: Native development is preferred over cross-platform development for applications with maximum performance requirements, such as highly intensive graphical and computational requirements.
Fine control over memory management and processing: Native development is preferred when your application requires fine-grained control over memory management, processing power, and background tasks. For instance, an application that runs intensive algorithms on large datasets in real-time would benefit a lot by going native due to access to low-level APIs and system resources.
Development skill set: If your team is already fluent in Native development but have to learn cross-platform development from scratch and you don’t have time and resource for that, it’s beneficial to choose native development.
Choosing the right tool for your application is crucial whether going native or cross-platform, and as we've seen, cross-platform development offers a range of benefits that are hard to ignore. Some of these can be a major win for businesses trying to save cost and target large user bases. However, you should decide based on your project's requirement and your team's skillset and preferences.
How do cross-platform frameworks work
Cross platform frameworks provide a high level unified API in a single language. For example, Flutter uses Dart, React Native uses Javascript, and Xamarin (now .NET MAUI) uses C#.
The code written in these languages is compiled for specific platforms mostly ahead of time during the build and deployed mostly as native code. Some frameworks like React Native also use bridging, where the framework interprets the javascript code and communicates with the native element through the bridge.
UI elements can be rendered in two ways
Native rendering: map the UI to native platform specific components. React Native does this. this allows apps to maintain a native look and feel
Custom rendering engine: A framework like Flutter completely bypasses the native UI and renders the components with its own rendering engine. This provides more control over the appearance and behavior of the UI
Finally, when the application needs to handle native device-specific functionalities, all cross-platform frameworks do this via plugins. Plugins write the platform-specific codes required for each platform and provide a high-level API for developers to use. Whenever there is a lack of specific functionalities, the framework provides a way for developers to write their own custom plugins to handle those specific functionalities.
Try React Native for your next project
There are many great cross-platform framework technologies, like Flutter, .NET MAUI, Ionic, and more. Each cross-platform frameworks have their advantages and disadvantages and we are not here to say one is better. Which framework to choose depends on one’s preference, previous knowledge and skill set, project requirements, and more. But to celebrate the release of the Appwrite React Native SDK in open beta, we want to share a few points that make React Native an attractive choice.
Learn once, write anywhere: If you already know JavaScript and React, you can easily learn and start using React Native. So, this is already an attractive choice for JavaScript developers, and it might be the one framework with the easiest learning curve
Native performance: React native communicates with native platform components directly, which leads to a responsive user experience close to native performance
Large community and ecosystem: React and React Native, created by Facebook, are popular frameworks, leading to large community and ecosystem support with content and packages. React Native applications also benefit from the huge number of packages of JavaScript
Live and hot reloading: Live and hot reloading features enhance developer productivity by allowing developers to iterate faster.
Integrating with existing applications: Another major attraction point is developers can integrate React Native into their existing applications if they already have one.
Get started with React Native and Appwrite
React Native allows you to create applications that run on multiple operating systems from a single codebase, whereas Appwrite provides you with a full-functioning backend with just a few lines of code. This means that you can build a full functioning app, targetting users across iOS, Android, Mac OS, Linux, Windows, and the Web, and cut down your development time tremendously.
To get started, follow these steps.
Step 1: Set up Appwrite
First, you must set up an Appwrite project. To do so, you must either create an Appwrite Cloud account or self-host Appwrite on your system.
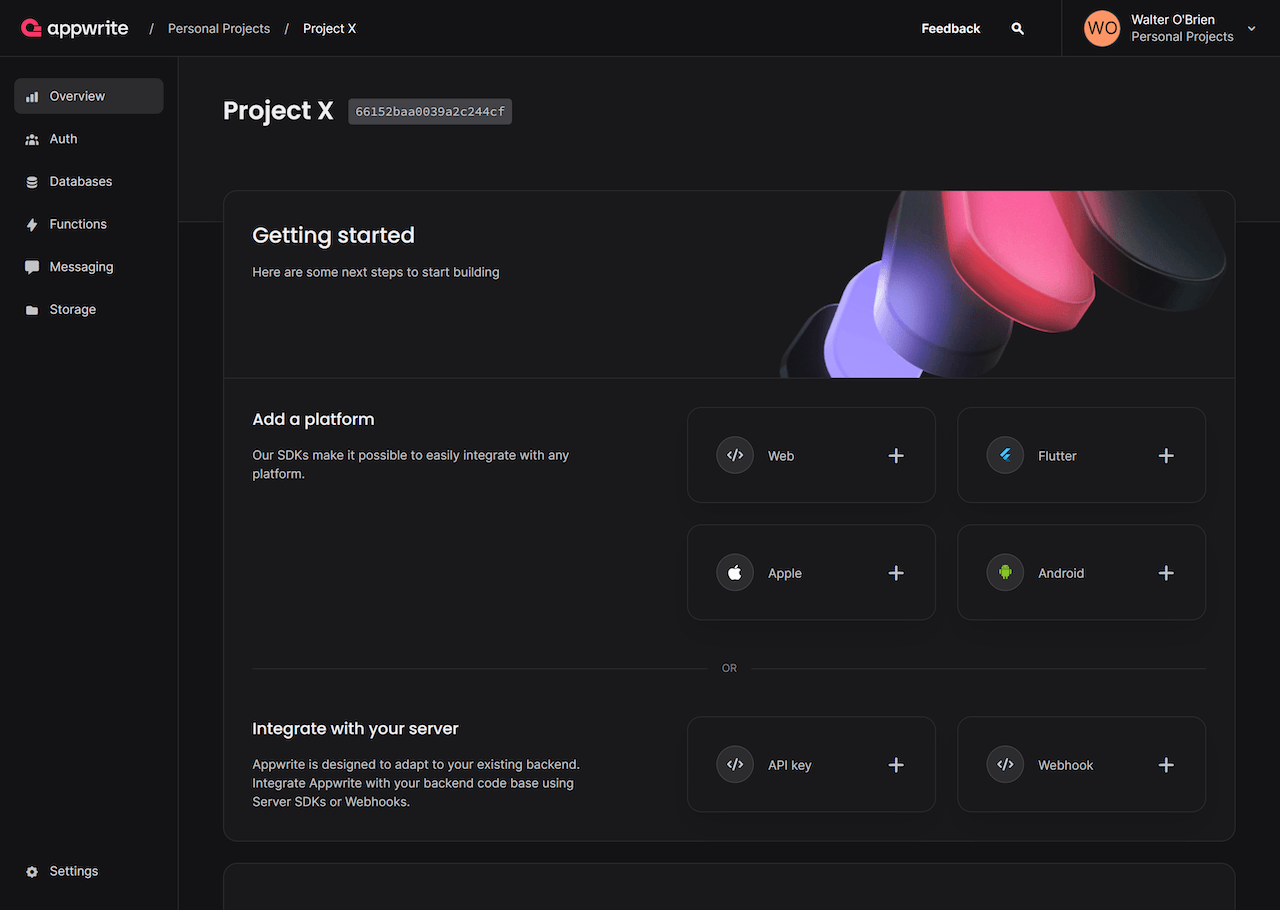
Once that is done, under Add a platform, add an Android app or an Apple app. You can skip optional steps.
iOS steps: Add your app name and Bundle ID. You can find your Bundle Identifier in the General tab for your app's primary target in XCode.
Android steps: Add your app's name and package name. Your package name is generally the applicationId in your app-level build.gradle file.
Step 2: Install the React Native SDK
Once Appwrite is up and running, install the React Native SDK in your project. This will connect your React Native app with Appwrite's suite of backend services. You can install the SDK (and necessary dependencies) using the following command:
npx expo install react-native-appwrite react-native-url-polyfill
Step 3: Explore the Documentation
Familiarize yourself with Appwrite's documentation. It's packed with tutorials, examples, and API references designed to get you up to speed in no time.
Step 4: Start Building
With everything in place, you're ready to start building your app. The React Native SDK is designed to be intuitive, allowing you to implement features like authentication, database operations, and file storage with ease.
import { Client, Account, ID } from 'react-native-appwrite';

const client = new Client();

client
    .setEndpoint('http://cloud.appwrite.io/v1') // Your Appwrite Endpoint
    .setProject('455x34dfkj') // Your project ID
    .setPlatform('com.example.myappwriteapp'); // Your application ID or bundle ID

const account = new Account(client);

// Register a user
account.create(ID.unique(), 'me@example.com', 'password', 'Jane Doe')
    .then(function (response) {
        console.log(response);
    }, function (error) {
        console.log(error);
    });
Read the quick start to get started or find a tutorial to build an ideas tracker with React Native.
Resources
Visit our documentation to learn more about our SDKs, join us on Discord to be part of the discussion, view our blog and YouTube channel, or visit our GitHub repository to see our source code.