You are now ready to use the Appwrite Function in your front end. You can initialize the payment process by redirecting your user to the /subscribe endpoint on the Function's domain.
Visit demo
You can visit our Function's domain in the browser to see the demo application.
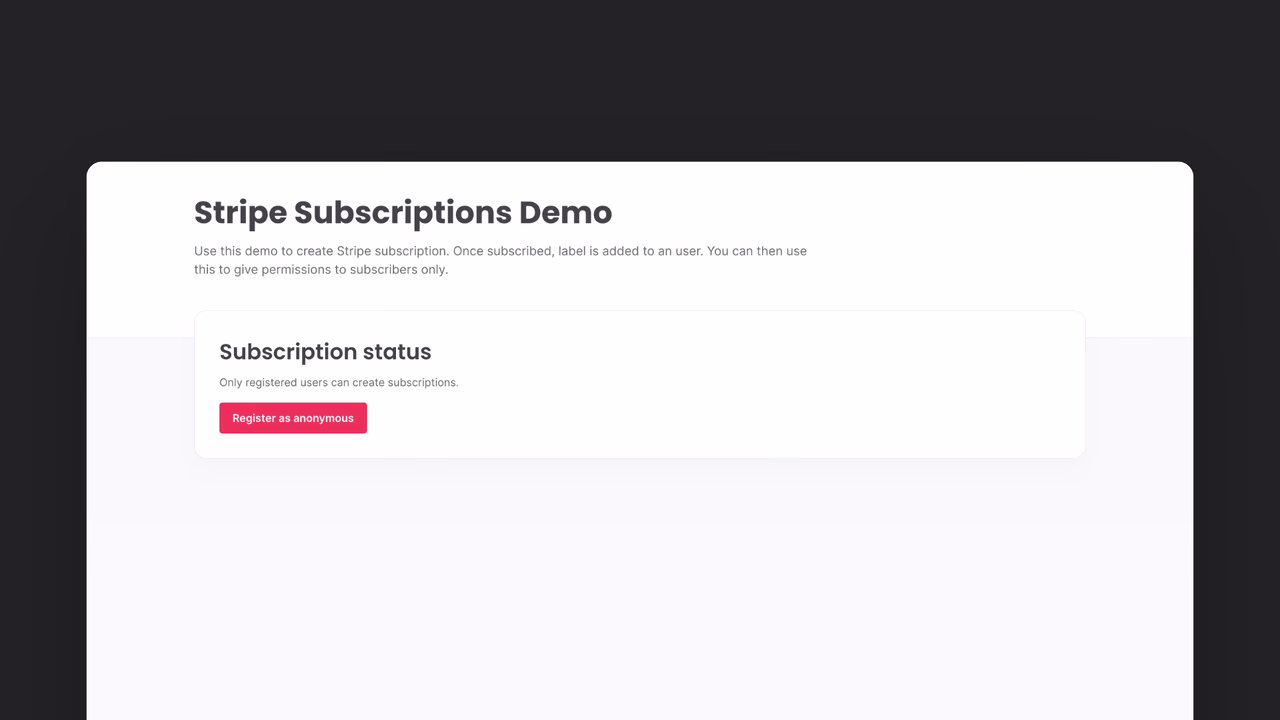
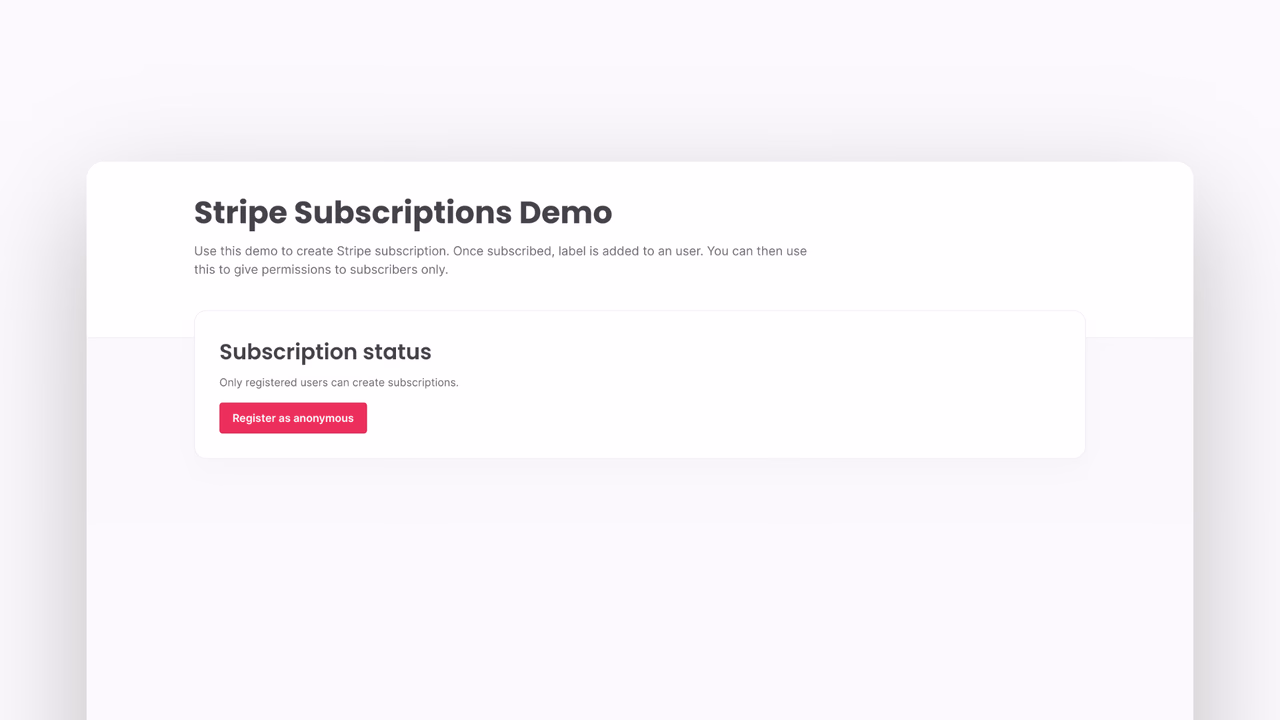
In the demo app, click the Register as anonymous button to create a guest session. This will create a new user in your Appwrite Project. After registering, the demo app will show that you are Not subscribed. This means that your user does not have a subscriber label. You can click Subscribe with Stripe to start the payment process.
Once redirected to Stripe, fill out the payment form. If your Stripe account is in test mode, you can use test card number 4242 4242 4242 4242 with any future expiration date and any CVC code. When done, click the Subscribe button.
Once processed, you will be redirected back to the demo application, where Subscription status will say Subscribed. If it doesn't, please allow Stripe a few moments to process the payment. You can keep refreshing the website until the status is updated.
Verify label
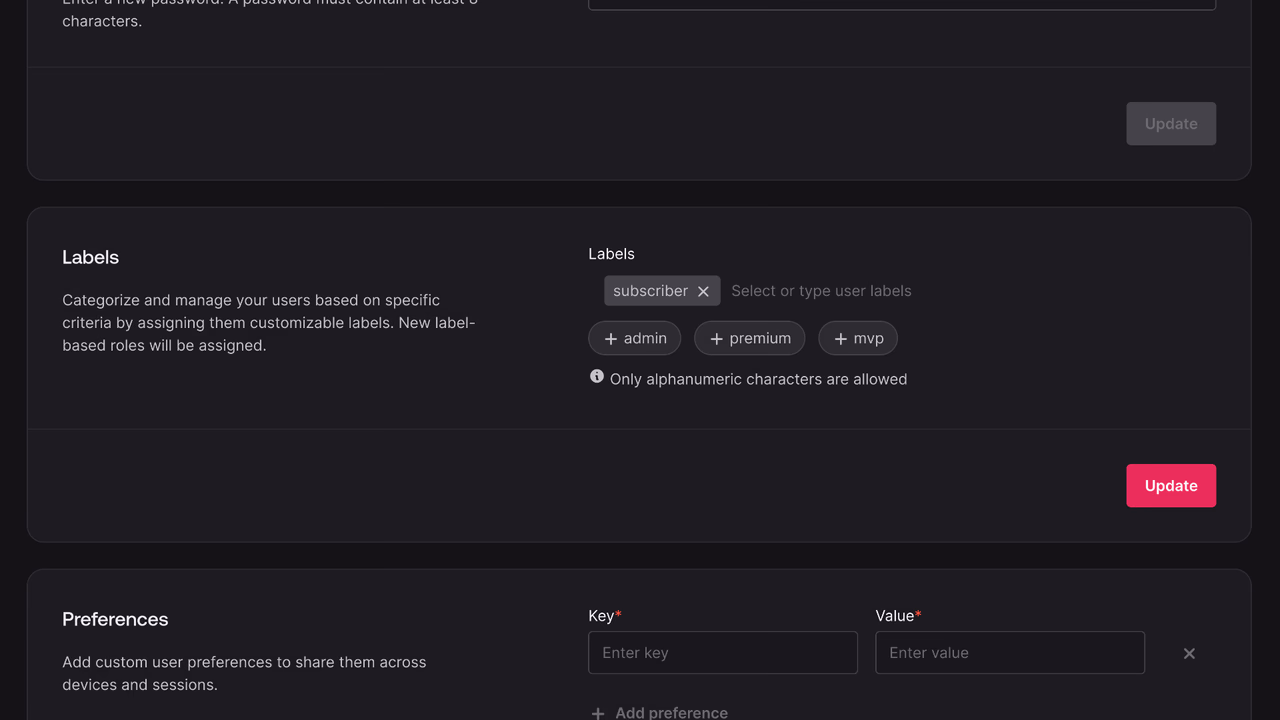
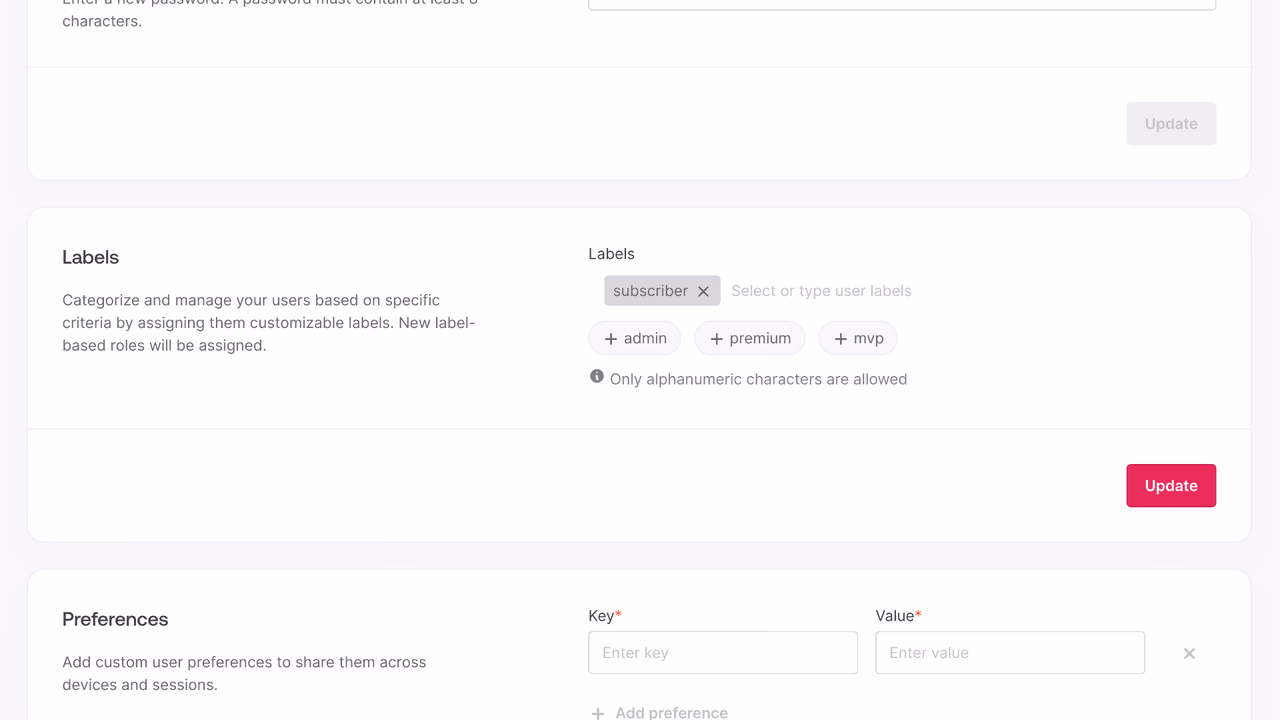
Once someone subscribes, they should receive a special label that will grant them permissions. To verify that a label was added successfully to the user, you can switch to Appwrite Console and visit the Auth page of our Appwrite Project. Here, you should see one anonymous user.
Let's click on this user to see the details. After scrolling down to the Labels card, you can see the subscriber label has been added to this user.
Permissions
The label created will grant the user access to any resource with the following permissions.
| Description | Code Snippet |
Read | Permissions.read(Role.label('subscriber')) |
Update | Permissions.update(Role.label('subscriber')) |
Delete | Permissions.delete(Role.label('subscriber')) |
Create | Permissions.create(Role.label('subscriber')) |
Learn more about permissions