Follow these steps before you begin using the Appwrite SDKs or accessing Appwrite through the REST and GraphQL API.
If you are choosing Appwrite among BaaS platforms or mapping backend infrastructure options first, skim that guide, then return here to wire SDKs.
Appwrite has two types of APIs for different use cases, select one or both depending on your use case.
If you're creating a web, mobile, or native application used by end-users that will register and create accounts, install a Client SDK and follow steps for Client APIs.
If you're create a server application, like a backend, admin app, or a CLI tool, install a Server SDK and follow steps for Server APIs.
If you're creating a Server-side Rendered (SSR) web app, install a Server SDK and follow steps for SSR.
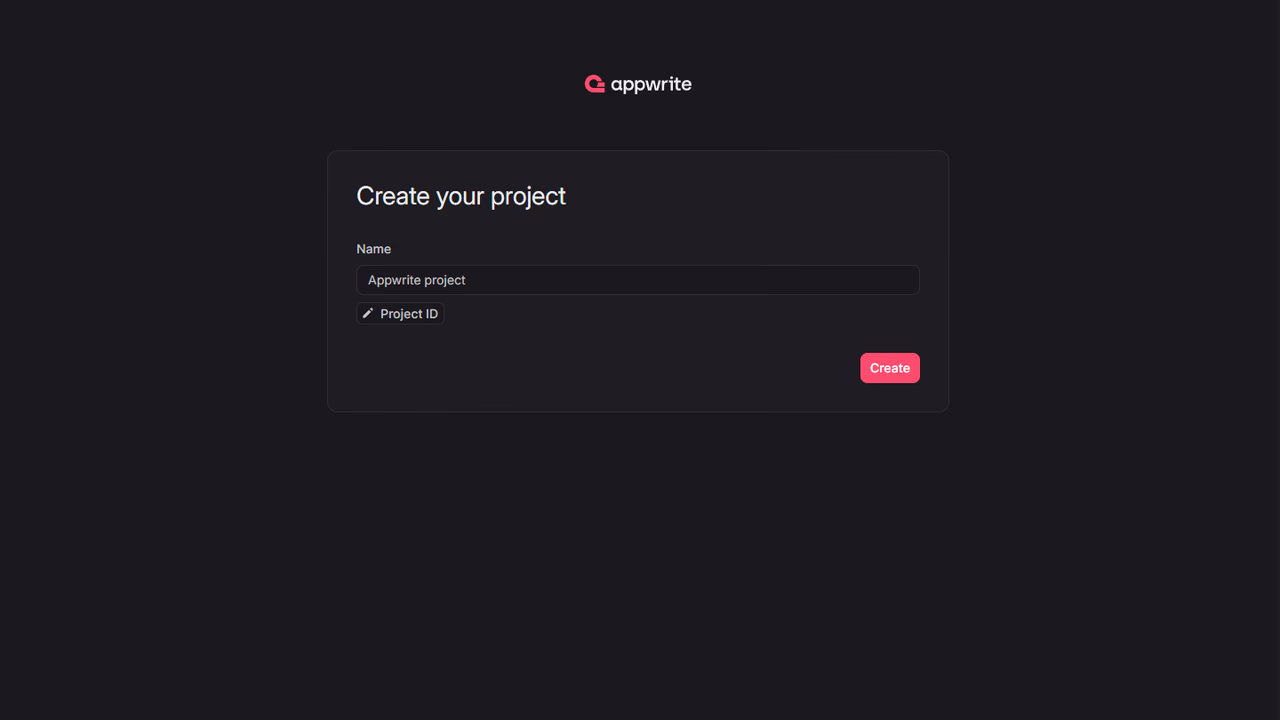
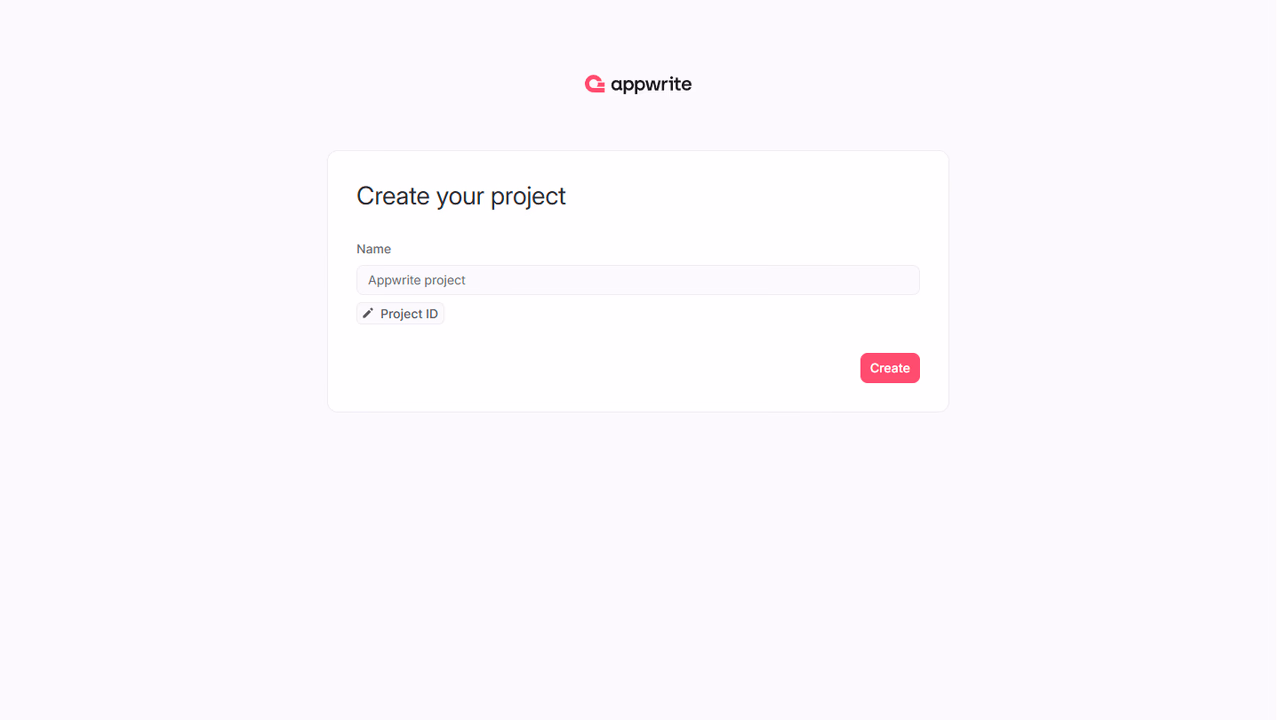
Head to the Appwrite Console.
If this is your first time using Appwrite, create an account and create your first project.
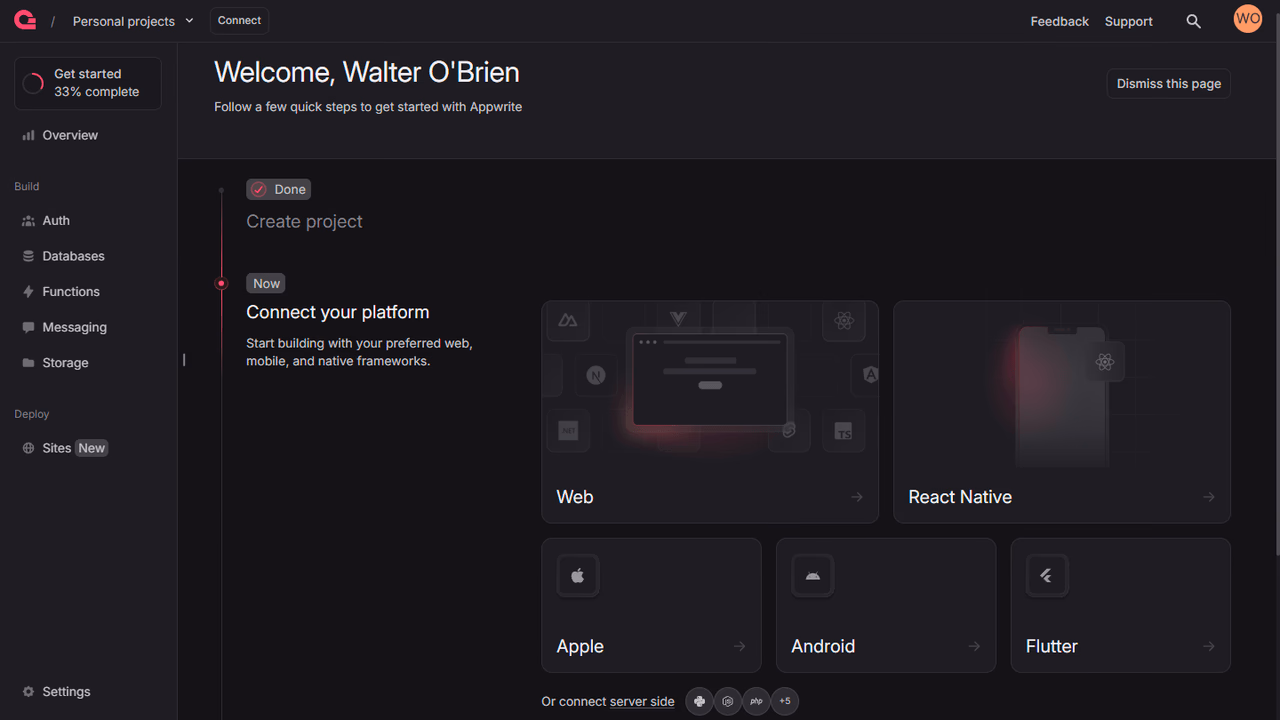
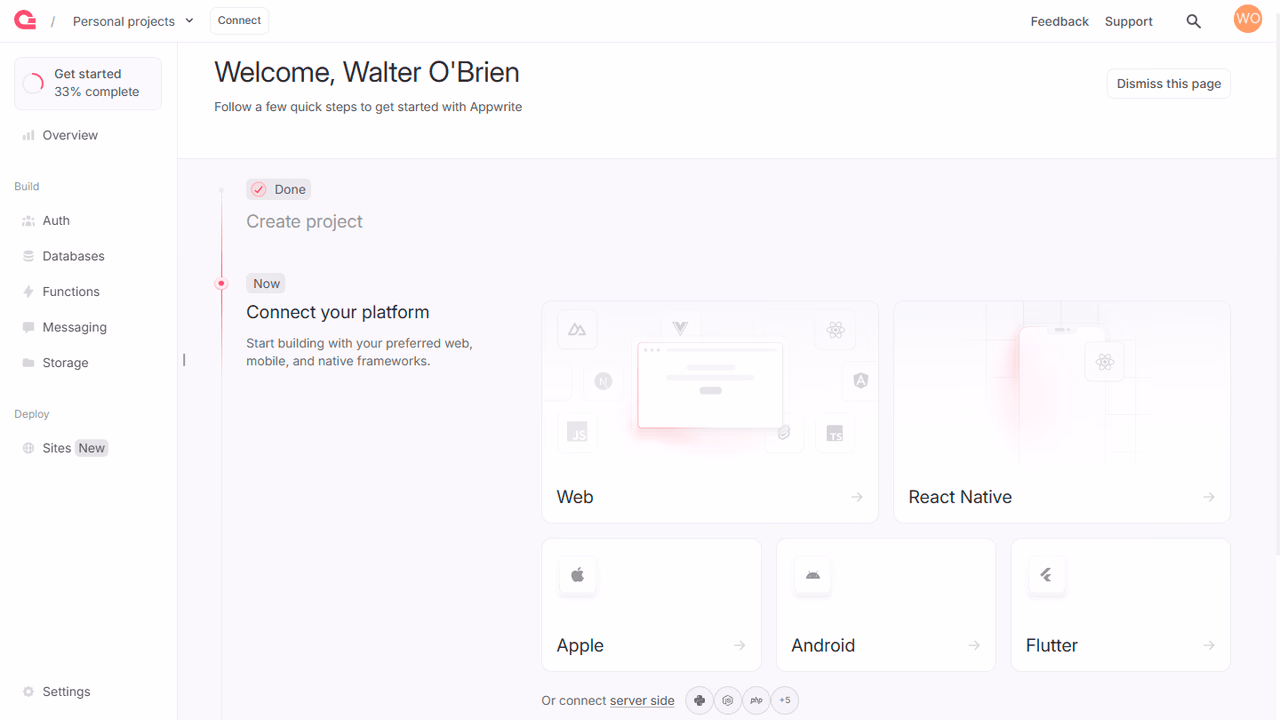
Then, configure your project depending on use case. You can follow all three flows to enable all three use cases.
Under Add a platform, add a platform for each web, mobile, and native app you plan to create. This means, a different platform for each web app hosted under a different domain, and a different platform for each mobile or native app that use a different package ID.
You can skip optional steps.
Under Integrate with your server, add an API Key.
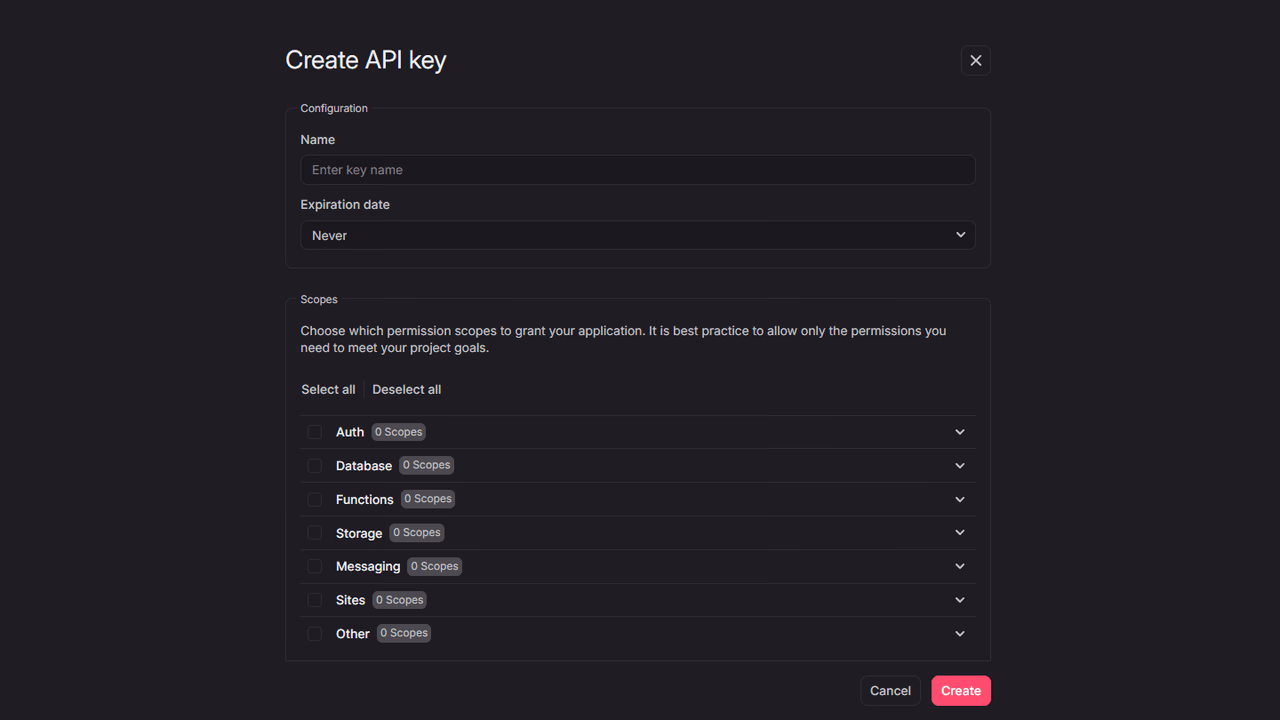
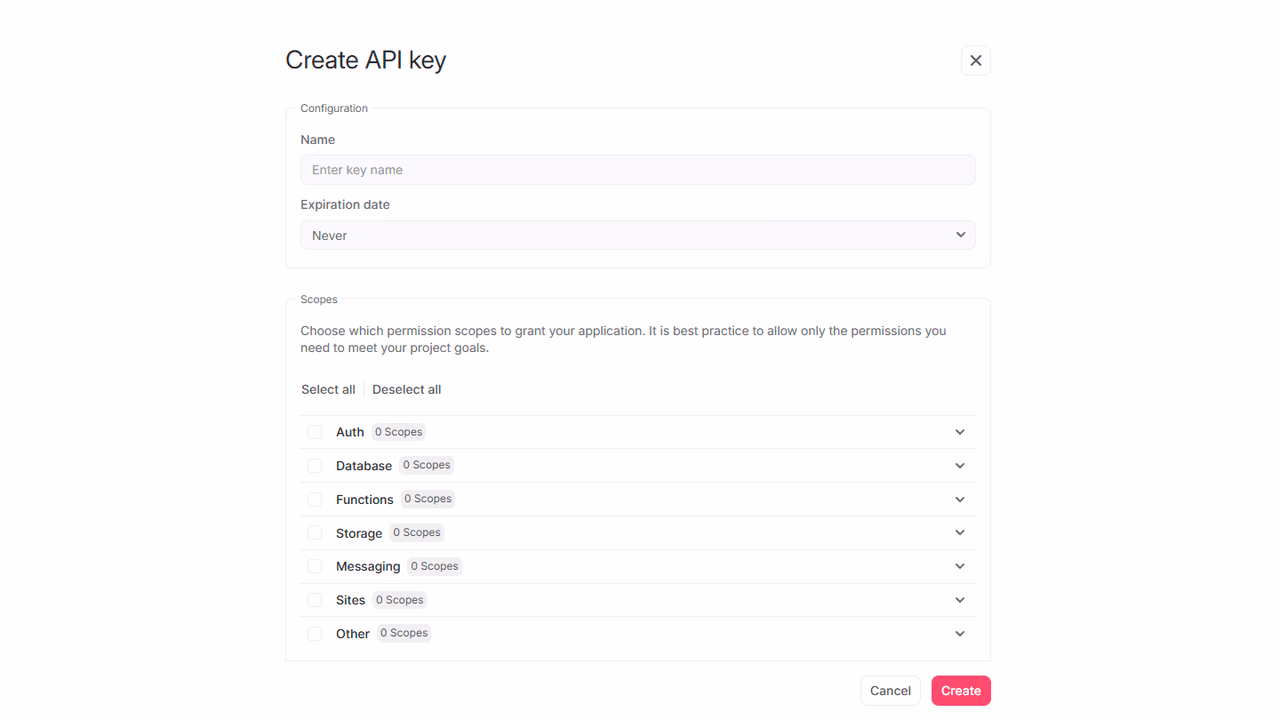
Enable the scopes for the Appwrite products you plan to use for your app. It's a good idea to only grant scopes that you need, and edit the API keys as your needs change for security.
Under Integrate with your server, add an API Key with the following scopes.
| Category | Required scopes | Purpose |
Sessions | sessions.write | Allows API key to create, update, and delete sessions. |
When using the Appwrite APIs, you need to pass information like endpoint, project ID, credentials and other metadata for Appwrite to properly parse your request.
Client apps need to be configured with endpoint and project ID, so the Appwrite SDK knows which endpoint and project to connect to.
import { Client } from "appwrite";

const client = new Client();

client
    .setEndpoint('https://<REGION>.cloud.appwrite.io/v1')    // Your API Endpoint
    .setProject('<PROJECT_ID>')                // Your project ID
;
Server apps need to be configured with endpoint, project ID, and an API key so the Appwrite SDK knows which endpoint and project to connect to, as well as have credentials to perform admin actions.
const sdk = require('node-appwrite');

// Init SDK
const client = new sdk.Client();

client
    .setEndpoint('https://<REGION>.cloud.appwrite.io/v1')                // Your API Endpoint
    .setProject('<PROJECT_ID>')                            // Your project ID
    .setJWT('<YOUR_API_KEY>')                                   // Your secret JSON Web Token
;
Appwrite uses Server SDKs for SSR apps. The initialization is different
Admin client
Admin clients
Admin clients should only be used if you need to perform admin actions that bypass permissions or unauthenticated requests that bypass rate limits.
To initialize the admin client, we'll need to first generated an API key. The API key should have the following scope in order to perform authentication:
| Category | Required scopes | Purpose |
Sessions | sessions.write | Allows API key to create, update, and delete sessions. |
import { Client } from "node-appwrite"; // Using the server SDK

const adminClient = new Client()
    .setEndpoint('https://<REGION>.cloud.appwrite.io/v1') // Your API Endpoint
    .setProject('<PROJECT_ID>')             // Your project ID
    .setKey('<YOUR_API_KEY>');                   // Your secret API key
It is important to use an API key, as this will allow your server requests to bypass rate limits. If you don't use an API key, your server will be rate limited as if it were a client from a single IP address.
Session client
The session client will be used to make requests to Appwrite on behalf of the end-user. It will be initialized with the session, usually stored within a cookie.
You should create a new client for each request and never share the client between requests.
const sessionClient = new Client()
    .setEndpoint('https://<REGION>.cloud.appwrite.io/v1') // Your API Endpoint
    .setProject('<PROJECT_ID>');            // Your project ID

const session = req.cookies.session; // Get the session cookie from the request
if (session) {
    sessionClient.setSession(session);
}
You will use the initialized client in all requests you make to Appwrite.
If you're using Appwrite without an SDK, follow the guides for the REST API or GraphQL API.
If you prefer to explore examples, follow one of the following quick starts.
Client apps
Examples when building with Client APIs
Web
Just plain JavaScript and TypeScript.
Next.js
Get started with Appwrite and Next.js
React
Get started with Appwrite and React
Vue.js
Get started with Appwrite and Vue.js
Nuxt
Get started with Appwrite and Nuxt
SvelteKit
Get started with Appwrite and SvelteKit
Angular
Get started with Appwrite and Angular
Flutter
Get started with Appwrite and Flutter
Apple
Get started with Appwrite and Apple
Android
Get started with Appwrite and Android
Server apps
Examples when building with Server APIs
Node.js
Get started with Appwrite and Node.js
Python
Get started with Appwrite and Python
Dart
Get started with Appwrite and Dart
PHP
Get started with Appwrite and PHP
Ruby
Get started with Appwrite and Ruby
.NET
Get started with Appwrite and .NET
Deno
Get started with Appwrite and Deno
Go
Get started with Appwrite and Go
Swift
Get started with Appwrite and Swift
Kotlin
Get started with Appwrite and Kotlin