Learn how to setup your first .NET project powered by Appwrite.
Head to the Appwrite Console.
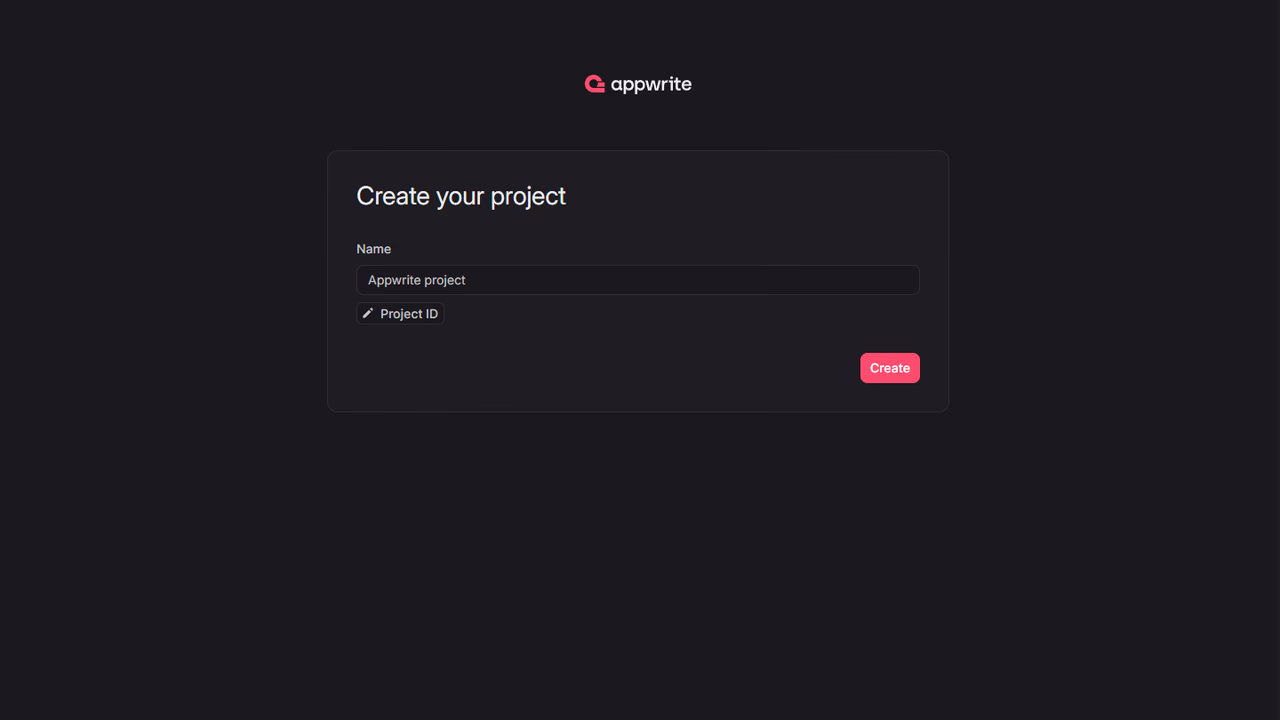
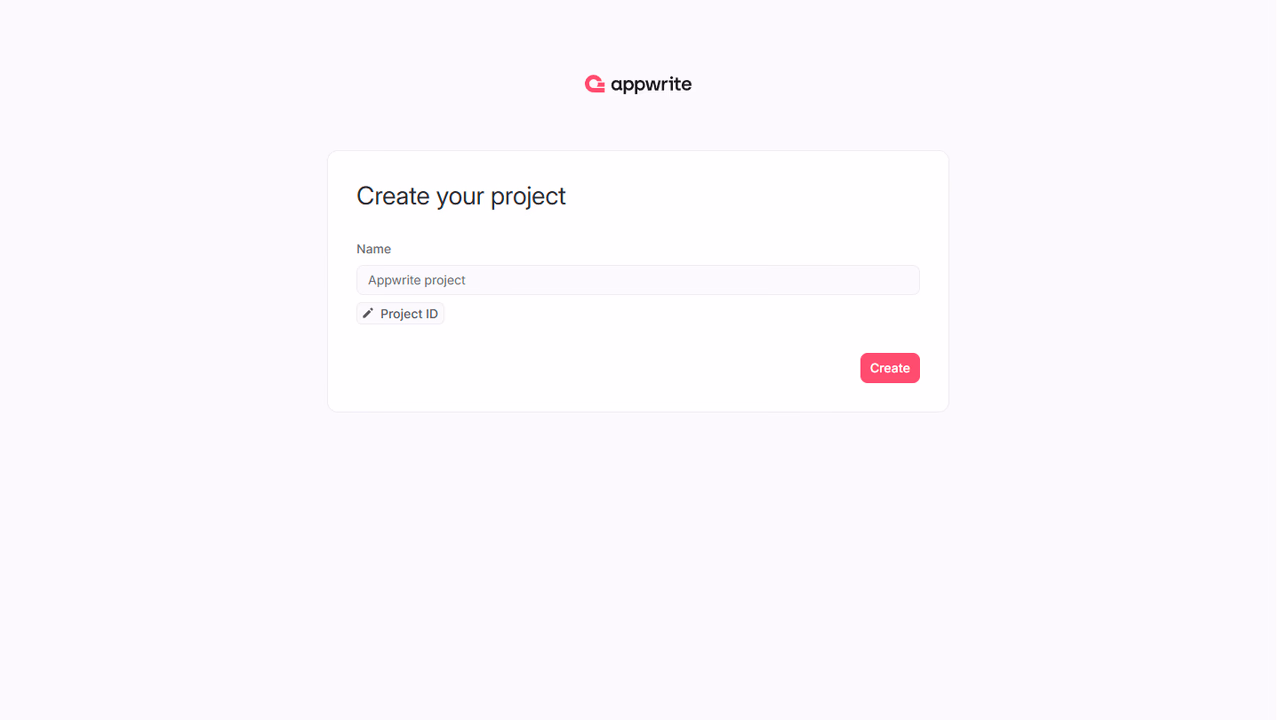
If this is your first time using Appwrite, create an account and create your first project.
Then, under Integrate with your server, add an API Key with the following scopes.
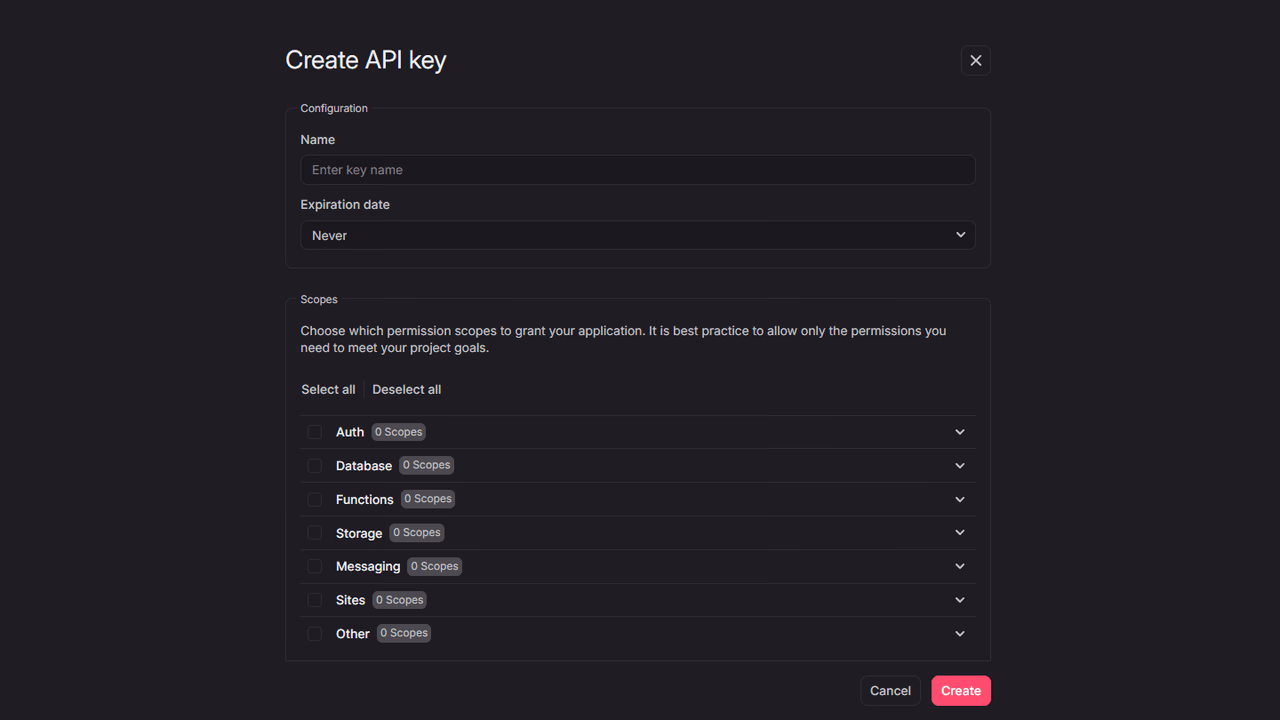
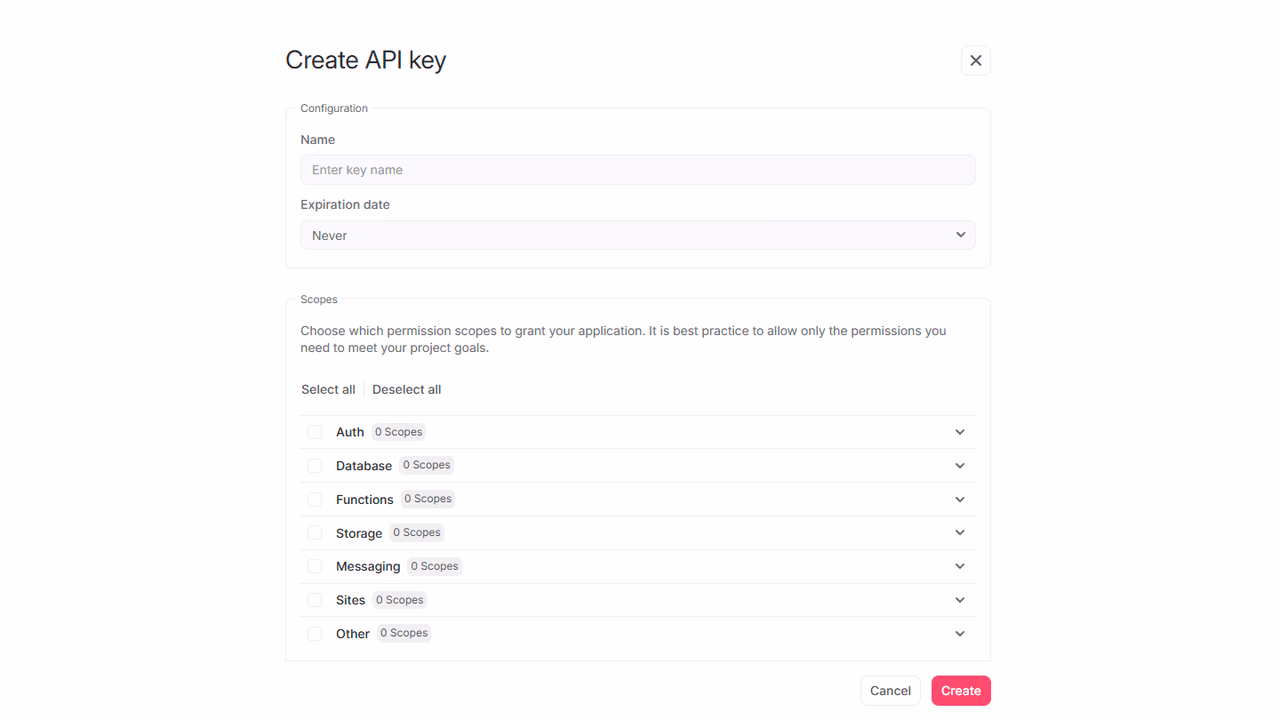
| Category | Required scopes | Purpose |
Database | databases.write | Allows API key to create, update, and delete databases. |
tables.write | Allows API key to create, update, and delete tables. | |
columns.write | Allows API key to create, update, and delete columns. | |
rows.read | Allows API key to read rows. | |
rows.write | Allows API key to create, update, and delete rows. |
Other scopes are optional.

Create a .NET CLI application.
dotnet new console -o MyApp
cd MyApp
Install the .NET Appwrite SDK.
dotnet add package Appwrite --version 0.13.0
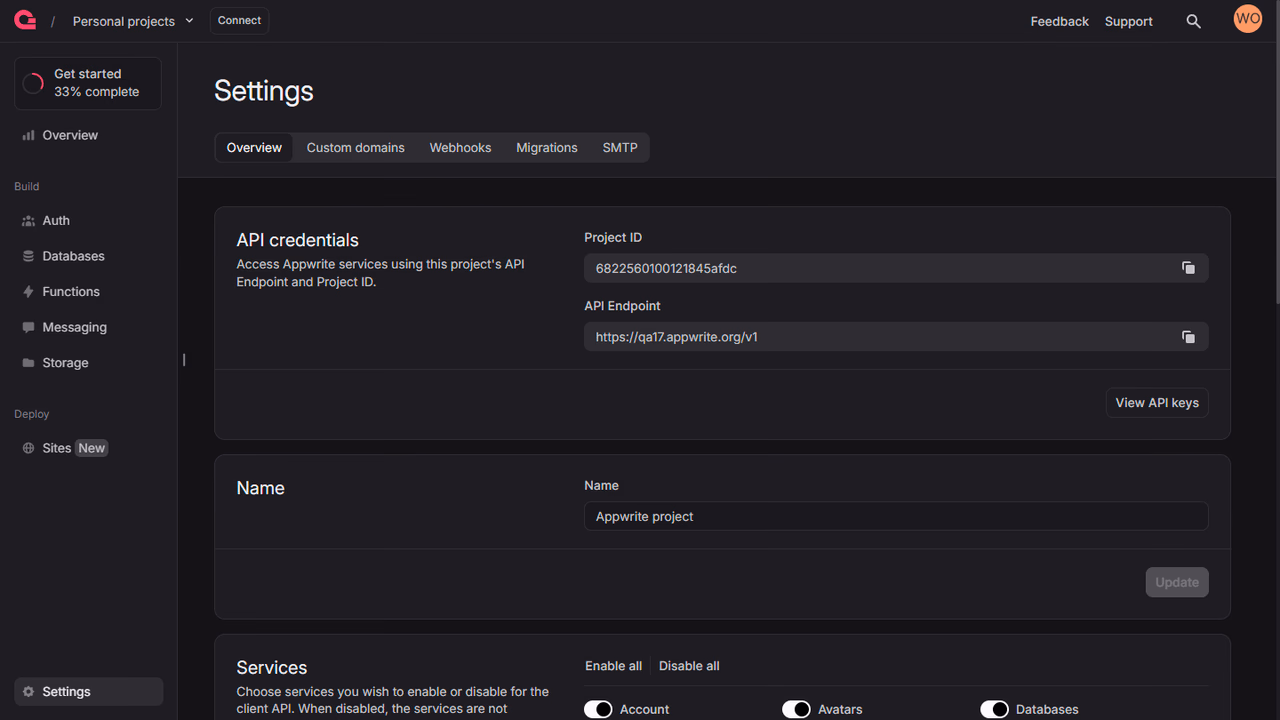
Find your project ID in the Settings page. Also, click on the View API Keys button to find the API key that was created earlier.
Open the file Program.cs and initialize the Appwrite Client. Replace <PROJECT_ID> with your project ID and <YOUR_API_KEY> with your API key.
using Appwrite;
using Appwrite.Models;
using Appwrite.Services;

var client = new Client();

client
    .SetEndpoint("https://<REGION>.cloud.appwrite.io/v1")
    .SetProject("<PROJECT_ID>")
    .SetKey("<YOUR_API_KEY>");
Once the Appwrite Client is initialized, create a function to configure a todo table.
var tablesDB = new TablesDB(client);

Database todoDatabase;
Table todoTable;

todoDatabase = await tablesDB.Create(
    databaseId: ID.Unique(),
    name: "TodosDB"
);

todoTable = await tablesDB.CreateTable(
    databaseId: todoDatabase.Id,
    tableId: ID.Unique(),
    name: "Todos"
);

await tablesDB.CreateVarcharColumn(
    databaseId: todoDatabase.Id,
    tableId: todoTable.Id,
    key: "title",
    size: 255,
    required: true
);

await tablesDB.CreateTextColumn(
    databaseId: todoDatabase.Id,
    tableId: todoTable.Id,
    key: "description",
    required: false,
    xdefault: "This is a test description"
);

await tablesDB.CreateBooleanColumn(
    databaseId: todoDatabase.Id,
    tableId: todoTable.Id,
    key: "isComplete",
    required: true
);
Create a function to add some mock data into your new table.
var testTodo1 = new Dictionary<string, object>()
{
    {"title", "Buy apples"},
    {"description", "At least 2KGs"},
    {"isComplete", true}
};

var testTodo2 = new Dictionary<string, object>()
{
    {"title", "Wash the apples"},
    {"isComplete", true}
};

var testTodo3 = new Dictionary<string, object>()
{
    {"title", "Cut the apples"},
    {"description", "Don't forget to pack them in a box"},
    {"isComplete", false}
};

await tablesDB.CreateRow(
    databaseId: todoDatabase.Id,
    tableId: todoTable.Id,
    rowId: ID.Unique(),
    data: testTodo1
);

await tablesDB.CreateRow(
    databaseId: todoDatabase.Id,
    tableId: todoTable.Id,
    rowId: ID.Unique(),
    data: testTodo2
);

await tablesDB.CreateRow(
    databaseId: todoDatabase.Id,
    tableId: todoTable.Id,
    rowId: ID.Unique(),
    data: testTodo3
);
Create a function to retrieve the mock todo data.
var todos = await tablesDB.ListRows(
    databaseId: todoDatabase.Id,
    tableId: todoTable.Id
);

foreach (var todo in todos.Rows)
{
    Console.WriteLine($"Title: {todo.Data["title"]}\nDescription: {todo.Data["description"]}\nIs Todo Complete: {todo.Data["isComplete"]}\n\n");
}
Run your project with dotnet run and view the response in your console.