Learn how to setup your first Node.js project powered by Appwrite.
Head to the Appwrite Console.
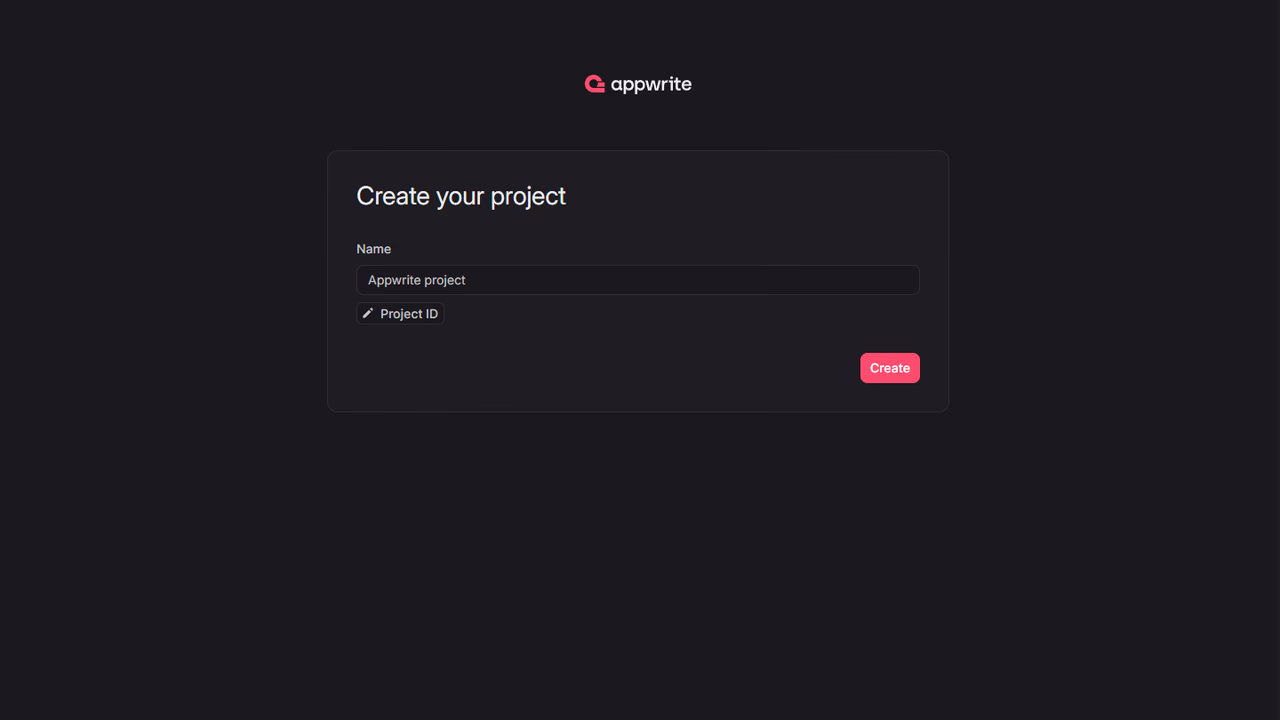
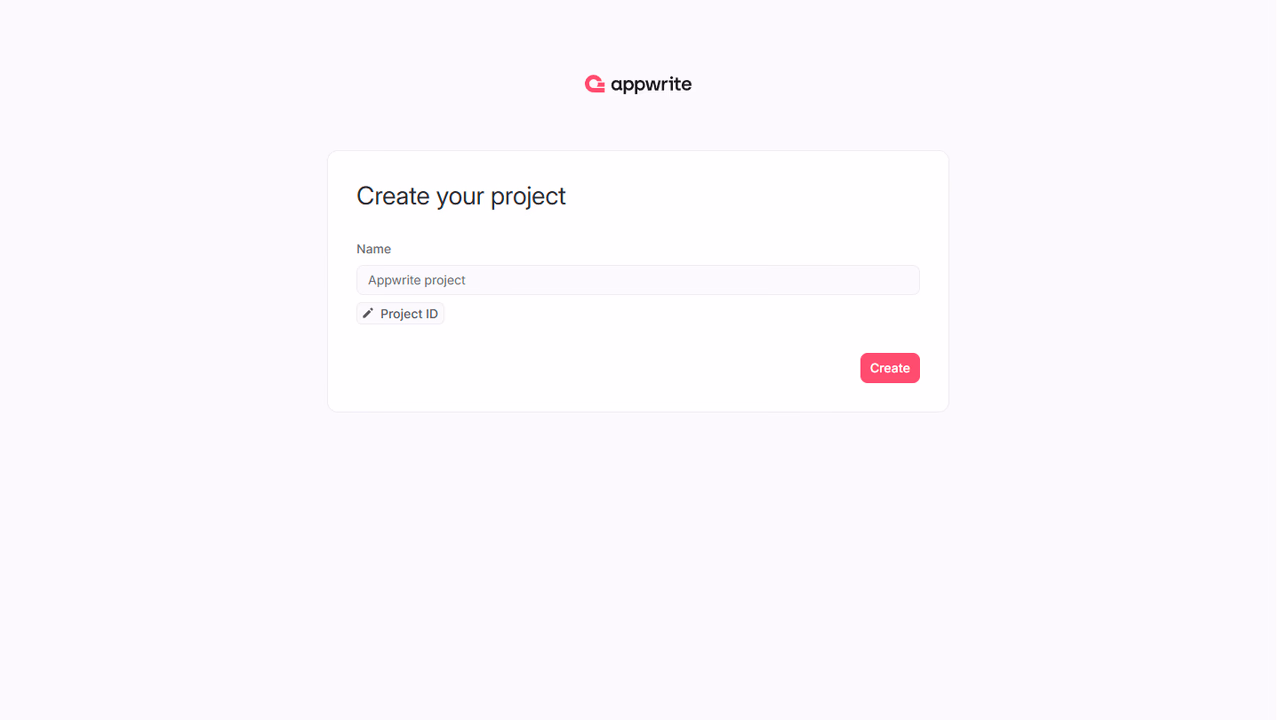
If this is your first time using Appwrite, create an account and create your first project.
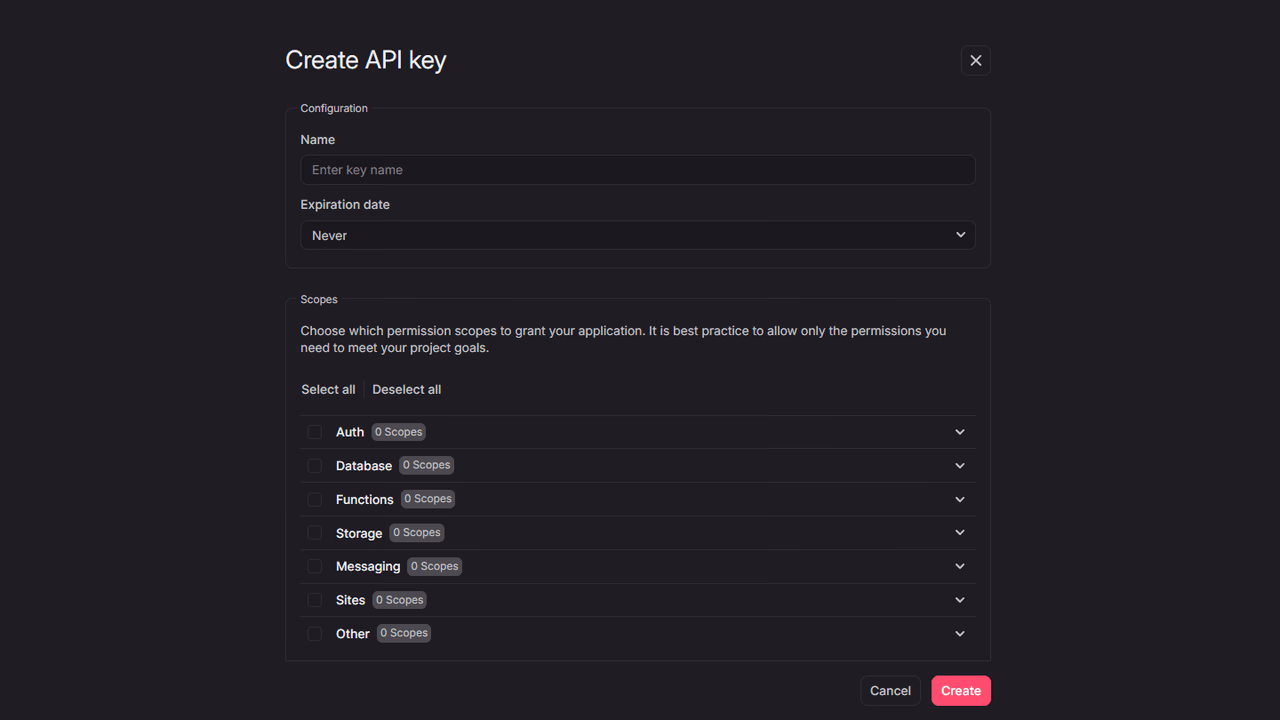
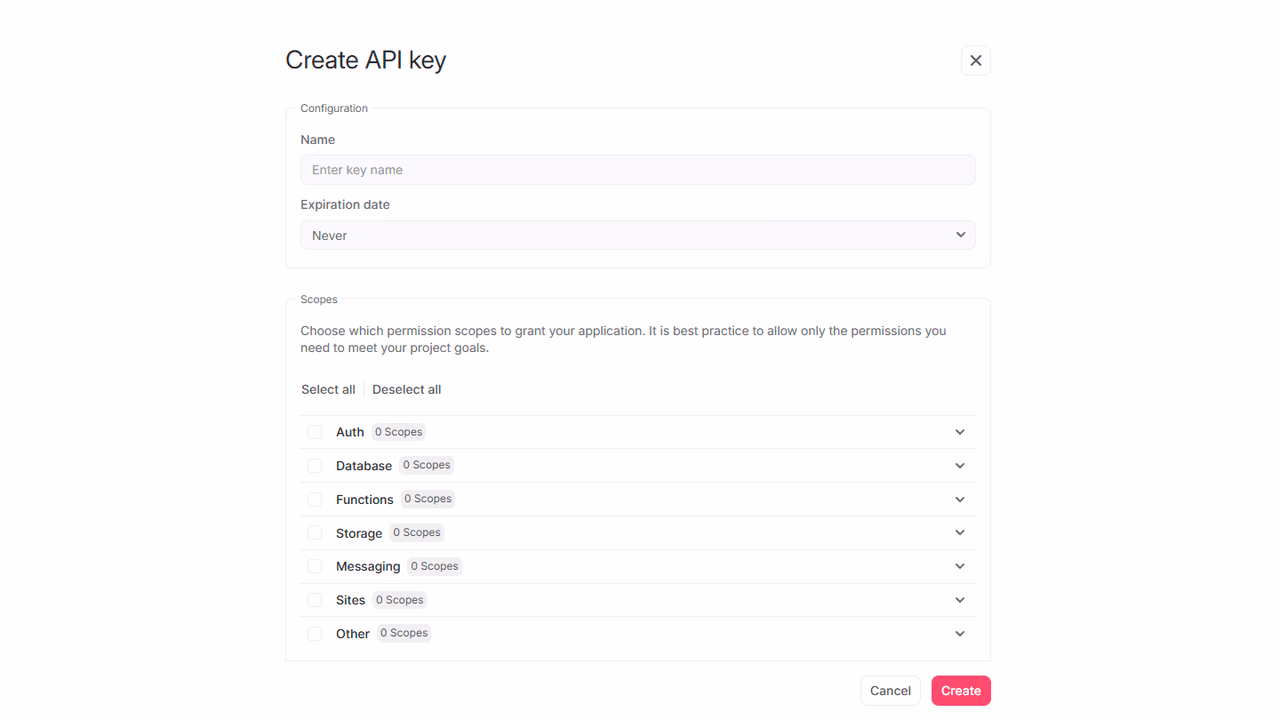
Then, under Integrate with your server, add an API Key with the following scopes.
| Category | Required scopes | Purpose |
Database | databases.write | Allows API key to create, update, and delete databases. |
tables.write | Allows API key to create, update, and delete tables. | |
columns.write | Allows API key to create, update, and delete columns. | |
rows.read | Allows API key to read rows. | |
rows.write | Allows API key to create, update, and delete rows. |
Other scopes are optional.
Create a Node.js CLI application.
mkdir my-app
cd my-app
npm init
Install the Node.js Appwrite SDK.
npm install node-appwrite
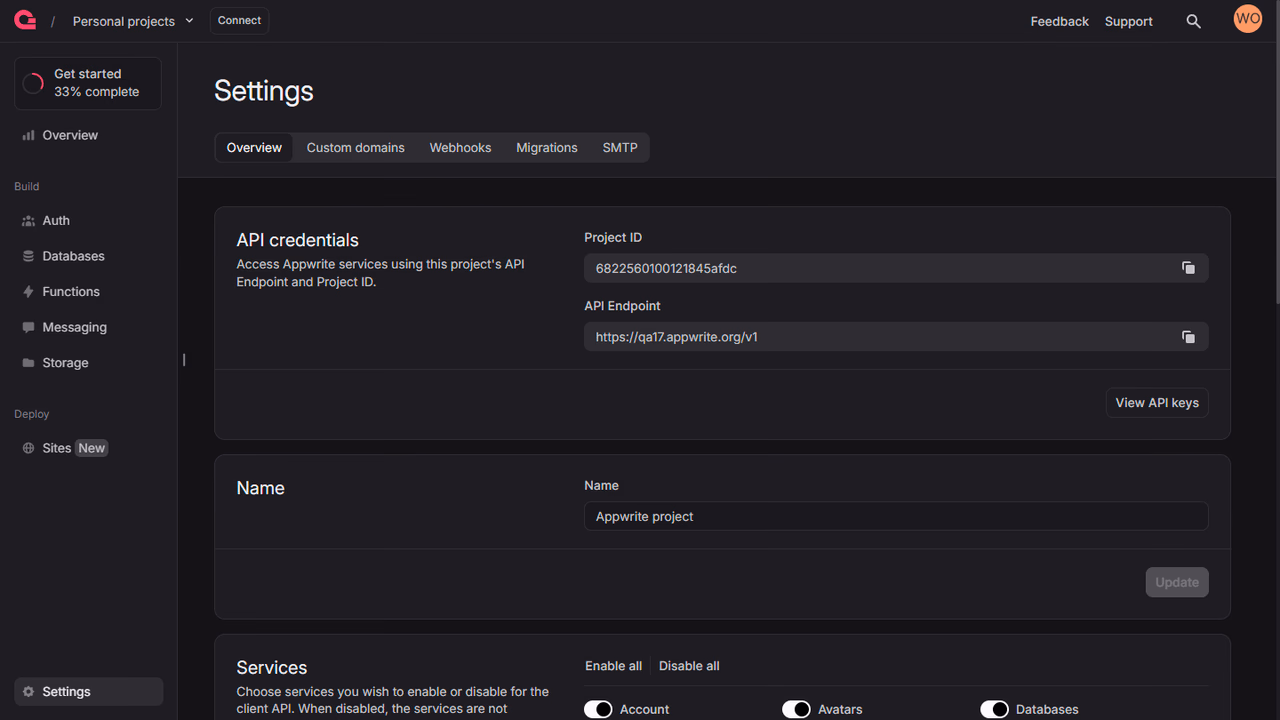
Find your project ID in the Settings page. Also, click on the View API Keys button to find the API key that was created earlier.

Create a new file app.js and initialize the Appwrite Client. Replace <PROJECT_ID> with your project ID and <YOUR_API_KEY> with your API key.
const sdk = require("node-appwrite");

const client = new sdk.Client();

client
    .setEndpoint("https://<REGION>.cloud.appwrite.io/v1")
    .setProject("<PROJECT_ID>")
    .setKey("<YOUR_API_KEY>");
Once the Appwrite Client is initialized, create a function to configure a todo table.
const tablesDB = new sdk.TablesDB(client);

var todoDatabase;
var todoTable;

async function prepareDatabase() {
    todoDatabase = await tablesDB.create({
        databaseId: sdk.ID.unique(),
        name: 'TodosDB'
    });

    todoTable = await tablesDB.createTable({
        databaseId: todoDatabase.$id,
        tableId: sdk.ID.unique(),
        name: 'Todos'
    });

    await tablesDB.createVarcharColumn({
        databaseId: todoDatabase.$id,
        tableId: todoTable.$id,
        key: 'title',
        size: 255,
        required: true
    });

    await tablesDB.createTextColumn({
        databaseId: todoDatabase.$id,
        tableId: todoTable.$id,
        key: 'description',
        required: false,
        xdefault: 'This is a test description'
    });

    await tablesDB.createBooleanColumn({
        databaseId: todoDatabase.$id,
        tableId: todoTable.$id,
        key: 'isComplete',
        required: true
    });
}
Create a function to add some mock data into your new table.
async function seedDatabase() {
    var testTodo1 = {
        title: 'Buy apples',
        description: 'At least 2KGs',
        isComplete: true
    };

    var testTodo2 = {
        title: 'Wash the apples',
        isComplete: true
    };

    var testTodo3 = {
        title: 'Cut the apples',
        description: 'Don\'t forget to pack them in a box',
        isComplete: false
    };

    await tablesDB.createRow({
        databaseId: todoDatabase.$id,
        tableId: todoTable.$id,
        rowId: sdk.ID.unique(),
        data: testTodo1
    });
    await tablesDB.createRow({
        databaseId: todoDatabase.$id,
        tableId: todoTable.$id,
        rowId: sdk.ID.unique(),
        data: testTodo2
    });
    await tablesDB.createRow({
        databaseId: todoDatabase.$id,
        tableId: todoTable.$id,
        rowId: sdk.ID.unique(),
        data: testTodo3
    });
}
Create a function to retrieve the mock todo data and a function to execute the requests in order. Run the functions to by calling runAllTasks();.
const { Query } = require('node-appwrite');

async function getTodos() {
    // Retrieve rows (default limit is 25)
    var todos = await tablesDB.listRows({
        databaseId: todoDatabase.$id,
        tableId: todoTable.$id
    });

    console.log("Todos:");
    todos.rows.forEach(todo => {
        console.log(`Title: ${todo.title}\nDescription: ${todo.description}\nIs Todo Complete: ${todo.isComplete}\n\n`);
    });
}

async function getCompletedTodos() {
    // Use queries to filter completed todos with pagination
    var todos = await tablesDB.listRows({
        databaseId: todoDatabase.$id,
        tableId: todoTable.$id,
        queries: [
            Query.equal("isComplete", true),
            Query.orderDesc("$createdAt"),
            Query.limit(5)
        ]
    });

    console.log("Completed todos (limited to 5):");
    todos.rows.forEach(todo => {
        console.log(`Title: ${todo.title}\nDescription: ${todo.description}\nIs Todo Complete: ${todo.isComplete}\n\n`);
    });
}

async function getIncompleteTodos() {
    // Query for incomplete todos
    var todos = await tablesDB.listRows({
        databaseId: todoDatabase.$id,
        tableId: todoTable.$id,
        queries: [
            Query.equal("isComplete", false),
            Query.orderAsc("title")
        ]
    });

    console.log("Incomplete todos (ordered by title):");
    todos.rows.forEach(todo => {
        console.log(`Title: ${todo.title}\nDescription: ${todo.description}\nIs Todo Complete: ${todo.isComplete}\n\n`);
    });
}

async function runAllTasks() {
    await prepareDatabase();
    await seedDatabase();
    await getTodos();
    await getCompletedTodos();
    await getIncompleteTodos();
}
runAllTasks();
For better type safety in TypeScript Node.js projects, define interfaces and use generics:
interface Todo {
    title: string;
    description: string;
    isComplete: boolean;
}

import { Client, TablesDB } from 'node-appwrite';

const client = new Client()
    .setEndpoint('https://<REGION>.cloud.appwrite.io/v1')
    .setProject('<PROJECT_ID>');

const tablesDB = new TablesDB(client);

// Type-safe database operations
async function getTodos() {
    const todos = await tablesDB.listRows<Todo>({
        databaseId: '<DATABASE_ID>',
        tableId: '<TABLE_ID>'
    });

    todos.rows.forEach(todo => {
        console.log(`Title: ${todo.title} - Complete: ${todo.isComplete}`);
    });
}
Generate types automatically
Use the Appwrite CLI to generate TypeScript interfaces automatically: appwrite types ./types
Run your project with node app.js and view the response in your console.