Get started quickly with these pre-built prompts for common Appwrite integrations:
Browse all quick start prompts
Connect Appwrite MCP servers to Zenflow for deeper integration with the Appwrite API and documentation.
Before you begin, ensure you have the following pre-requisites installed on your system:
To add the Appwrite MCP server, open Zenflow and go to the Settings > MCP servers. From there, select your agent you want to configure MCP for, and then add your custom MCP server.
{
  "mcpServers": {
    "appwrite-api": {
      "command": "uvx",
      "args": [
        "mcp-server-appwrite"
      ],
      "env": {
        "APPWRITE_PROJECT_ID": "your-project-id",
        "APPWRITE_API_KEY": "your-api-key",
        "APPWRITE_ENDPOINT": "https://<REGION>.cloud.appwrite.io/v1"
      }
    }
  }
}
Configuration:
- Replace
your-project-idwith your actual Appwrite project ID - Replace
your-api-keywith your Appwrite API key - Replace
<REGION>with your Appwrite Cloud region (e.g.,nyc,fra)
Update the
{
  "mcpServers": {}
}
to include the docs server:
{
  "mcpServers": {
    "appwrite-docs": {
      "url": "https://mcp-for-docs.appwrite.io",
      "type": "http"
    }
  }
}
Click Save. Once you save the configuration, Zenflow will connect with the MCP server(s) and load all available tools.
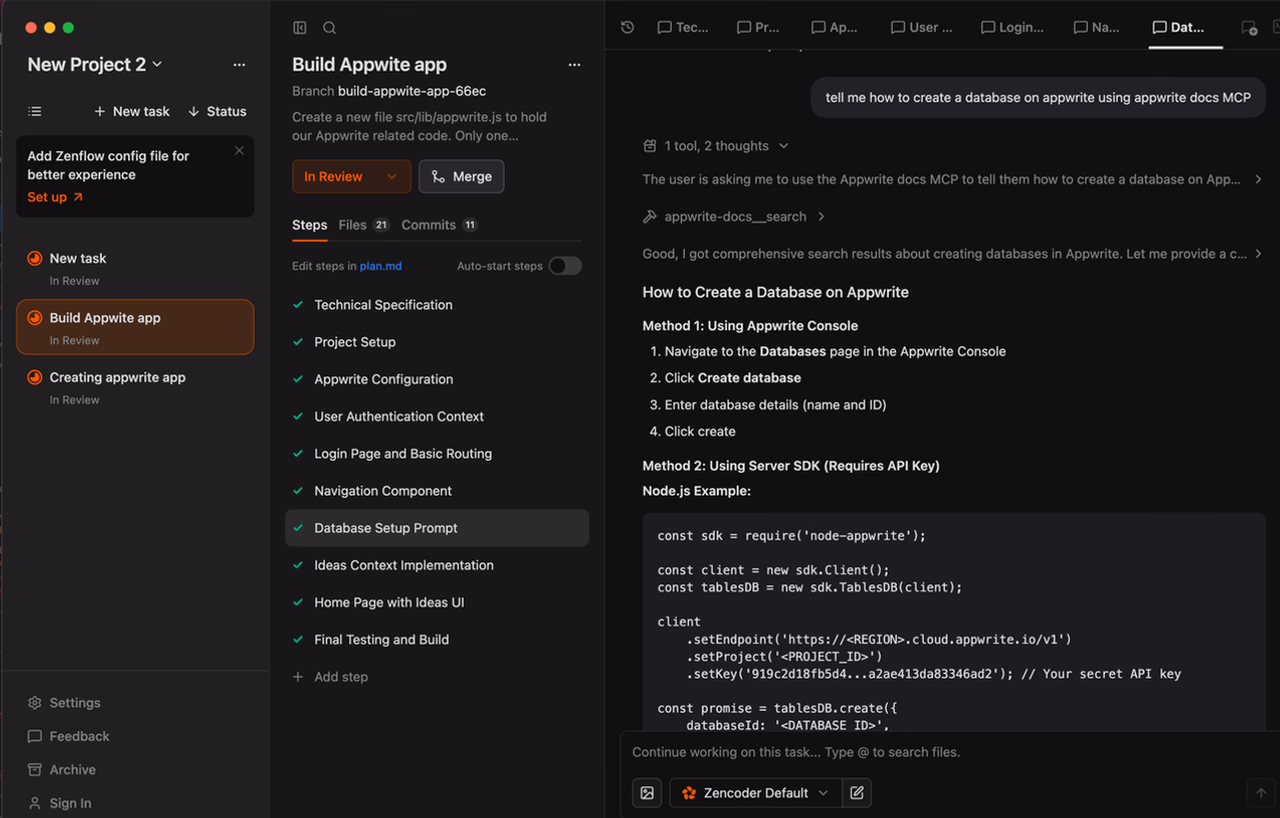
Open Zenflow Chat of your existing task to test your MCP integrations. If you don't have an existing task, you can create one by clicking New Task, selecting a task type, and writing a task description. Click Create and Run. If you are new to Zenflow, learn more about how to set up Zenflow.
You can try out the following example prompts based on the MCP server you have configured:
Example prompts:
Create a new user in my Appwrite projectList all databases in my projectShow me the tables in my databaseCreate a new row in my tableDelete a specific user by ID
Example prompts:
How do I set up real-time subscriptions in Appwrite?Show me how to authenticate users with OAuthWhat are the best practices for database queries?How do I implement file uploads with Appwrite Storage?Show me an example of using Appwrite Functions