Start with DocumentsDB_
Get started with Appwrite DocumentsDB. Follow a step-by-step guide to create your first database, add a collection, and perform basic document operations.
1 min read
1. Create database
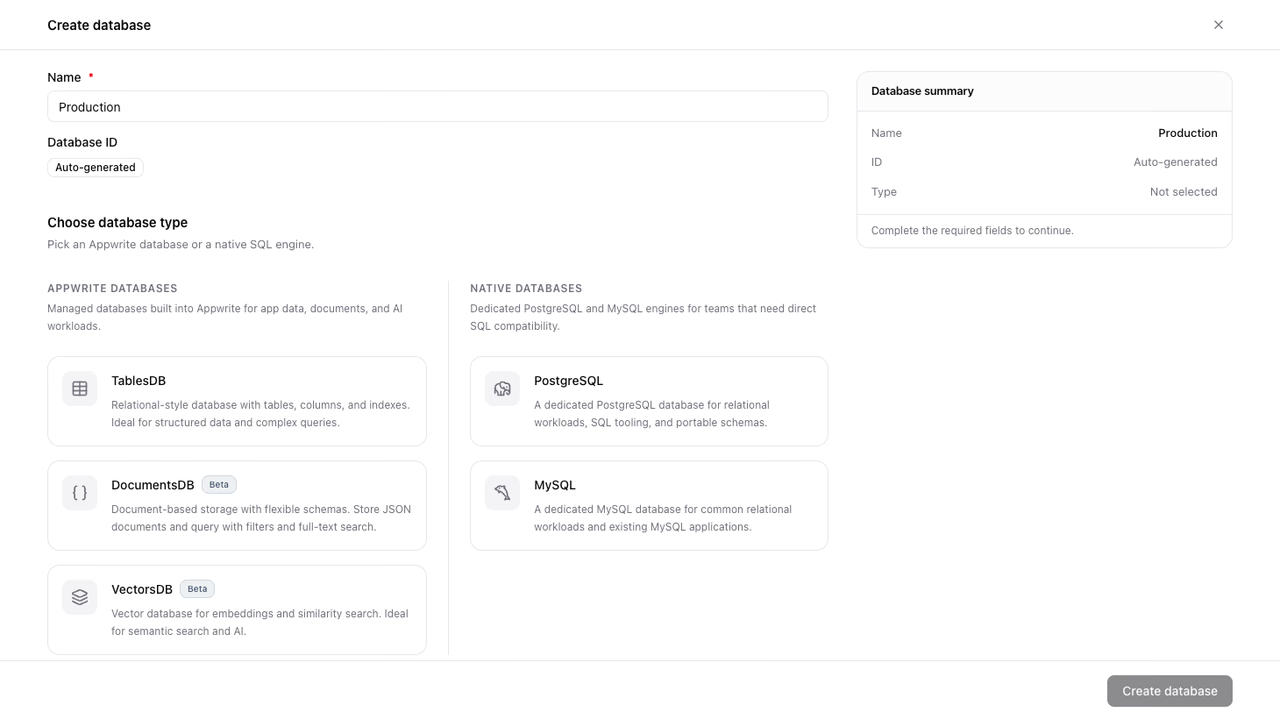
Head to your Appwrite Console, open your project, and navigate to the Databases page. Click Create database, name it Oscar, and choose DocumentsDB as the database type. Optionally, add a custom database ID. Select your preferred tier, then click Create database.
2. Create collection
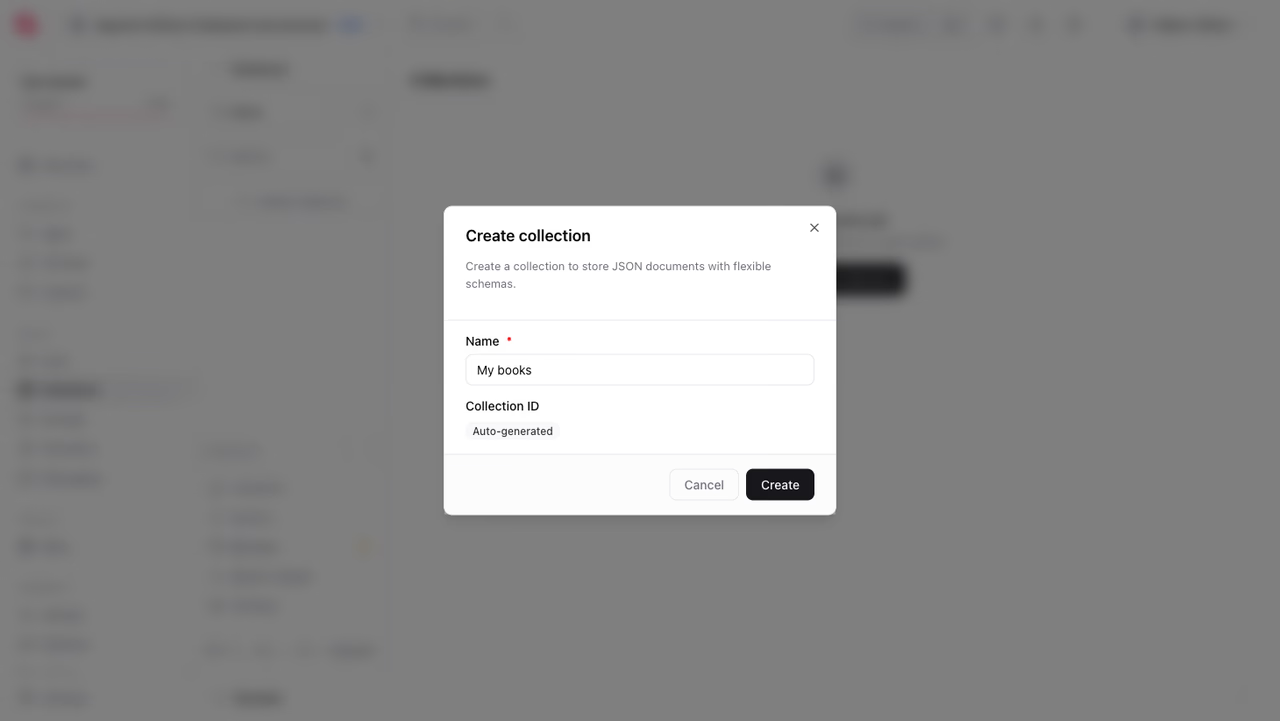
In the Oscar database, click Create collection and name it My books. Optionally, add a custom collection ID.
Collections are schemaless, so there are no columns to define. Each document holds its own fields as flexible JSON.
Open the collection's Security tab. Under Permissions, add a new role Any and check Create and Read, so anyone can create and read documents. Click Update to save.
3. Create documents
To create a document use the createDocument method.
In the Settings menu, find your project ID and replace <PROJECT_ID> in the example.
Navigate to the Oscar database, copy the database ID, and replace <DATABASE_ID>. Then, in the My books collection, copy the collection ID, and replace <COLLECTION_ID>.
The response should look similar to this.
{ "title": "Hamlet", "$id": "6a423aa70000c39da0be", "$sequence": "019f12b5-1c89-7094-8d12-5b7e7a09f025", "$permissions": [], "$createdAt": "2026-06-29T09:28:07.047+00:00", "$updatedAt": "2026-06-29T09:28:07.047+00:00", "$databaseId": "650125c64b3c25ce4bc4", "$collectionId": "650125cff227cf9f95ad"}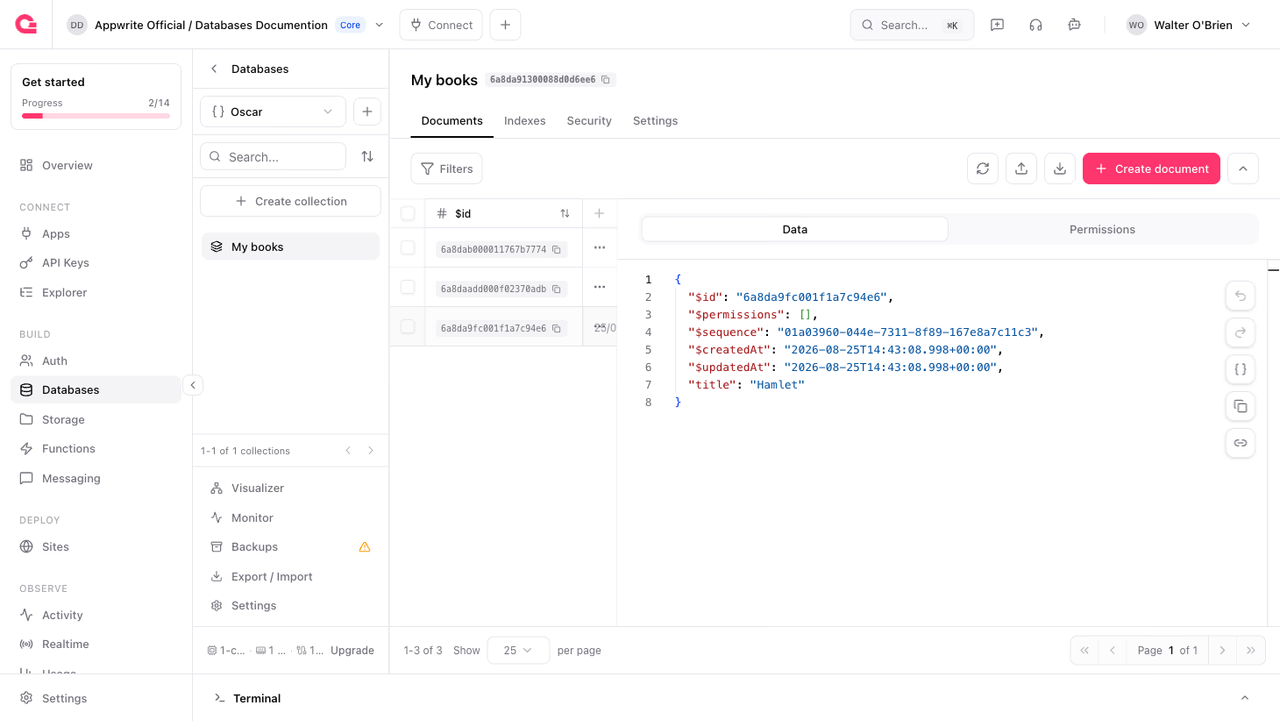
4. List documents
To read and query data from your collection, use the listDocuments endpoint.
Like the previous step, replace <PROJECT_ID>, <DATABASE_ID>, and <COLLECTION_ID> with their respective IDs.
Was this page helpful?
Share what worked or what we should fix. Once approved, our agents automatically apply suggested updates to the docs.