Create project
Head to the Appwrite Console.


If this is your first time using Appwrite, create an account and create your first project.
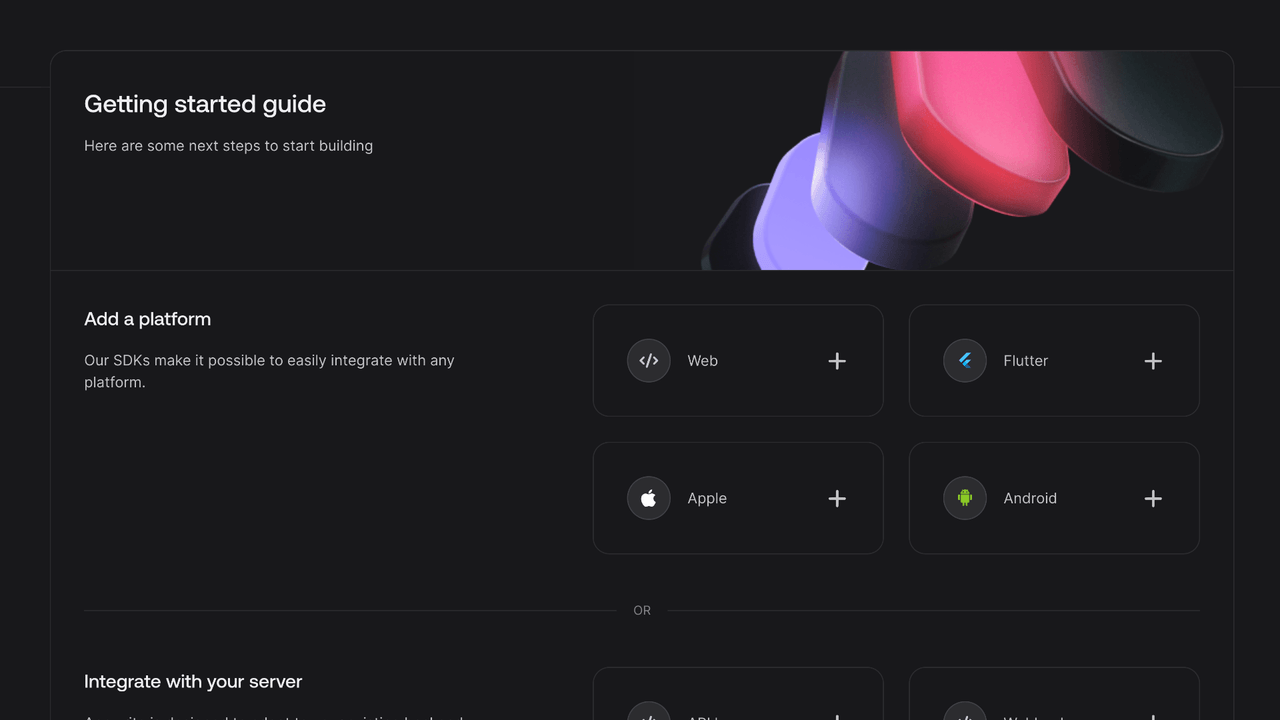
Then, under Add a platform, add a Web app. The Hostname should be localhost.


You can skip optional steps.
Initialize Appwrite SDK
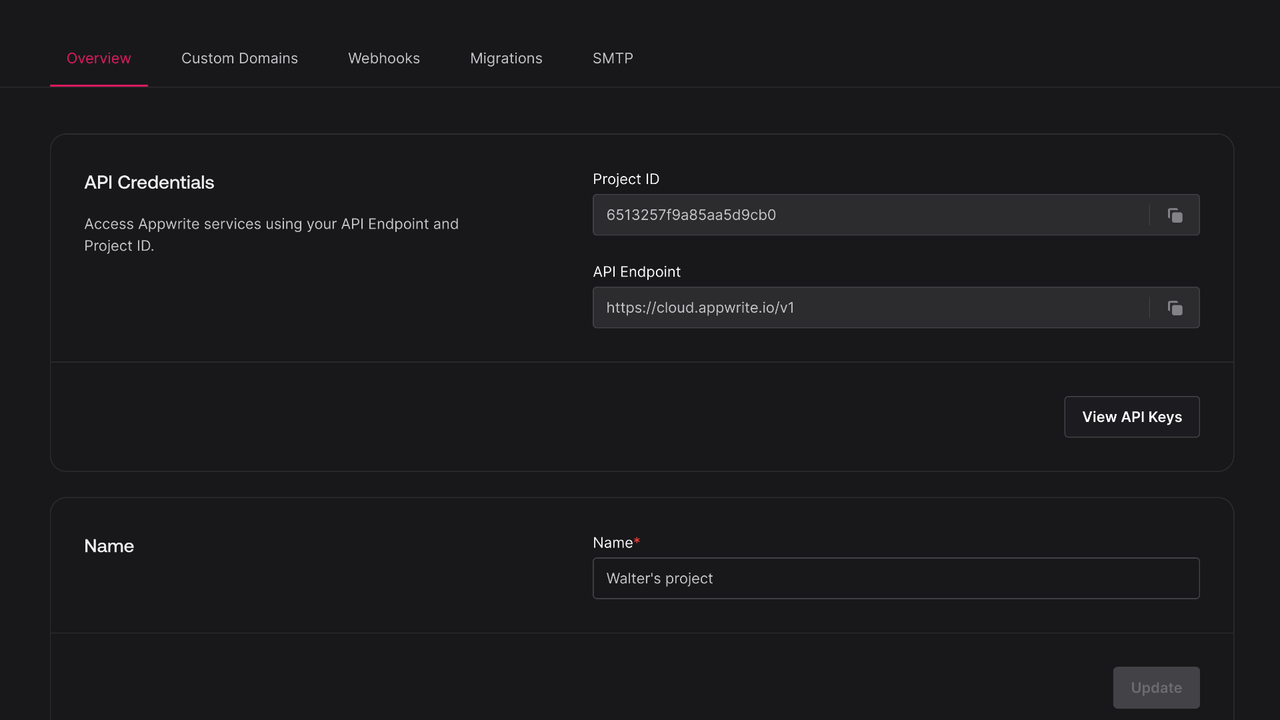
To use Appwrite in our Vue app, we'll need to find our project ID. Find your project's ID in the Settings page.


Create a new file src/appwrite.js to hold our Appwrite related code. Only one instance of the Client() class should be created per app. Add the following code to it, replacing <PROJECT_ID> with your project ID.
Web
import { Client, TablesDB, Account } from "appwrite";

const client = new Client();
client
  .setEndpoint("https://<REGION>.cloud.appwrite.io/v1")
  .setProject("<PROJECT_ID>"); // Replace with your project ID

export const account = new Account(client);
export const tablesDB = new TablesDB(client);