Appwrite's CSV Export feature allows you to export rows from a table to a CSV file. This is especially useful for reporting, sharing data with non-technical team members, creating custom backups, or handing off datasets to analytics tools.
This feature is available in both Appwrite Cloud and the self-hosted version.
Export configuration
Before exporting, you can configure several options to control the output format and contents. These settings ensure you get exactly the data you need in the format your tools expect.
Apply filters
You can apply filters to your table from the table view and use those to export only the rows you need. This is especially useful when you want to export a subset of your data for a specific use case.
Select columns
You can choose which columns to include in your export. By default, all columns are exported, but selecting specific columns creates cleaner, more focused datasets that are easier to work with in spreadsheets and analytics tools.
Good to know
System columns like $id, $createdAt, and $updatedAt are automatically included in the export.
Custom delimiter
You can set a custom delimiter for your CSV file. While commas are standard, you can use tabs, semicolons, or other delimiters based on your requirements or the tools you're importing into.
Common delimiters:
- Comma (
,): Standard format, compatible with most tools - Tab: Useful when your data contains many commas
- Semicolon (
;): Common in European Excel versions - Pipe (
|): Useful when your data contains many semicolons
Header row
You can choose whether to include a header row with column names. Headers make it easier to understand the data in spreadsheets, but some import tools work better without them.
Relationship handling
When exporting data that includes relationships to other tables, Appwrite exports only the related row IDs by default. This keeps your CSV files clean and prevents deeply nested data structures that can break spreadsheet tools.
For example, if you have a posts table with a relationship to an authors table, the export will include the author ID rather than all author details.
An example of exported data with relationships:
$id,title,author_id,published
post-1,Getting started with Appwrite,user-123,true
post-2,Advanced queries,user-456,true
post-3,CSV exports guide,user-123,false
Timestamps
The $createdAt and $updatedAt columns are exported in ISO 8601 format, making them compatible with most spreadsheet and database tools.
Permissions
If row-level security is enabled for your table, the $permissions column will be included in the export. Permission strings are formatted as comma-separated role definitions within quotes.
$id,title,$permissions
post-1,Public post,"read(""any""),update(""user:user-123"")"
post-2,Team post,"read(""team:team-456""),update(""team:team-456"")"
The roles used are API strings that can be found in the permissions documentation.
Background processing
Large exports run as background tasks to avoid blocking your workflow. When an export completes, you'll receive an email with a short-lived download link to retrieve your CSV file.
This means you can start an export, close the Console, and return later to download your file. The Console displays a floating progress bar while the export is active.
Export from the Console
To export rows using the Appwrite Console:
- Go to your project and navigate to Databases
- Select your target database and navigate to your target table
- Click on the Export CSV button in the action area
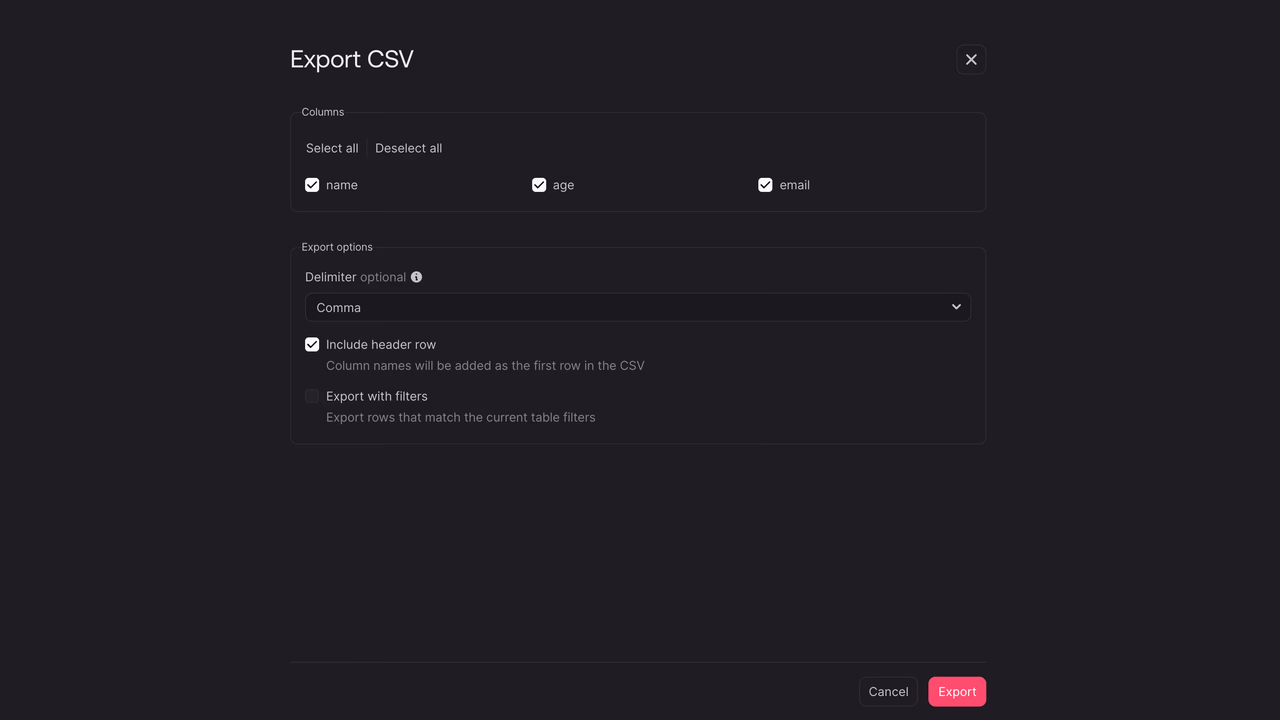
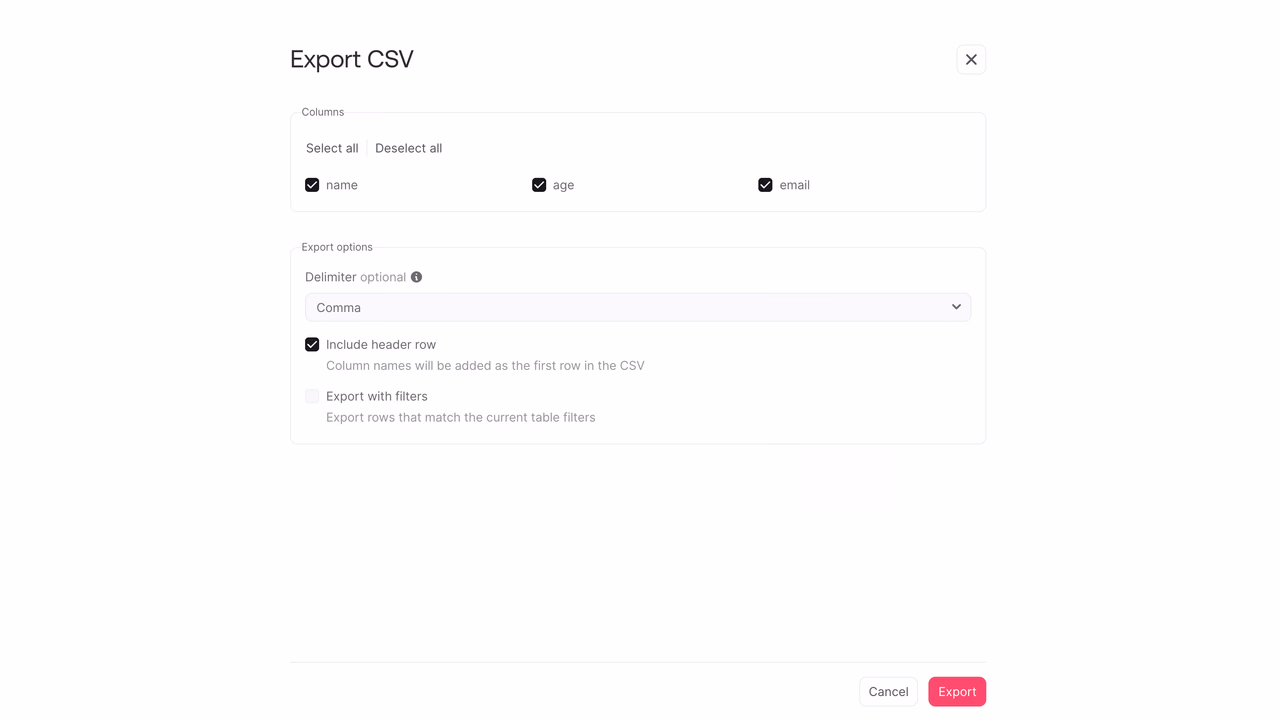
- Configure your export options:
- Choose which columns to include (optional)
- Set your preferred delimiter
- Choose whether to include headers
- Click Export
The export will begin processing in the background. You'll see a progress indicator and receive an email when the export is ready to download.
Use cases
CSV exports are useful for many common workflows:
- Reporting: Generate reports for stakeholders who need data in spreadsheet format
- Data sharing: Share clean datasets with non-technical team members
- Analytics hand-off: Provide datasets to analysts using BI tools
- Compliance exports: Create audit trails and compliance records
- Custom backups: Archive specific data subsets for record-keeping
- Migration preparation: Extract data for migration to other systems
Best practices
To get the most out of CSV exports:
- Use filters to filter data: Export only the rows you need to reduce file size and processing time
- Select specific columns: Choose relevant columns to create cleaner, more focused datasets
- Choose appropriate delimiters: Use tabs or semicolons if your data contains many commas
- Consider header requirements: Include headers for human readability, exclude them for automated imports
Additional resources
- CSV Imports - Import data from CSV files
- Relationships - Define connections between tables
- Database Permissions - Configure row-level security
- Database Backups - Automated backup policies