Learn how to setup your first Flutter project powered by Appwrite.
Create a Flutter project.
flutter create my_app && cd my_app
Head to the Appwrite Console.
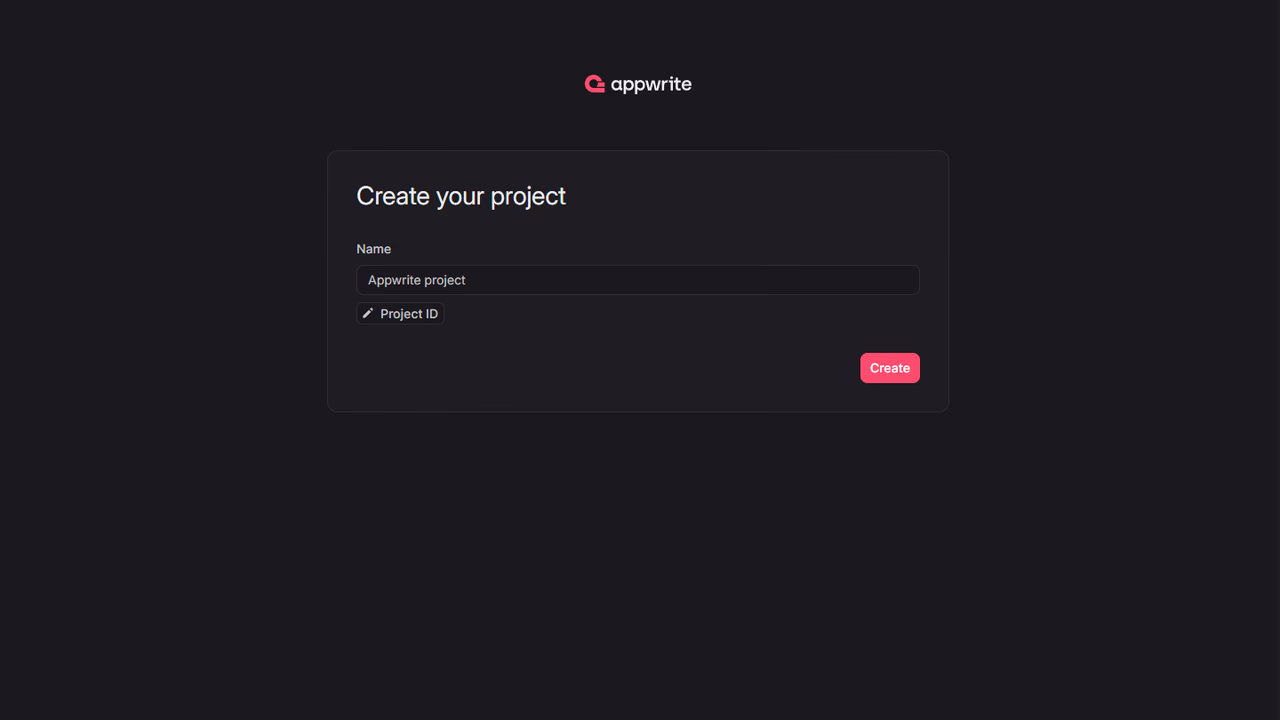
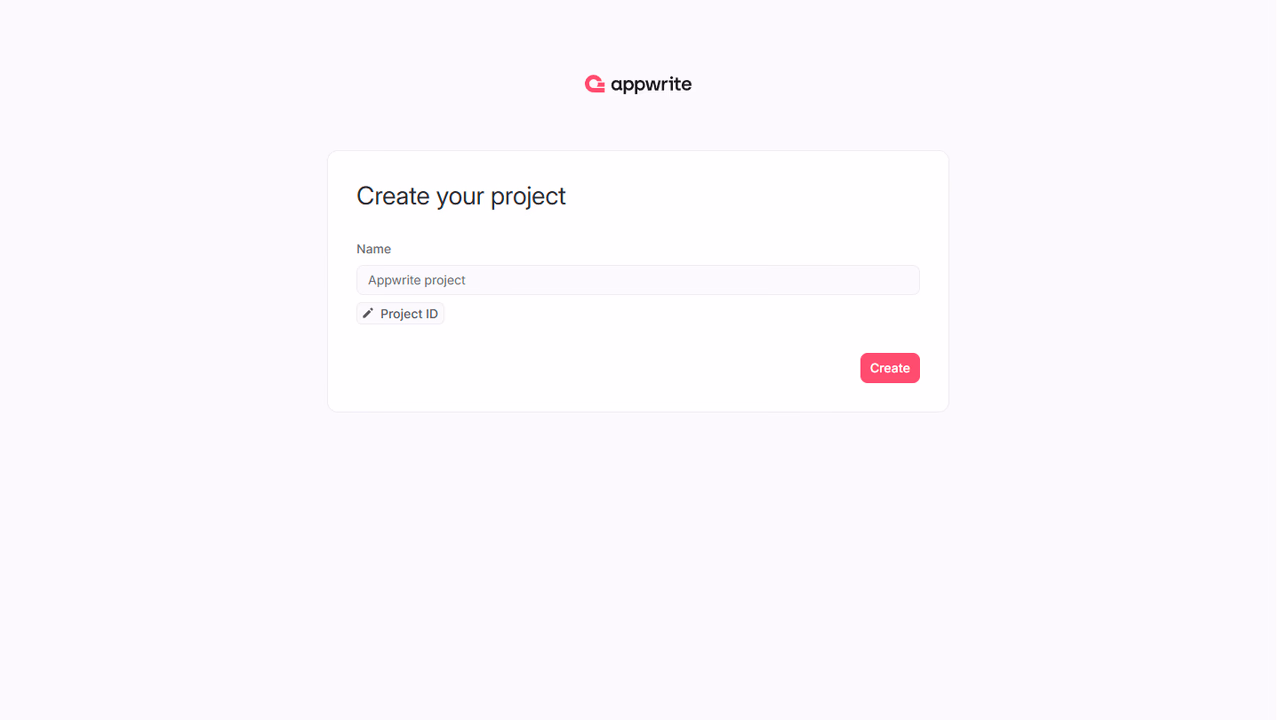
If this is your first time using Appwrite, create an account and create your first project.
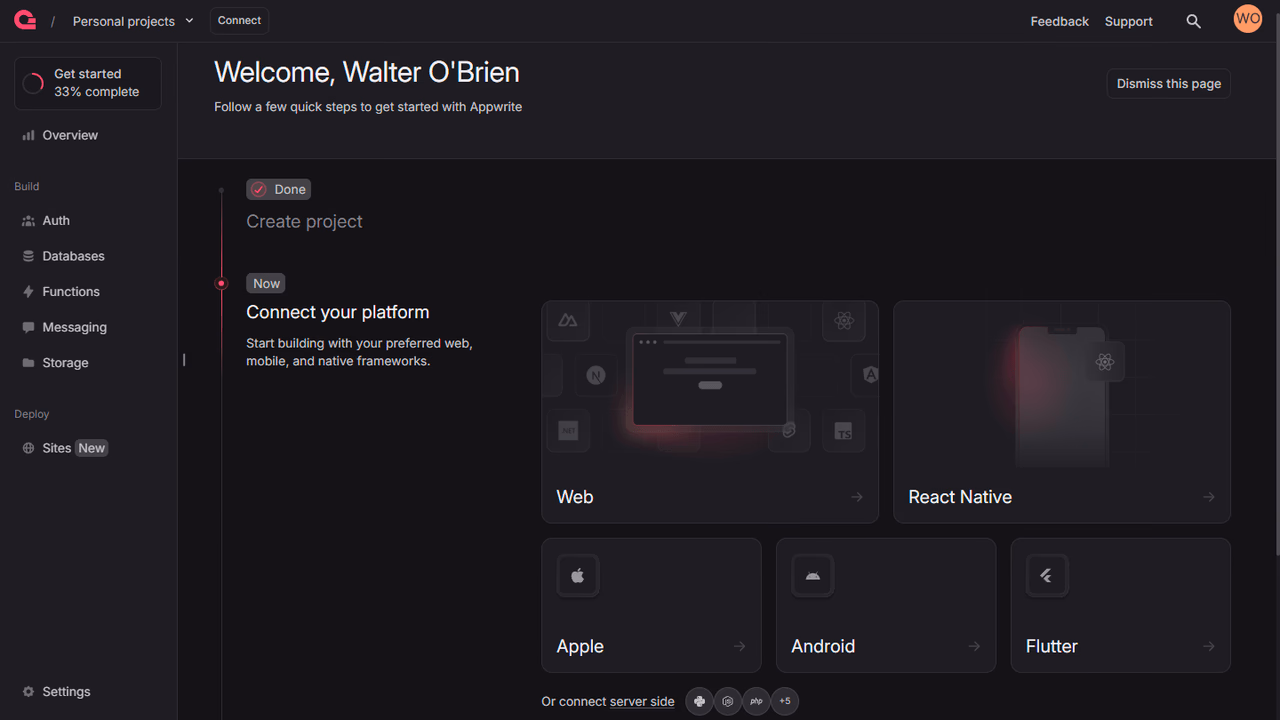
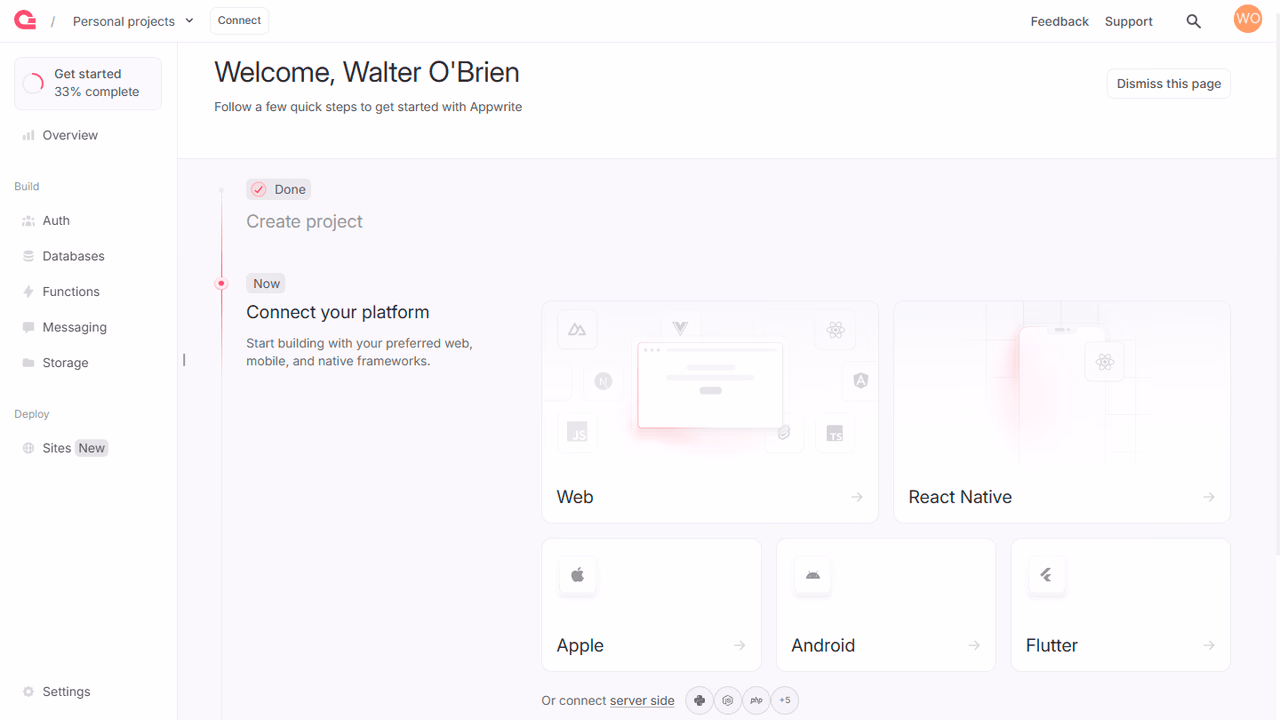
Then, under Add a platform, add a Flutter app. You can choose between many different platforms.
Add your app name and Hostname. If you're testing your app locally, Hostname should be localhost.
For web, in order to capture the OAuth2 callback URL and send it to the application using JavaScript postMessage(), you need to create an html file inside ./web folder of your Flutter project. For example auth.html with the following content.
<!DOCTYPE html>
<title>Authentication complete</title>
<p>Authentication is complete. If this does not happen automatically, please close the window.</p>
<script>
  window.opener.postMessage({
    'flutter-web-auth-2': window.location.href
  }, window.location.origin);
  window.close();
</script>
The redirection URL passed to the authentication service must be the same as the URL on which the application is running including schema, host, and port if applicable. The path must point to the created HTML file, /auth.html in this case. The callbackUrlScheme parameter in the authenticate() method isn't applicable when you're developing for web platforms. This means you can use this parameter to define URL schemes specifically for native platforms without affecting the web version of your Flutter application.
Flutter web cross-domain communication & cookies
While running Flutter Web, make sure your Appwrite project and your Flutter client use the same top-level domain and protocol (HTTP or HTTPS) to communicate. When communicating between different domains or protocols, you may receive HTTP status error 401 because some modern browsers block cross-site or insecure cookies for enhanced privacy. In production, Appwrite allows you to set multiple custom-domains for each project.
Add your app name and Bundle ID. You can find your Bundle Identifier in the General tab for your app's primary target in XCode.
The Appwrite SDK uses ASWebAuthenticationSession on iOS 12+ and SFAuthenticationSession on iOS 11 to allow OAuth authentication. You have to change your iOS Deployment Target in Xcode to be iOS >= 11 to be able to build your app on an emulator or a real device.
- In XCode, open
Runner.xcworkspacein your app's iOS folder. - To view your app's settings, select the Runner project in the XCode project navigator. Then, in the main view sidebar, select the Runner target.
- Select the General tab.
- In Deployment Info > Target, select iOS 11.0 or above
Add your app's name and package name, Your package name is generally the applicationId in your app-level build.gradle file.
In order to capture the Appwrite OAuth callback url, the following activity needs to be added inside the <application> tag, along side the existing <activity> tags in your AndroidManifest.xml. Be sure to replace the <PROJECT_ID> string with your actual Appwrite project ID. You can find your Appwrite project ID in you project settings screen in your Appwrite Console.
<manifest ...>
  ...
  <application ...>
    ...
    <!-- Add this inside the `<application>` tag, along side the existing `<activity>` tags -->
    <activity android:name="com.linusu.flutter_web_auth_2.CallbackActivity" android:exported="true">
      <intent-filter android:label="flutter_web_auth_2">
        <action android:name="android.intent.action.VIEW" />
        <category android:name="android.intent.category.DEFAULT" />
        <category android:name="android.intent.category.BROWSABLE" />
        <data android:scheme="appwrite-callback-<PROJECT_ID>" />
      </intent-filter>
    </activity>
  </application>
</manifest>
Add your app name and package name. Your package name is generally the name in your pubspec.yaml file. If you cannot find the correct package name, run the application in Linux and make any request with proper exception handling. You should get the application ID needed to add in the received error message.
Add your app name and Bundle ID. You can find your Bundle Identifier in the General tab for your app's primary target in XCode.
The Appwrite SDK uses ASWebAuthenticationSession on macOS 10.15+ to allow OAuth authentication. You have to change your macOS Deployment Target in XCode to be macOS >= 10.15 to be able to build your app for macOS.
In order to capture the Appwrite OAuth 2 callback url, the following URL scheme needs to added to your Info.plist.
<key>CFBundleURLTypes</key>
<array>
<dict>
    <key>CFBundleTypeRole</key>
    <string>Editor</string>
    <key>CFBundleURLName</key>
    <string>io.appwrite</string>
    <key>CFBundleURLSchemes</key>
    <array>
        <string>appwrite-callback-<PROJECT_ID></string>
    </array>
</dict>
</array>
For Windows, add your app name and package name. Your package name is generally the name in your pubspec.yaml file. If you cannot find the correct package name, run the application in Windows, and make any request with proper exception handling. You should get the application ID needed to add in the received error message.
You can skip optional steps.
Install the Appwrite SDK for Flutter.
flutter pub add appwrite:17.0.0
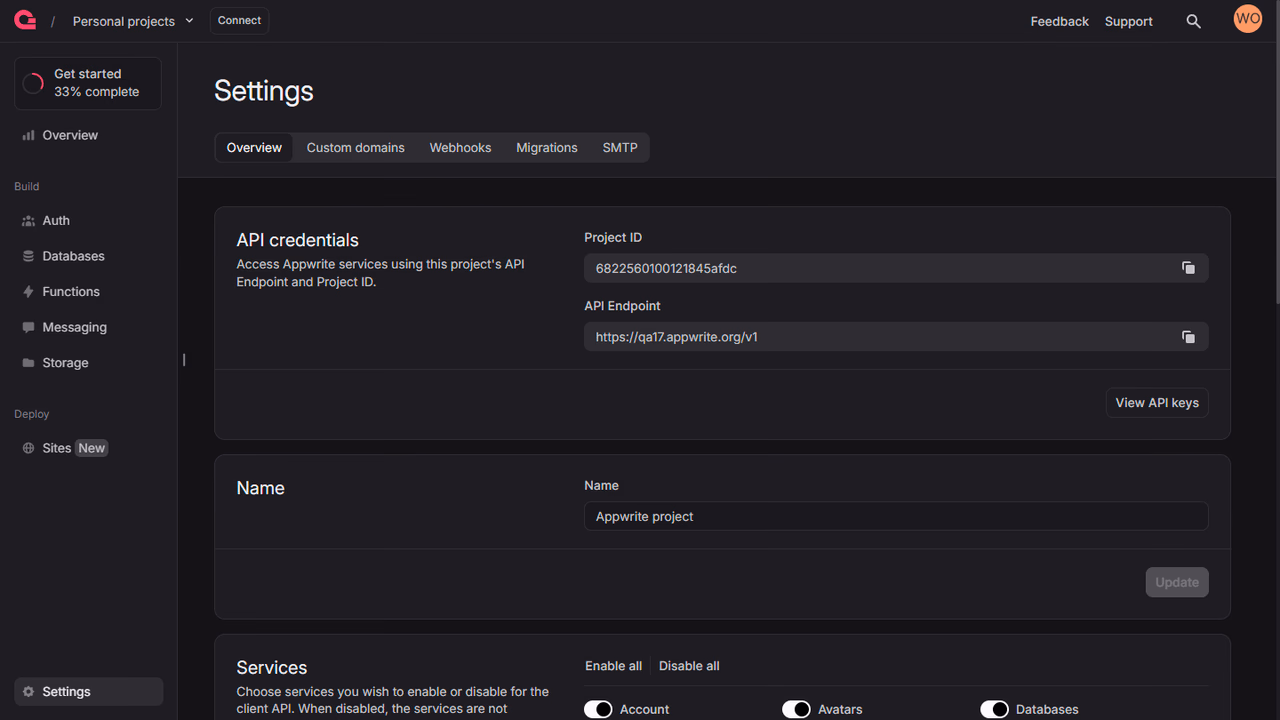
Find your project's ID in the Settings page.

Open the generated lib/main.dart and add the following code to it, replace <PROJECT_ID> with your project ID. This imports and initializes Appwrite.
import 'package:flutter/material.dart';
import 'package:appwrite/appwrite.dart';
import 'package:appwrite/models.dart' as models;

void main() {
  WidgetsFlutterBinding.ensureInitialized();
  Client client = Client()
      .setEndpoint("https://<REGION>.cloud.appwrite.io/v1")
      .setProject("<PROJECT_ID>");
  Account account = Account(client);

  runApp(MaterialApp(
    home: MyApp(account: account),
  ));
}
class MyApp extends StatefulWidget {
  final Account account;

  MyApp({required this.account});

  @override
  MyAppState createState() {
    return MyAppState();
  }
}
Then, append the following widgets to lib/main.dart create your login page.
class MyAppState extends State<MyApp> {
  models.User? loggedInUser;
  final TextEditingController emailController = TextEditingController();
  final TextEditingController passwordController = TextEditingController();
  final TextEditingController nameController = TextEditingController();

  Future<void> login(String email, String password) async {
    await widget.account.createEmailPasswordSession(
      email: email,
      password: password,
    );
    final user = await widget.account.get();
    setState(() {
      loggedInUser = user;
    });
  }

  Future<void> register(String email, String password, String name) async {
    await widget.account.create(
        userId: ID.unique(),
        email: email,
        password: password,
        name: name,
    );
    await login(email, password);
  }

  Future<void> logout() async {
    await widget.account.deleteSession(sessionId: 'current');
    setState(() {
      loggedInUser = null;
    });
  }

  @override
  Widget build(BuildContext context) {
    return MaterialApp(
      home: Scaffold(
        body: Column(
          crossAxisAlignment: CrossAxisAlignment.start,
          children: <Widget>[
            Text(loggedInUser != null
                ? 'Logged in as ${loggedInUser!.name}'
                : 'Not logged in'),
            SizedBox(height: 16.0),
            TextField(
              controller: emailController,
              decoration: InputDecoration(labelText: 'Email'),
            ),
            SizedBox(height: 16.0),
            TextField(
              controller: passwordController,
              decoration: InputDecoration(labelText: 'Password'),
              obscureText: true,
            ),
            SizedBox(height: 16.0),
            TextField(
              controller: nameController,
              decoration: InputDecoration(labelText: 'Name'),
            ),
            SizedBox(height: 16.0),
            Row(
              mainAxisAlignment: MainAxisAlignment.start,
              children: <Widget>[
                ElevatedButton(
                  onPressed: () {
                    login(emailController.text, passwordController.text);
                  },
                  child: Text('Login'),
                ),
                SizedBox(width: 16.0),
                ElevatedButton(
                  onPressed: () {
                    register(emailController.text, passwordController.text,
                        nameController.text);
                  },
                  child: Text('Register'),
                ),
                SizedBox(width: 16.0),
                ElevatedButton(
                  onPressed: () {
                    logout();
                  },
                  child: Text('Logout'),
                ),
              ],
            ),
          ],
        ),
      ),
    );
  }
}
Run your project with flutter run and select a browser, platform, or emulator to run your project.