Learn how to setup your first Apple project powered by Appwrite and the Appwrite Apple SDK.
Open Xcode and click Create a new Xcode project.
Choose your desired project template, for example iOS App, and click Next.
Now enter your app product name and bundle identifier and click Next. You will need both of these values later when you create your project in the Appwrite console.
Choose a directory for your project in and click Create to create your project.
Head to the Appwrite Console.
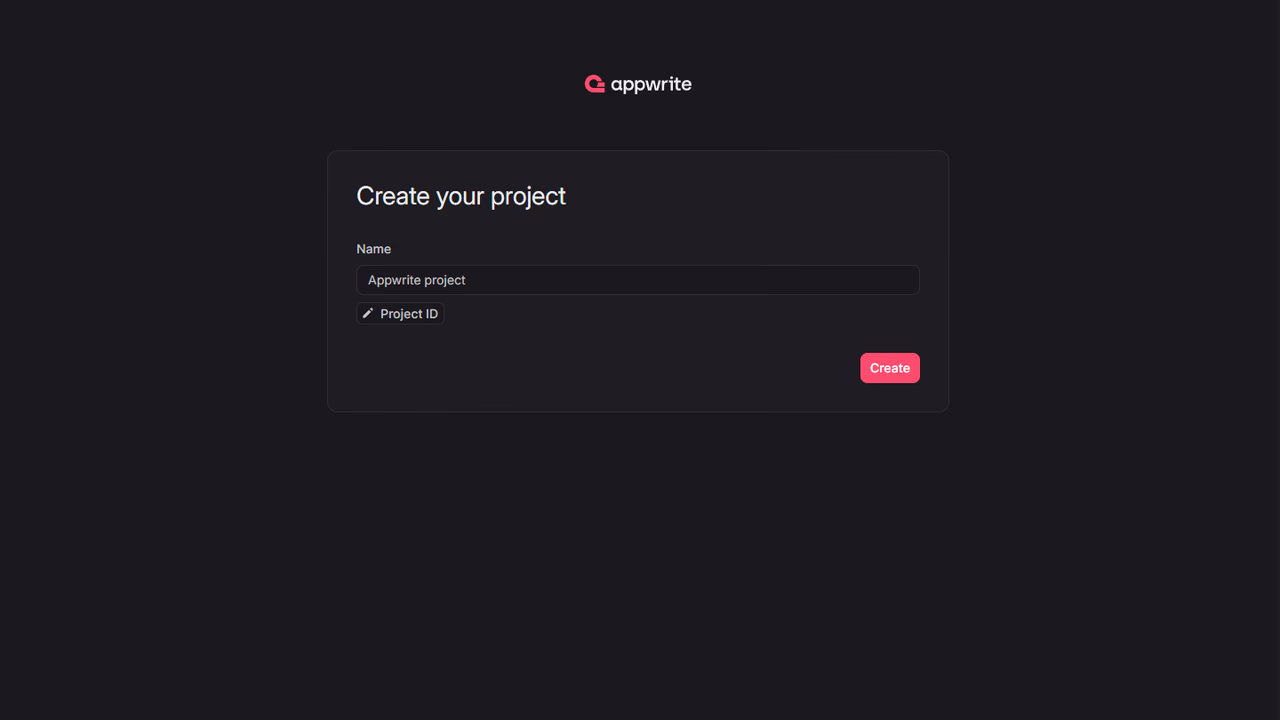
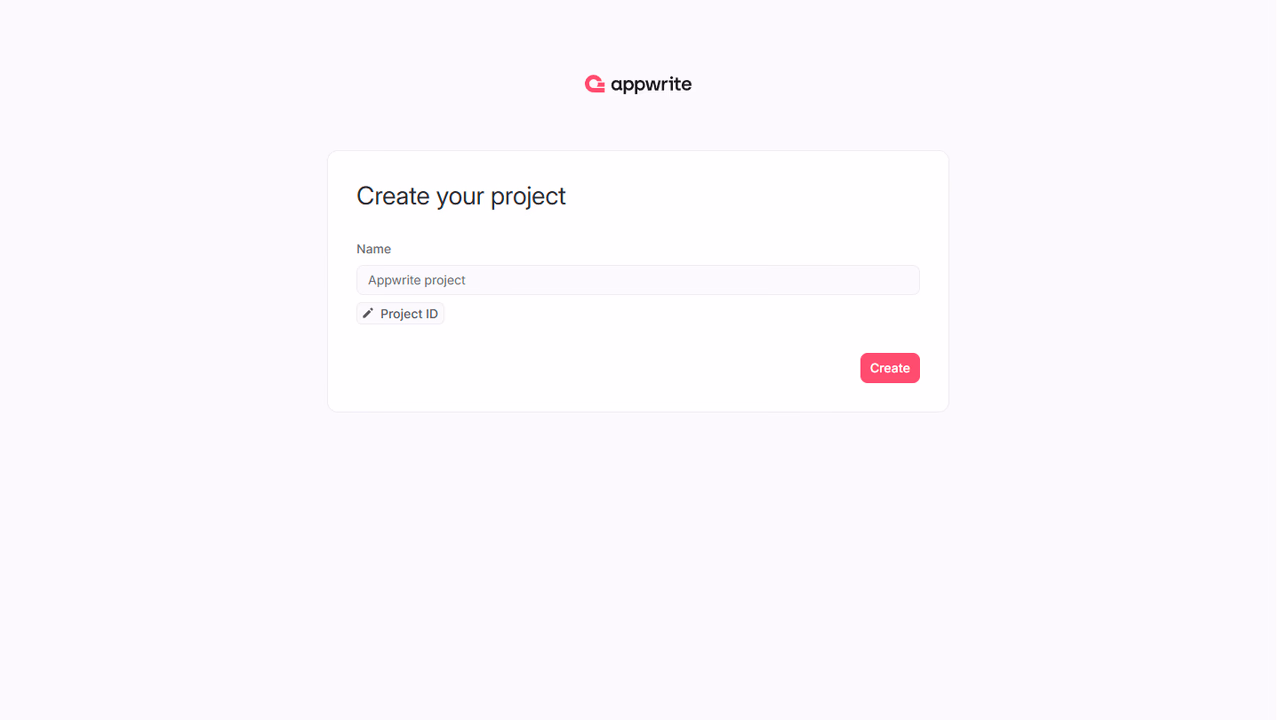
If this is your first time using Appwrite, create an account and create your first project.
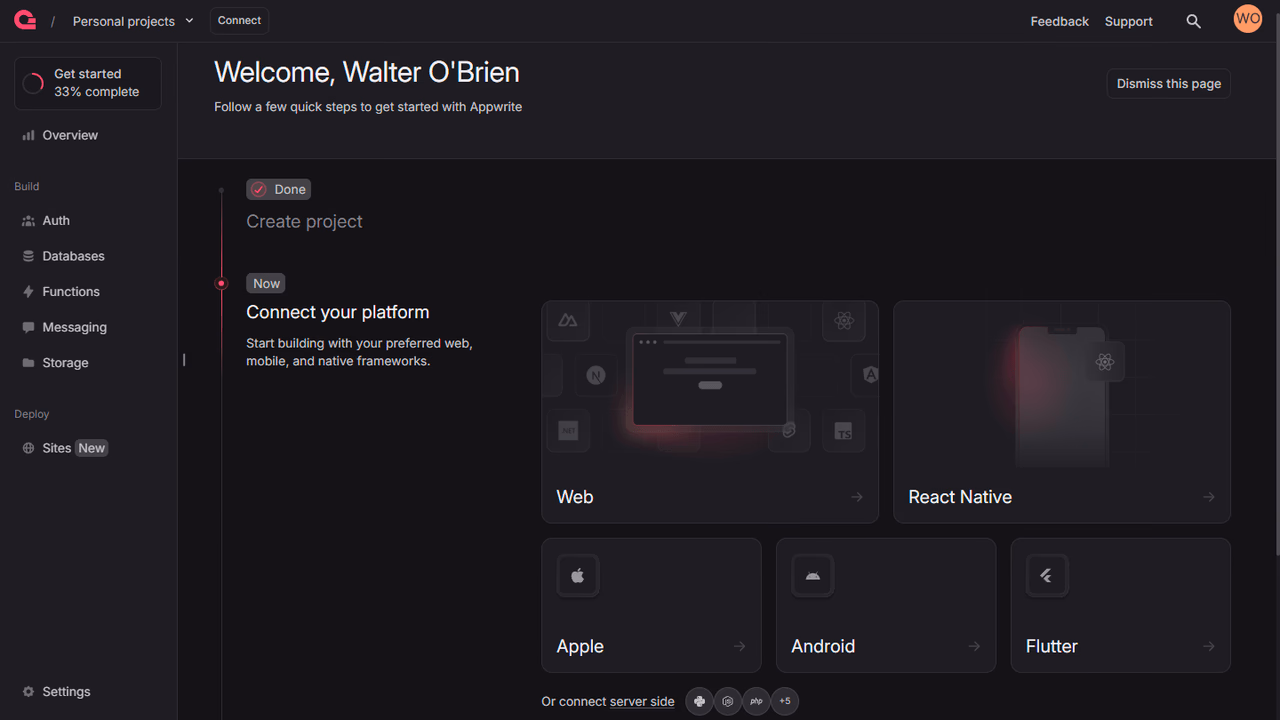
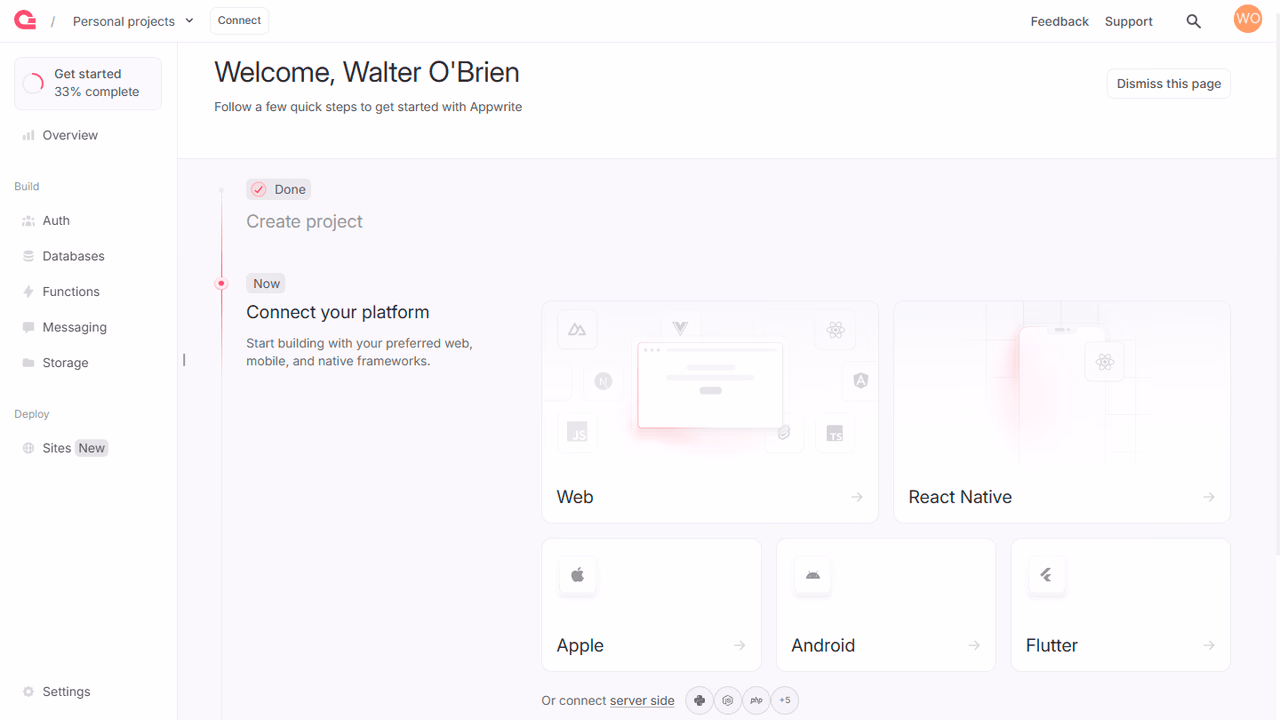
Then, under Add a platform, add an Apple app. Choose any of iOS, macOS, watchOS or tvOS as your Apple platform. If you are creating a multi-platform app, you can add more platforms later.
Add your app's product name and bundle identifier, your bundle identifier is the one entered when creating an Xcode project. For existing projects, you should use the bundle identifier from your project files Identity section.
You can skip optional steps.
To add the Appwrite SDK for Apple as a dependency, open the File menu and click Add Packages.
In the Package URL search box, enter https://github.com/appwrite/sdk-for-apple.
Once the SDK is found, use 10.1.0 as version, select Up to Next Major Version as your Dependency Rule and click Add Package.
When dependency resolution is complete, click Add Package again to add the SDK package to your target.
In order to allow creating OAuth sessions, the following URL scheme must be added to your Info.plist file.
<key>CFBundleURLTypes</key>
<array>
<dict>
    <key>CFBundleTypeRole</key>
    <string>Editor</string>
    <key>CFBundleURLName</key>
    <string>io.appwrite</string>
    <key>CFBundleURLSchemes</key>
    <array>
        <string>appwrite-callback-<PROJECT_ID></string>
    </array>
</dict>
</array>
If you're using UIKit as opposed to SwiftUI, you will also need to add the following to your SceneDelegate.swift file.
func scene(_ scene: UIScene, openURLContexts URLContexts: Set<UIOpenURLContext>) {
    guard let url = URLContexts.first?.url,
        url.absoluteString.contains("appwrite-callback") else {
        return
    }

    WebAuthComponent.handleIncomingCookie(from: url)
}
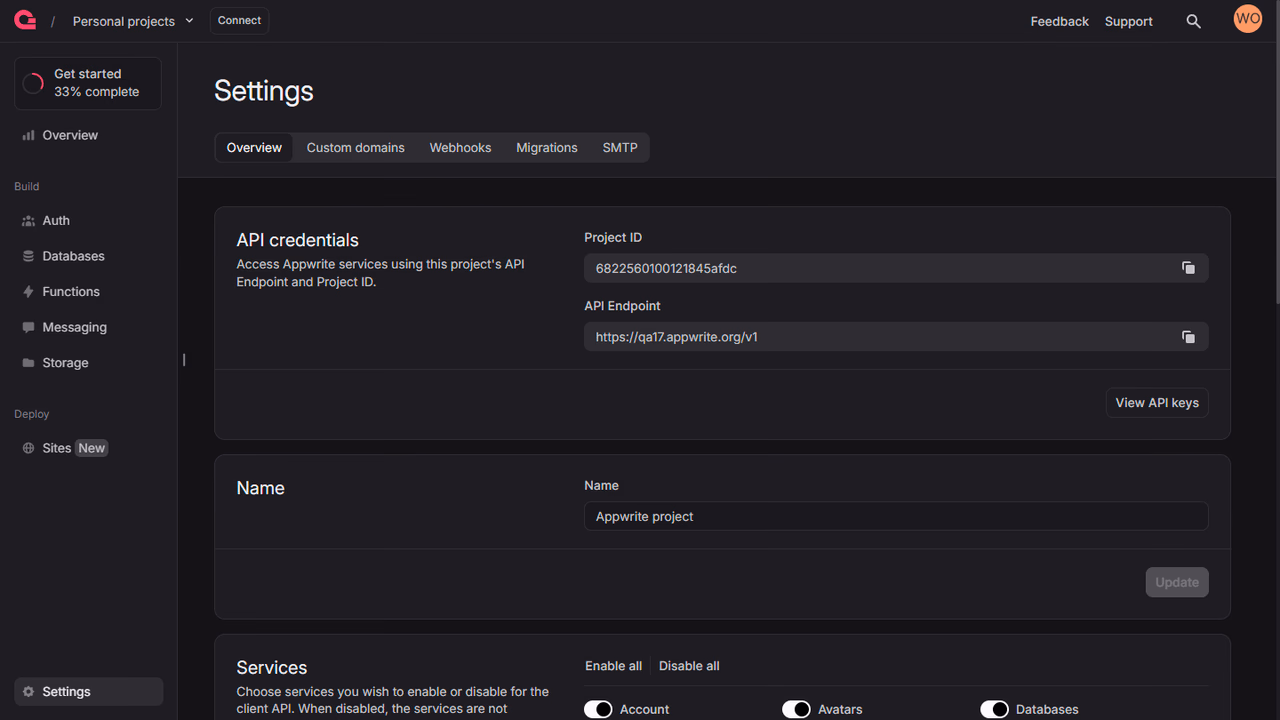
Find your project's ID in the Settings page.

Create a new file Appwrite.swift and add the following code to it, replacing <PROJECT_ID> with your project ID.
import Foundation
import Appwrite
import JSONCodable

class Appwrite {
    var client: Client
    var account: Account

    public init() {
        self.client = Client()
            .setEndpoint("https://<REGION>.cloud.appwrite.io/v1")
            .setProject("<PROJECT_ID>")

        self.account = Account(client)
    }

    public func onRegister(
        _ email: String,
        _ password: String
    ) async throws -> User<[String: AnyCodable]> {
        try await account.create(
            userId: ID.unique(),
            email: email,
            password: password
        )
    }

    public func onLogin(
        _ email: String,
        _ password: String
    ) async throws -> Session {
        try await account.createEmailPasswordSession(
            email: email,
            password: password
        )
    }

    public func onLogout() async throws {
        _ = try await account.deleteSession(
            sessionId: "current"
        )
    }

}
Add the following code to ContentView.swift.
import SwiftUI

class ViewModel: ObservableObject {
    @Published var email: String = ""
    @Published var password: String = ""
}

struct ContentView: View {
    @ObservedObject var viewModel = ViewModel()
    let appwrite = Appwrite()

    var body: some View {
        VStack {
            TextField(
                "Email",
                text: $viewModel.email
            )
            SecureField(
                "Password",
                text: $viewModel.password
            )
            Button(
                action: { Task {
                    try await appwrite.onRegister(
                        viewModel.email,
                        viewModel.password
                    )
                }},
                label: {
                    Text("Register")
                }
            )
            Button(
                action: { Task {
                    try await appwrite.onLogin(
                        viewModel.email,
                        viewModel.password
                    )
                }},
                label: {
                    Text("Login")
                }
            )
        }
        .padding()
    }
}
For enhanced type safety, you can use custom model structs with the nestedType parameter:
import Appwrite
struct User: Codable {
    let name: String
    let email: String
    let isVerified: Bool
}

// Usage with type safety
let appwrite = Appwrite()
let tablesDB = TablesDB(appwrite.client)

do {
    let users = try await tablesDB.listRows(
        databaseId: "[DATABASE_ID]",
        tableId: "[TABLE_ID]",
        nestedType: User.self // Enables type safety
    )

    for user in users.rows {
        print("User: \(user.name) (\(user.email))")
    }
} catch {
    print("Error: \(error.localizedDescription)")
}
Generate types automatically
Use the Appwrite CLI to generate model structs automatically: appwrite types ./models
Run your project by clicking Start active scheme in Xcode.