Appwrite Functions unlock limitless potential for developers to extend Appwrite with code snippets. Appwrite Functions are user-defined functions that can start small and scale big, deploying automatically from source control. These Functions can be triggered by HTTP requests, SDK methods, server events, webhooks, and scheduled executions. Each function will have its own URL, execute in its own isolated container, and have its own configurable environment variables and permissions.
Getting started
Appwrite Functions let you build anything you can imagine, but this flexibility makes it difficult to know where to start. Start exploring by cloning one of the quick start templates or using a template with pre-built integration to quickly implement features.
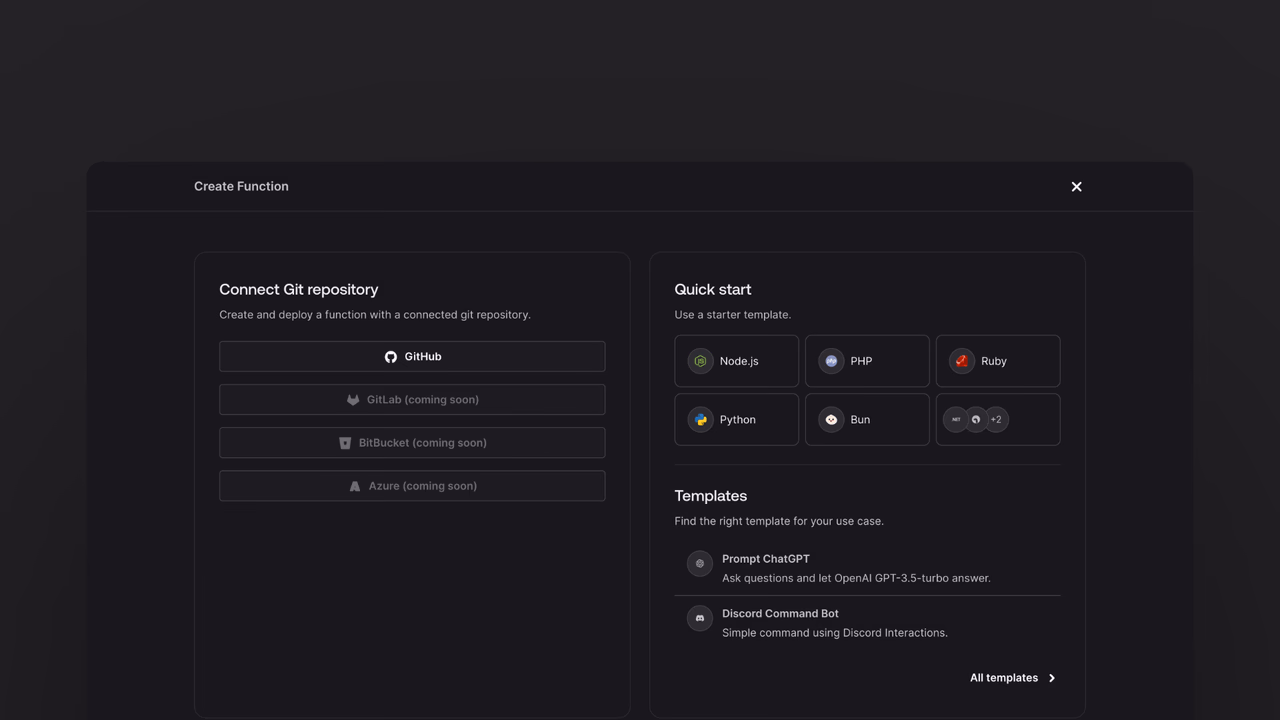
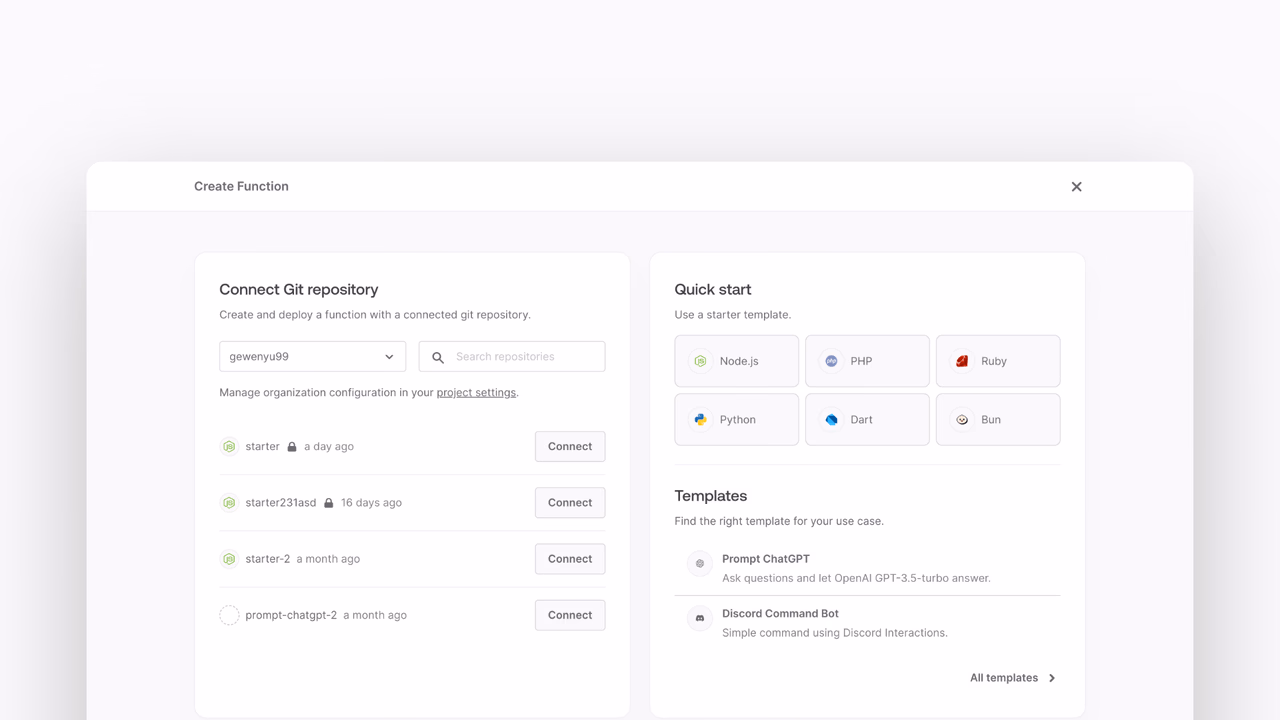
Quick start