

Get started quickly with these pre-built prompts for common Appwrite integrations:
Browse all quick start prompts
Connect the Appwrite MCP server to Claude Desktop for deeper integration with the Appwrite API and documentation.
Before you begin, ensure you have Node.js and npm installed on your system.
Unlike other IDEs, Claude Desktop only supports local (stdio) MCP servers and not remote servers. The mcp-remote package acts as a proxy to connect to the remote Appwrite MCP server.
In the Claude Desktop app, open the app's Settings page (press CTRL + , on Windows or CMD + , on MacOS) and head to the Developer tab.
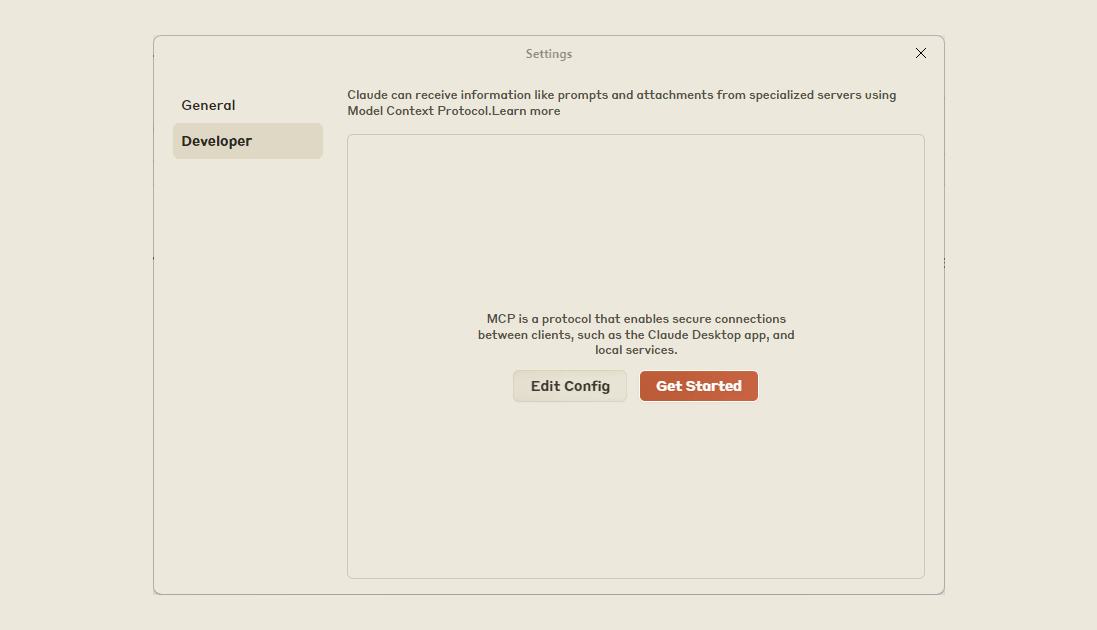
Clicking on the Edit Config button will take you to the claude_desktop_config.json file. In case the file is missing, please visit the Model Context Protocol docs.
Add the Appwrite MCP server to your configuration:
{
    "mcpServers": {
        "appwrite": {
            "command": "npx",
            "args": [
                "mcp-remote",
                "https://mcp.appwrite.io/"
            ]
        }
    }
}
The server uses OAuth for authentication. When Claude Desktop first connects to the server, your browser opens so you can sign in to your Appwrite account and authorize access.
Restart the Claude Desktop app, click on the MCP tools button (at the bottom right section of the prompt input) and click on it to view available Appwrite MCP tools.
npx ENOENT error
In case you see an npx ENOENT error, ensure that you either add npx to the PATH environment variable on your system or use the full path to your npx installation in the config file.
Try out the following example prompts:
Example prompts:
Create a new user in my Appwrite projectList all databases in my projectShow me the tables in my databaseHow do I set up real-time subscriptions in Appwrite?Show me how to authenticate users with OAuthHow do I implement file uploads with Appwrite Storage?