The Appwrite Command Line Interface (CLI) is an application that allows you to interact with Appwrite to perform server-side tasks using your terminal. This includes creating and managing projects, managing resources (rows, files, users), creating and deploying Appwrite Functions, and other operations available through Appwrite's API.
Getting started
The CLI is packaged both as an npm module as well as a standalone binary for your operating system, making it completely dependency free, platform independent, and language agnostic.
If you plan to use the CLI to initialize new Appwrite Functions, ensure that Git is installed on your machine.
Install with npm
If you have npm set up, run the command below to install the CLI.
npm install -g appwrite-cli
Install with script
For a completely dependency-free installation, the CLI also ships with a convenient installation script for your operating system
Using Homebrew
brew install appwrite
or terminal
curl -sL https://appwrite.io/cli/install.sh | bash
Using Powershell
iwr -useb https://appwrite.io/cli/install.ps1 | iex
or Scoop
scoop install https://raw.githubusercontent.com/appwrite/sdk-for-cli/master/scoop/appwrite.config.json
curl -sL https://appwrite.io/cli/install.sh | bash
Update your CLI
npm install -g appwrite-cli
Using Homebrew
brew install appwrite
or terminal
curl -sL https://appwrite.io/cli/install.sh | bash
iwr -useb https://appwrite.io/cli/install.ps1 | iex
curl -sL https://appwrite.io/cli/install.sh | bash
scoop install https://raw.githubusercontent.com/appwrite/sdk-for-cli/master/scoop/appwrite.config.json
Verify installation
After the installation or the update is complete, you can verify the Appwrite CLI is available by checking its version number.
appwrite -v
Login
Before you can use the CLI, you need to login to your Appwrite account using
appwrite login
Add the --endpoint flag if you're using a self-hosted instance of Appwrite. This flag requires you to add the URL string you're using for your self-hosted instance after the --endpoint flag. Self-hosted instances do not currently support OAuth-based CLI authentication, so the CLI will prompt for your email and password instead.
appwrite login --endpoint "<URL_HERE>"
The CLI signs you in through your browser using device authorization. It displays a code and a URL, then waits for approval.
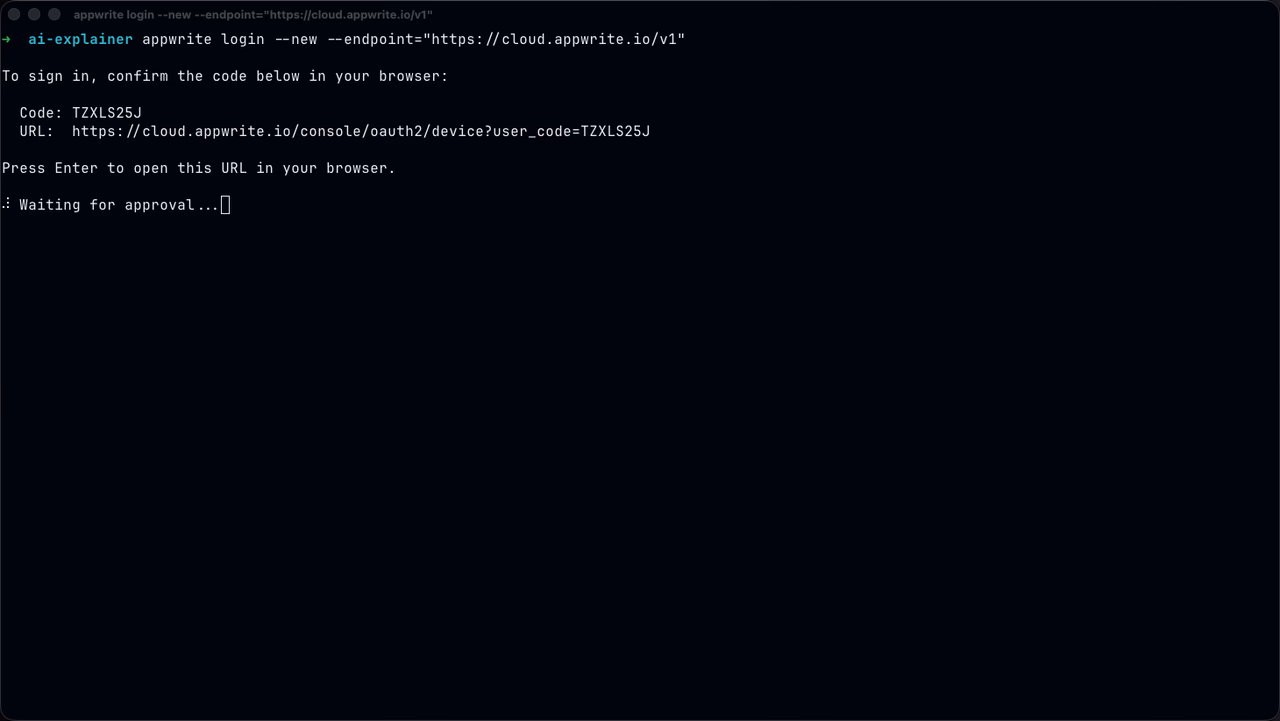
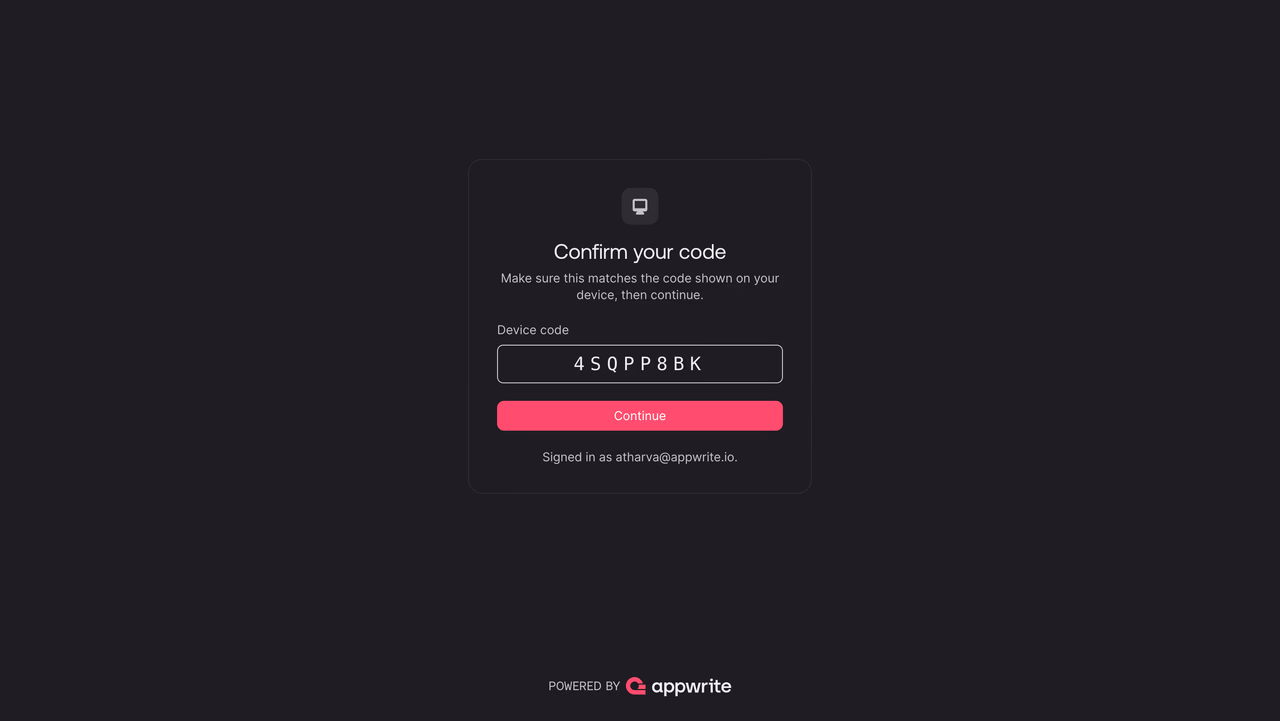
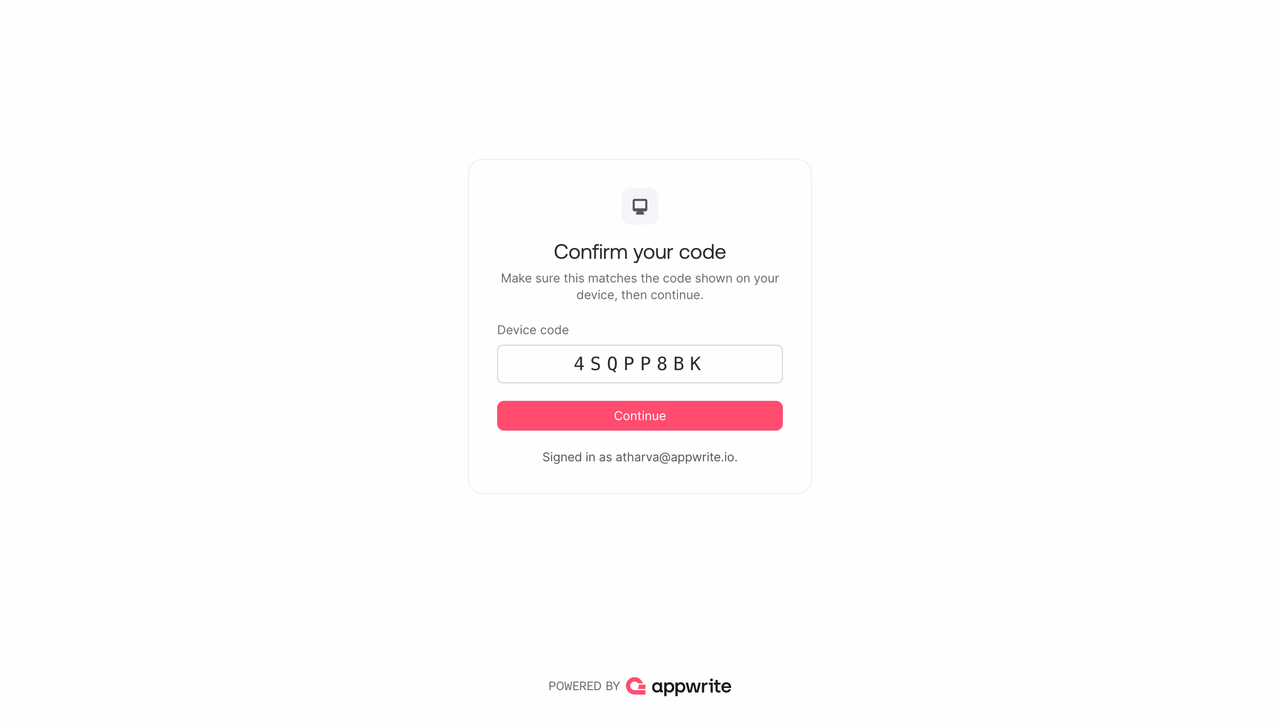
Press Enter to open the URL in your default browser, or copy the URL and open it manually. In the browser, confirm that the device code matches the code shown in your terminal, then click Continue.
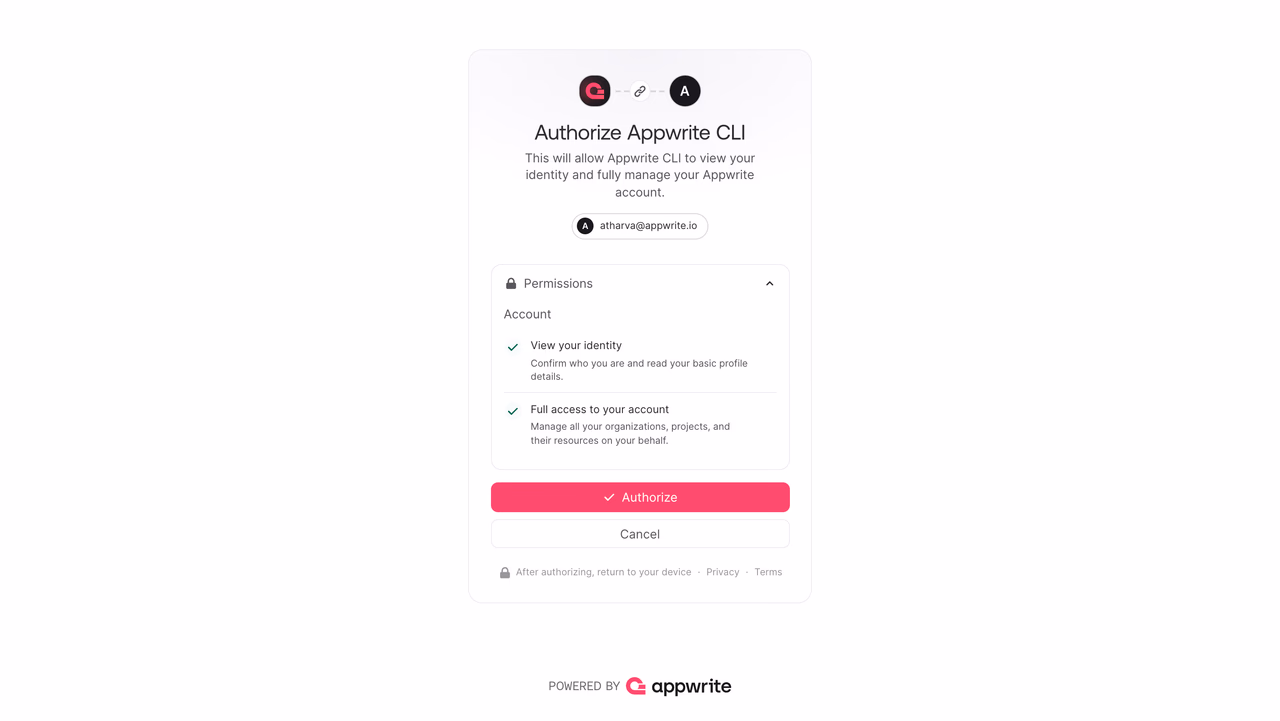
Review the permissions requested by the CLI, then click Authorize.
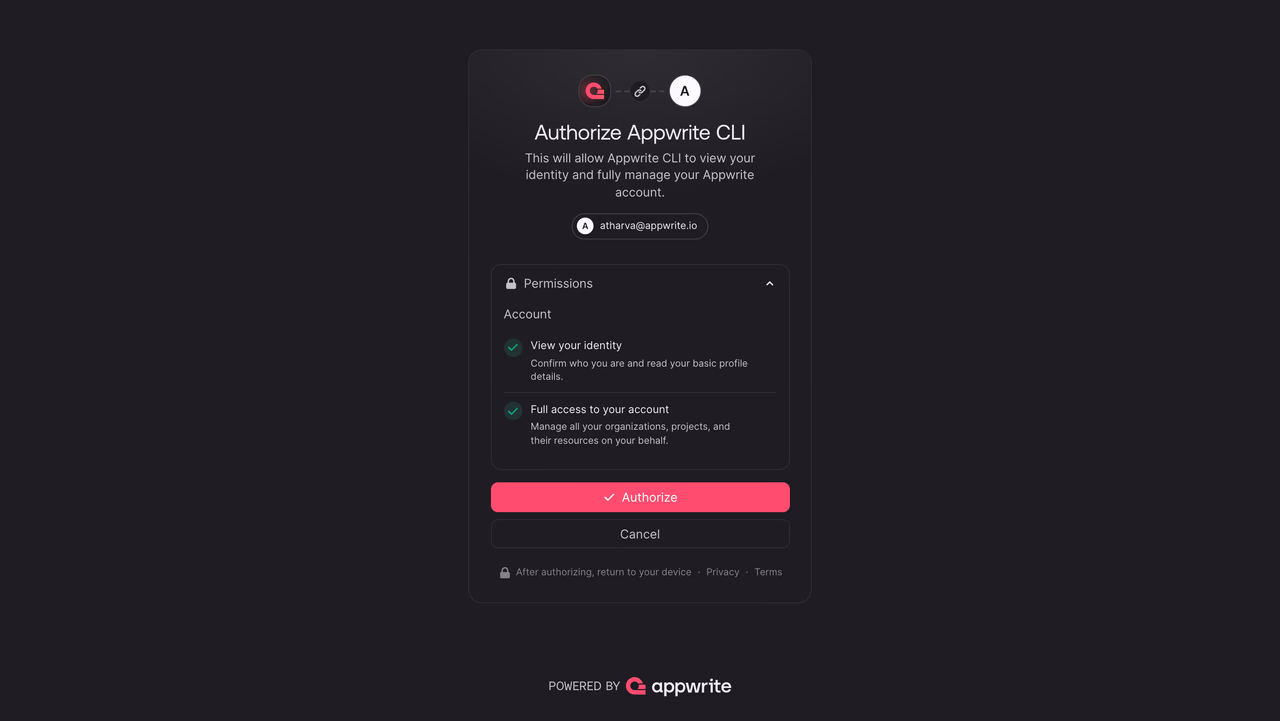
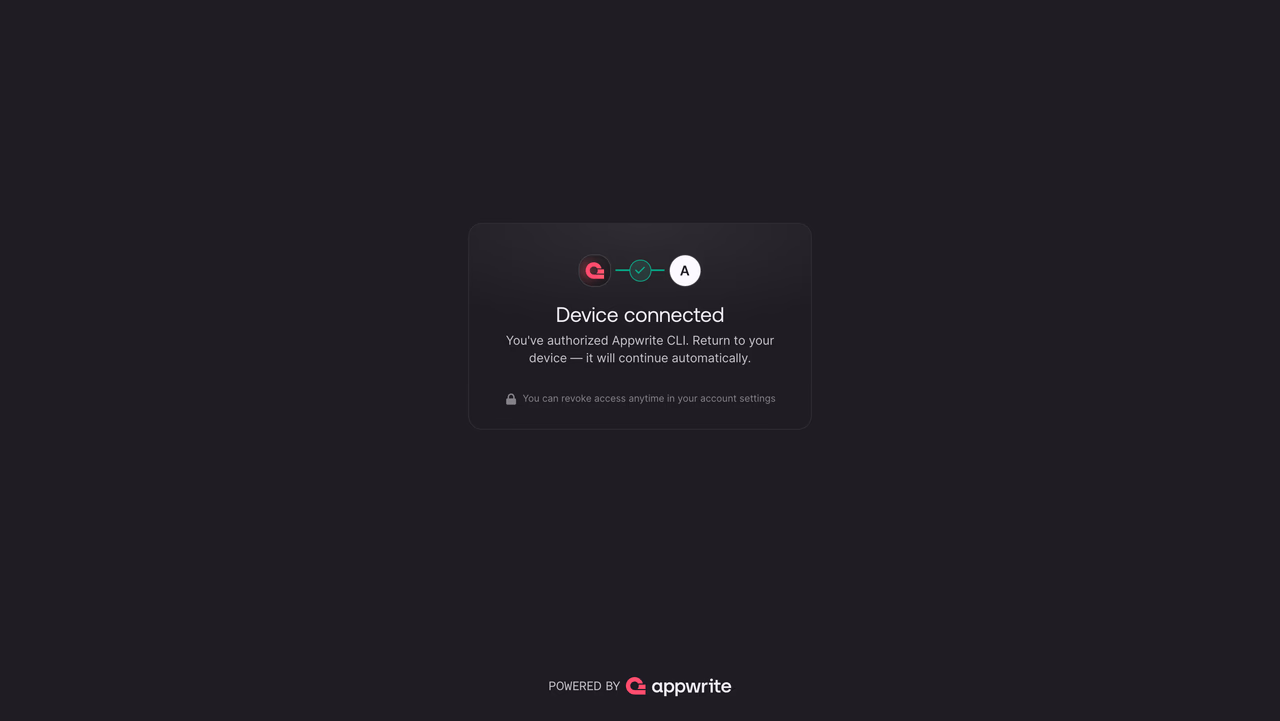
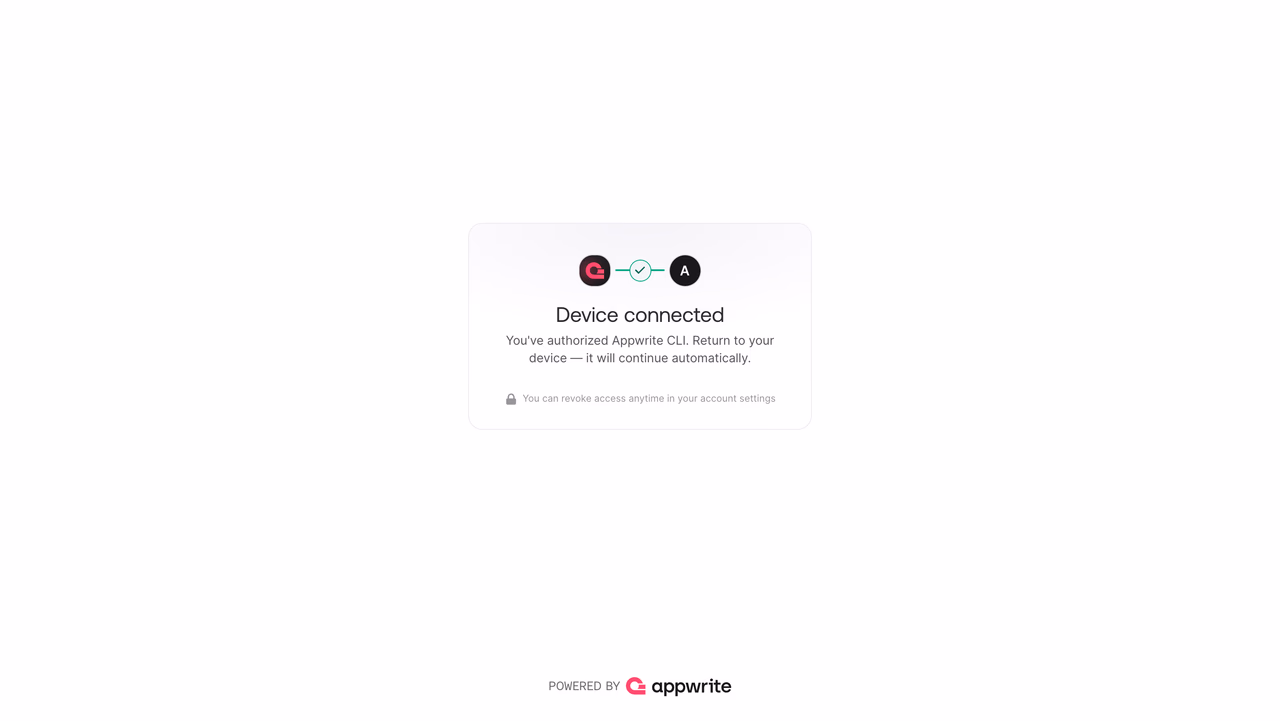
Once authorized, the browser confirms that your device is connected. Return to your terminal, where the CLI continues automatically and completes the login.
You can log in to multiple accounts or change the current account by re-running the command. You can revoke the CLI's access anytime in your account settings.
Seeing an email and password prompt instead?
Older CLI versions, and CLI sessions pointed at a self-hosted Appwrite instance, do not support the OAuth device authorization flow and fall back to asking for your email and password. Run appwrite update to get the latest version, or pass the Appwrite Cloud endpoint explicitly:
appwrite login --endpoint="https://cloud.appwrite.io/v1"
If the CLI still points at a self-hosted instance, clear the saved preferences by deleting prefs.json. On macOS and Linux it lives at ~/.appwrite/prefs.json, on Windows at %USERPROFILE%\.appwrite\prefs.json.
CI and scripting
The browser-based login flow does not affect API key based authentication. Non-interactive mode with API keys continues to work as before and remains the recommended way to authenticate the CLI in CI workflows. Learn more about CI mode
Initialization
After you're logged in, the CLI needs to be initialized with your Appwrite project. You can initialize the CLI using:
appwrite init project
This will create your appwrite.config.json file, where you will configure your various services like tables, functions, teams, topics, and buckets.
{
    "projectId": "<PROJECT_ID>",
    "endpoint": "https://<REGION>.cloud.appwrite.io/v1"
}
The CLI will also auto-detect your project configuration and automatically install relevant Appwrite agent skills.
You can run your first CLI command after logging in. Try fetching information about your Appwrite project.
appwrite projects get --project-id "<PROJECT_ID>"
Multi-file configuration
By default, the Appwrite CLI stores your project settings and resource definitions in one appwrite.config.json file. In CLI version 20.0.0 and later, you can split top-level resource arrays into separate JSON files with the includes field.
Use this when your project has many functions, sites, buckets, teams, topics, tables, or other deployable resources and you want to keep each resource type in its own file.
{
    "projectId": "<PROJECT_ID>",
    "endpoint": "https://<REGION>.cloud.appwrite.io/v1",
    "includes": {
        "functions": "./appwrite/functions.json",
        "sites": "./appwrite/sites.json",
        "buckets": "./appwrite/buckets.json",
        "teams": "./appwrite/teams.json",
        "topics": "./appwrite/topics.json"
    }
}
Each included file contains the JSON array that would normally live under that key in appwrite.config.json.
[
    {
        "$id": "<FUNCTION_ID>",
        "name": "api",
        "runtime": "node-22",
        "path": "functions/api",
        "entrypoint": "src/main.js",
        "commands": "npm install",
        "execute": [],
        "events": [],
        "schedule": "",
        "timeout": 15,
        "enabled": true,
        "logging": true,
        "ignore": [
            "node_modules",
            ".git"
        ],
        "scopes": [],
        "vars": []
    }
]
The CLI resolves resource paths relative to the file that defines the resource. For example, if functions is included from ./appwrite/functions.json, the function path above resolves from ./appwrite/, not from the folder that contains the root appwrite.config.json.
The single-file format continues to work. You can split any supported resource arrays over time and keep other arrays in the root config.
Supported include keys are functions, sites, databases, tablesDB, tables, topics, teams, buckets, webhooks, and messages.
Include paths must be local JSON files inside your project. They must be relative paths, end in .json, and cannot use parent-directory segments, absolute paths, URLs, URL-like schemes, null bytes, or JSON pointer fragments.
Self-signed certificates
By default, requests to domains with self-signed SSL certificates (or no certificates) are disabled. If you trust the domain, you can bypass the certificate validation using
appwrite client --self-signed true
Next steps
You can use the CLI to create and deploy tables, functions, teams, topics, and buckets. Deployment commands allow you to configure your Appwrite project programmatically and replicate functions and table schemas across Appwrite projects.
Besides utility commands, the CLI can be used to execute commands like a Server SDK.
You can choose to use the CLI in a headless and non-interactive mode without the need for config files or sessions. This is useful for CI or scripting use cases.
Help
If you get stuck anywhere, you can always use the help command to get the usage examples.
appwrite help
Configuration
At any point, if you would like to change your server's endpoint, project ID, or self-signed certificate acceptance, use the client command.
appwrite client --endpoint https://<REGION>.cloud.appwrite.io/v1
appwrite client --key 23f24gwrhSDgefaY
appwrite client --self-signed true
appwrite client --reset // Resets your CLI configuration
appwrite client --debug // Prints your current configuration
Uninstall
If you installed Appwrite CLI using NPM, you can use the following command to uninstall it.
npm uninstall -g appwrite-cli
If you installed the Appwrite CLI with brew or the installation script for your operating system, use the following command to uninstall it.
Using Powershell
$APPWRITE_INSTALL_DIR = Join-Path -Path $env:LOCALAPPDATA -ChildPath "Appwrite"; Remove-Item -Force -Path $APPWRITE_INSTALL_DIR
or Scoop
scoop uninstall appwrite.config
rm -f /usr/local/bin/appwrite | bash
You can also remove the configuration, cookies, and API Keys the Appwrite CLI stored. To remove those, run the following command.
rm -rf ~/.appwrite | bash
Using Powershell
$APPWRITE_CONFIG_DIR = Join-Path -Path $env:UserProfile -ChildPath ".appwrite"; Remove-Item -Recurse -Force -Path $APPWRITE_CONFIG_DIR
or Scoop
appwrite client --reset
rm -rf ~/.appwrite | bash